CDR
Ciritcal Design Review
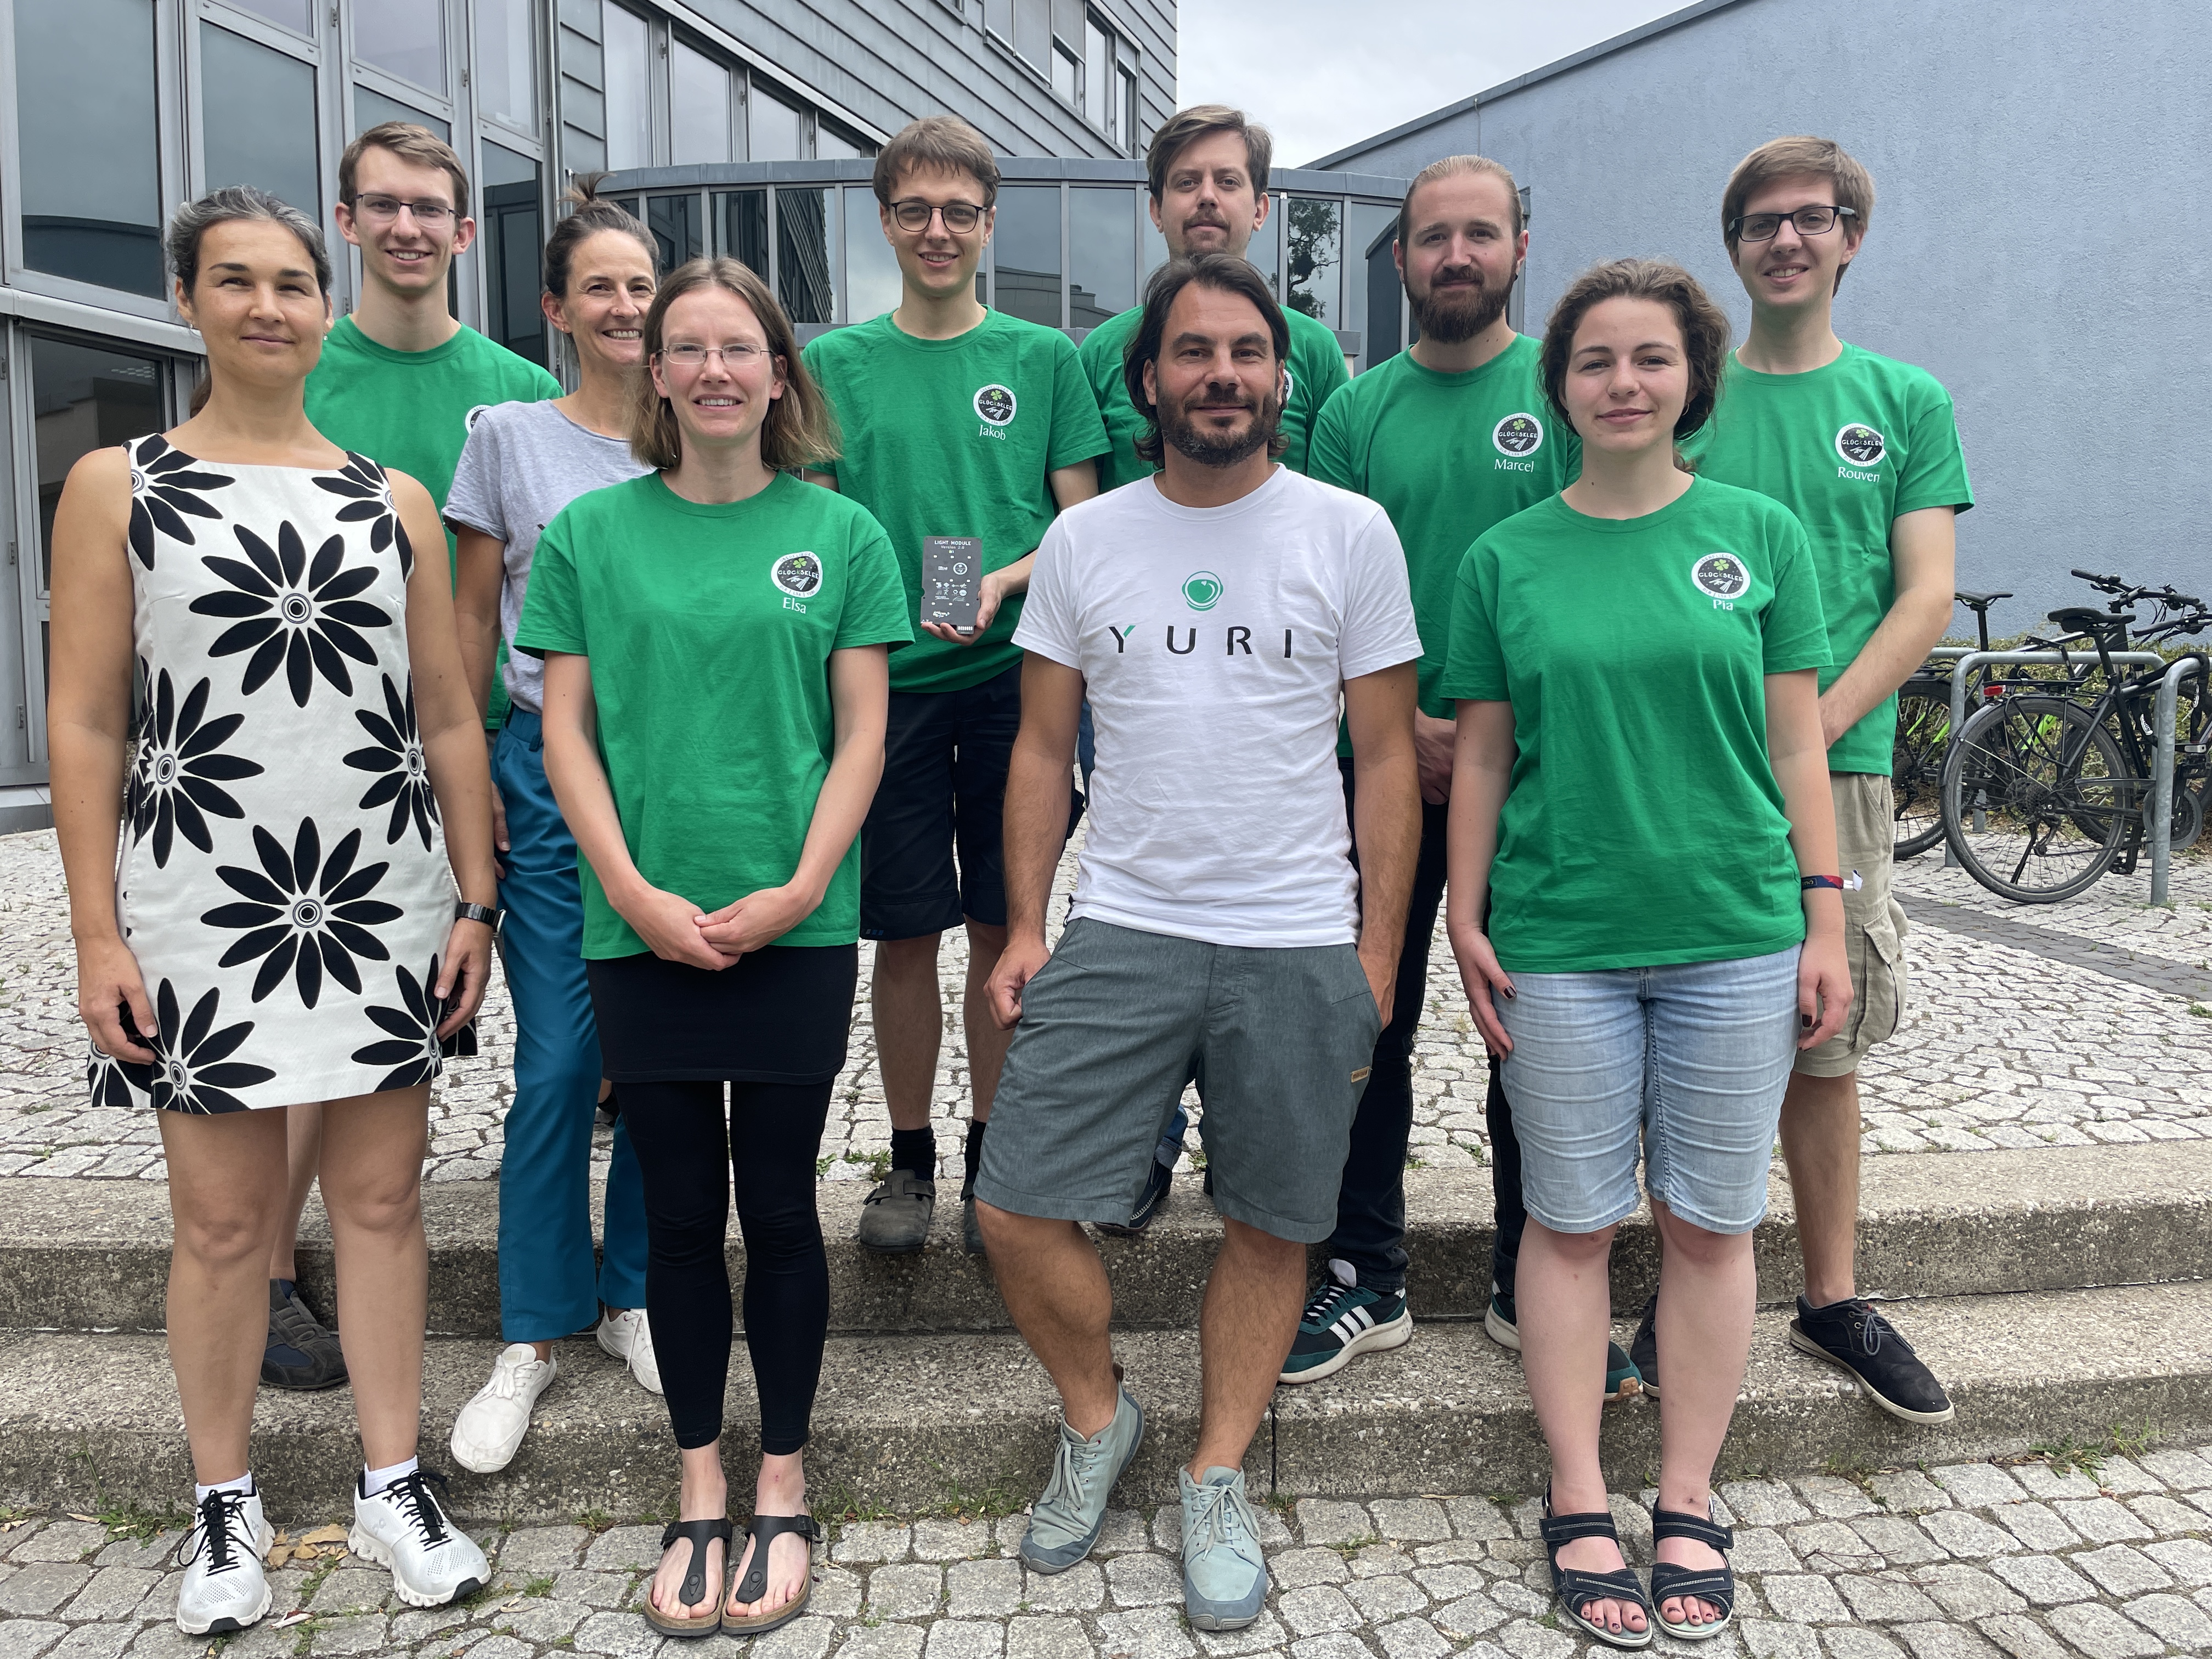
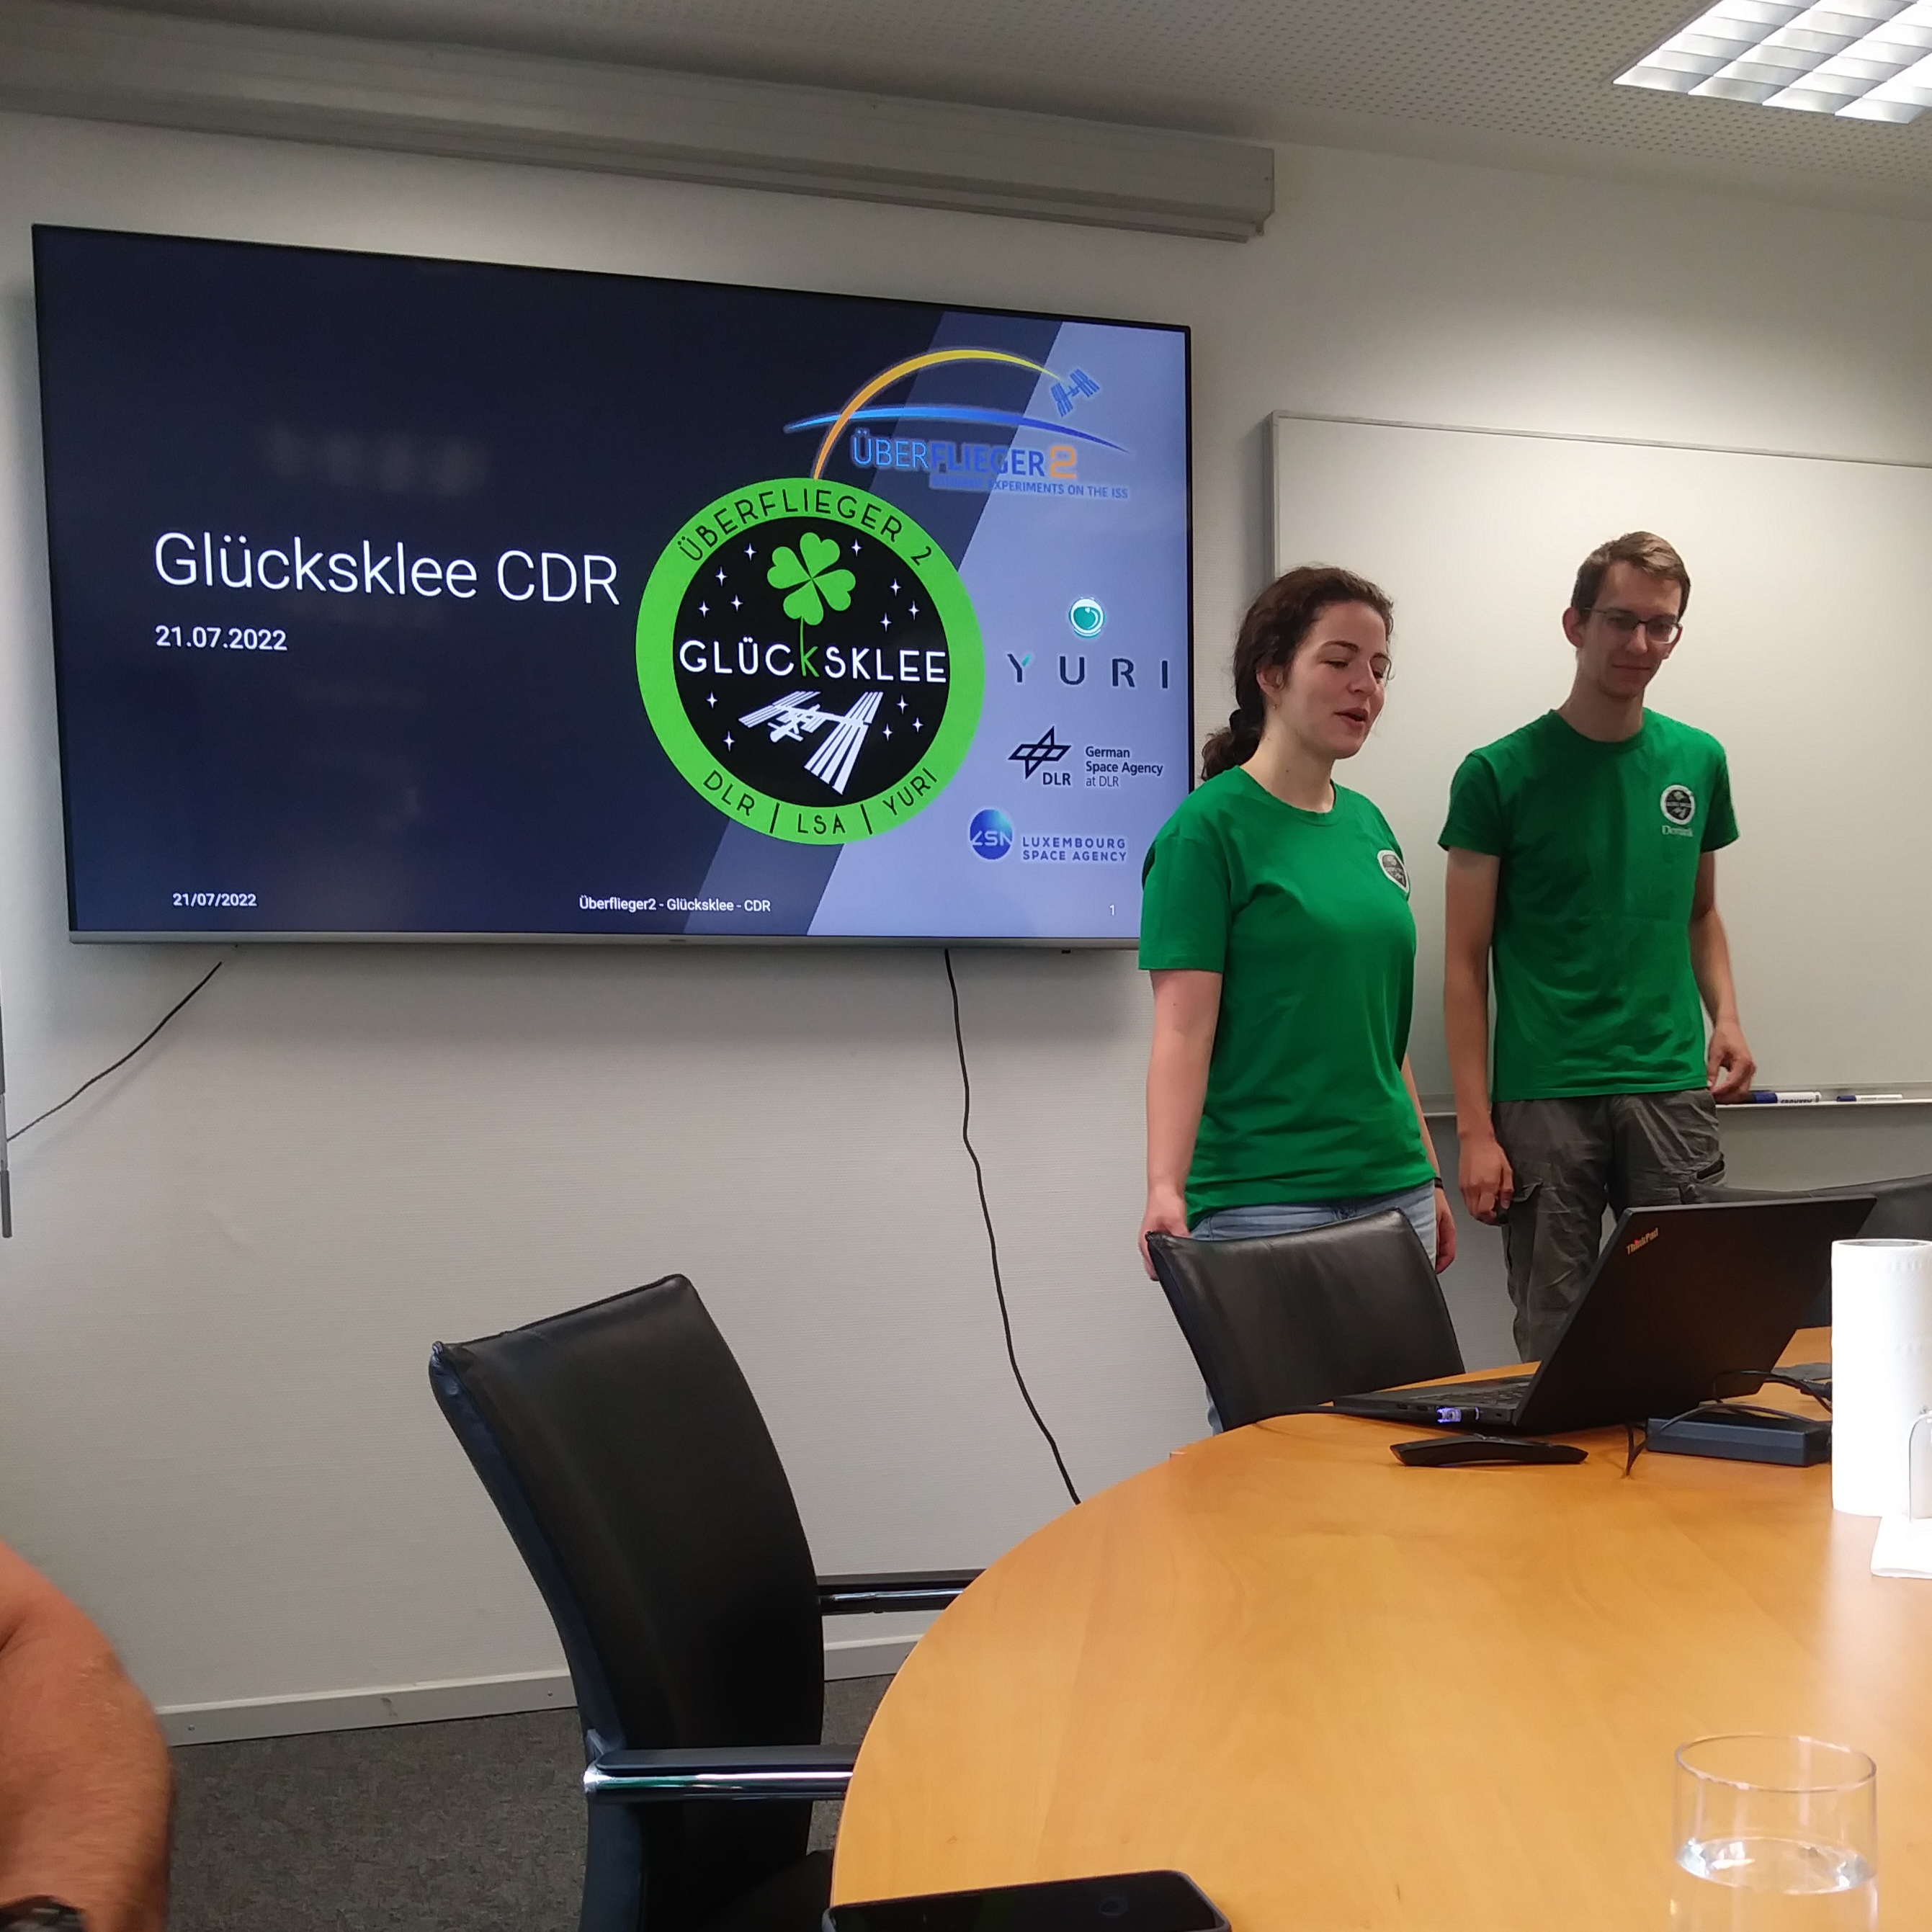
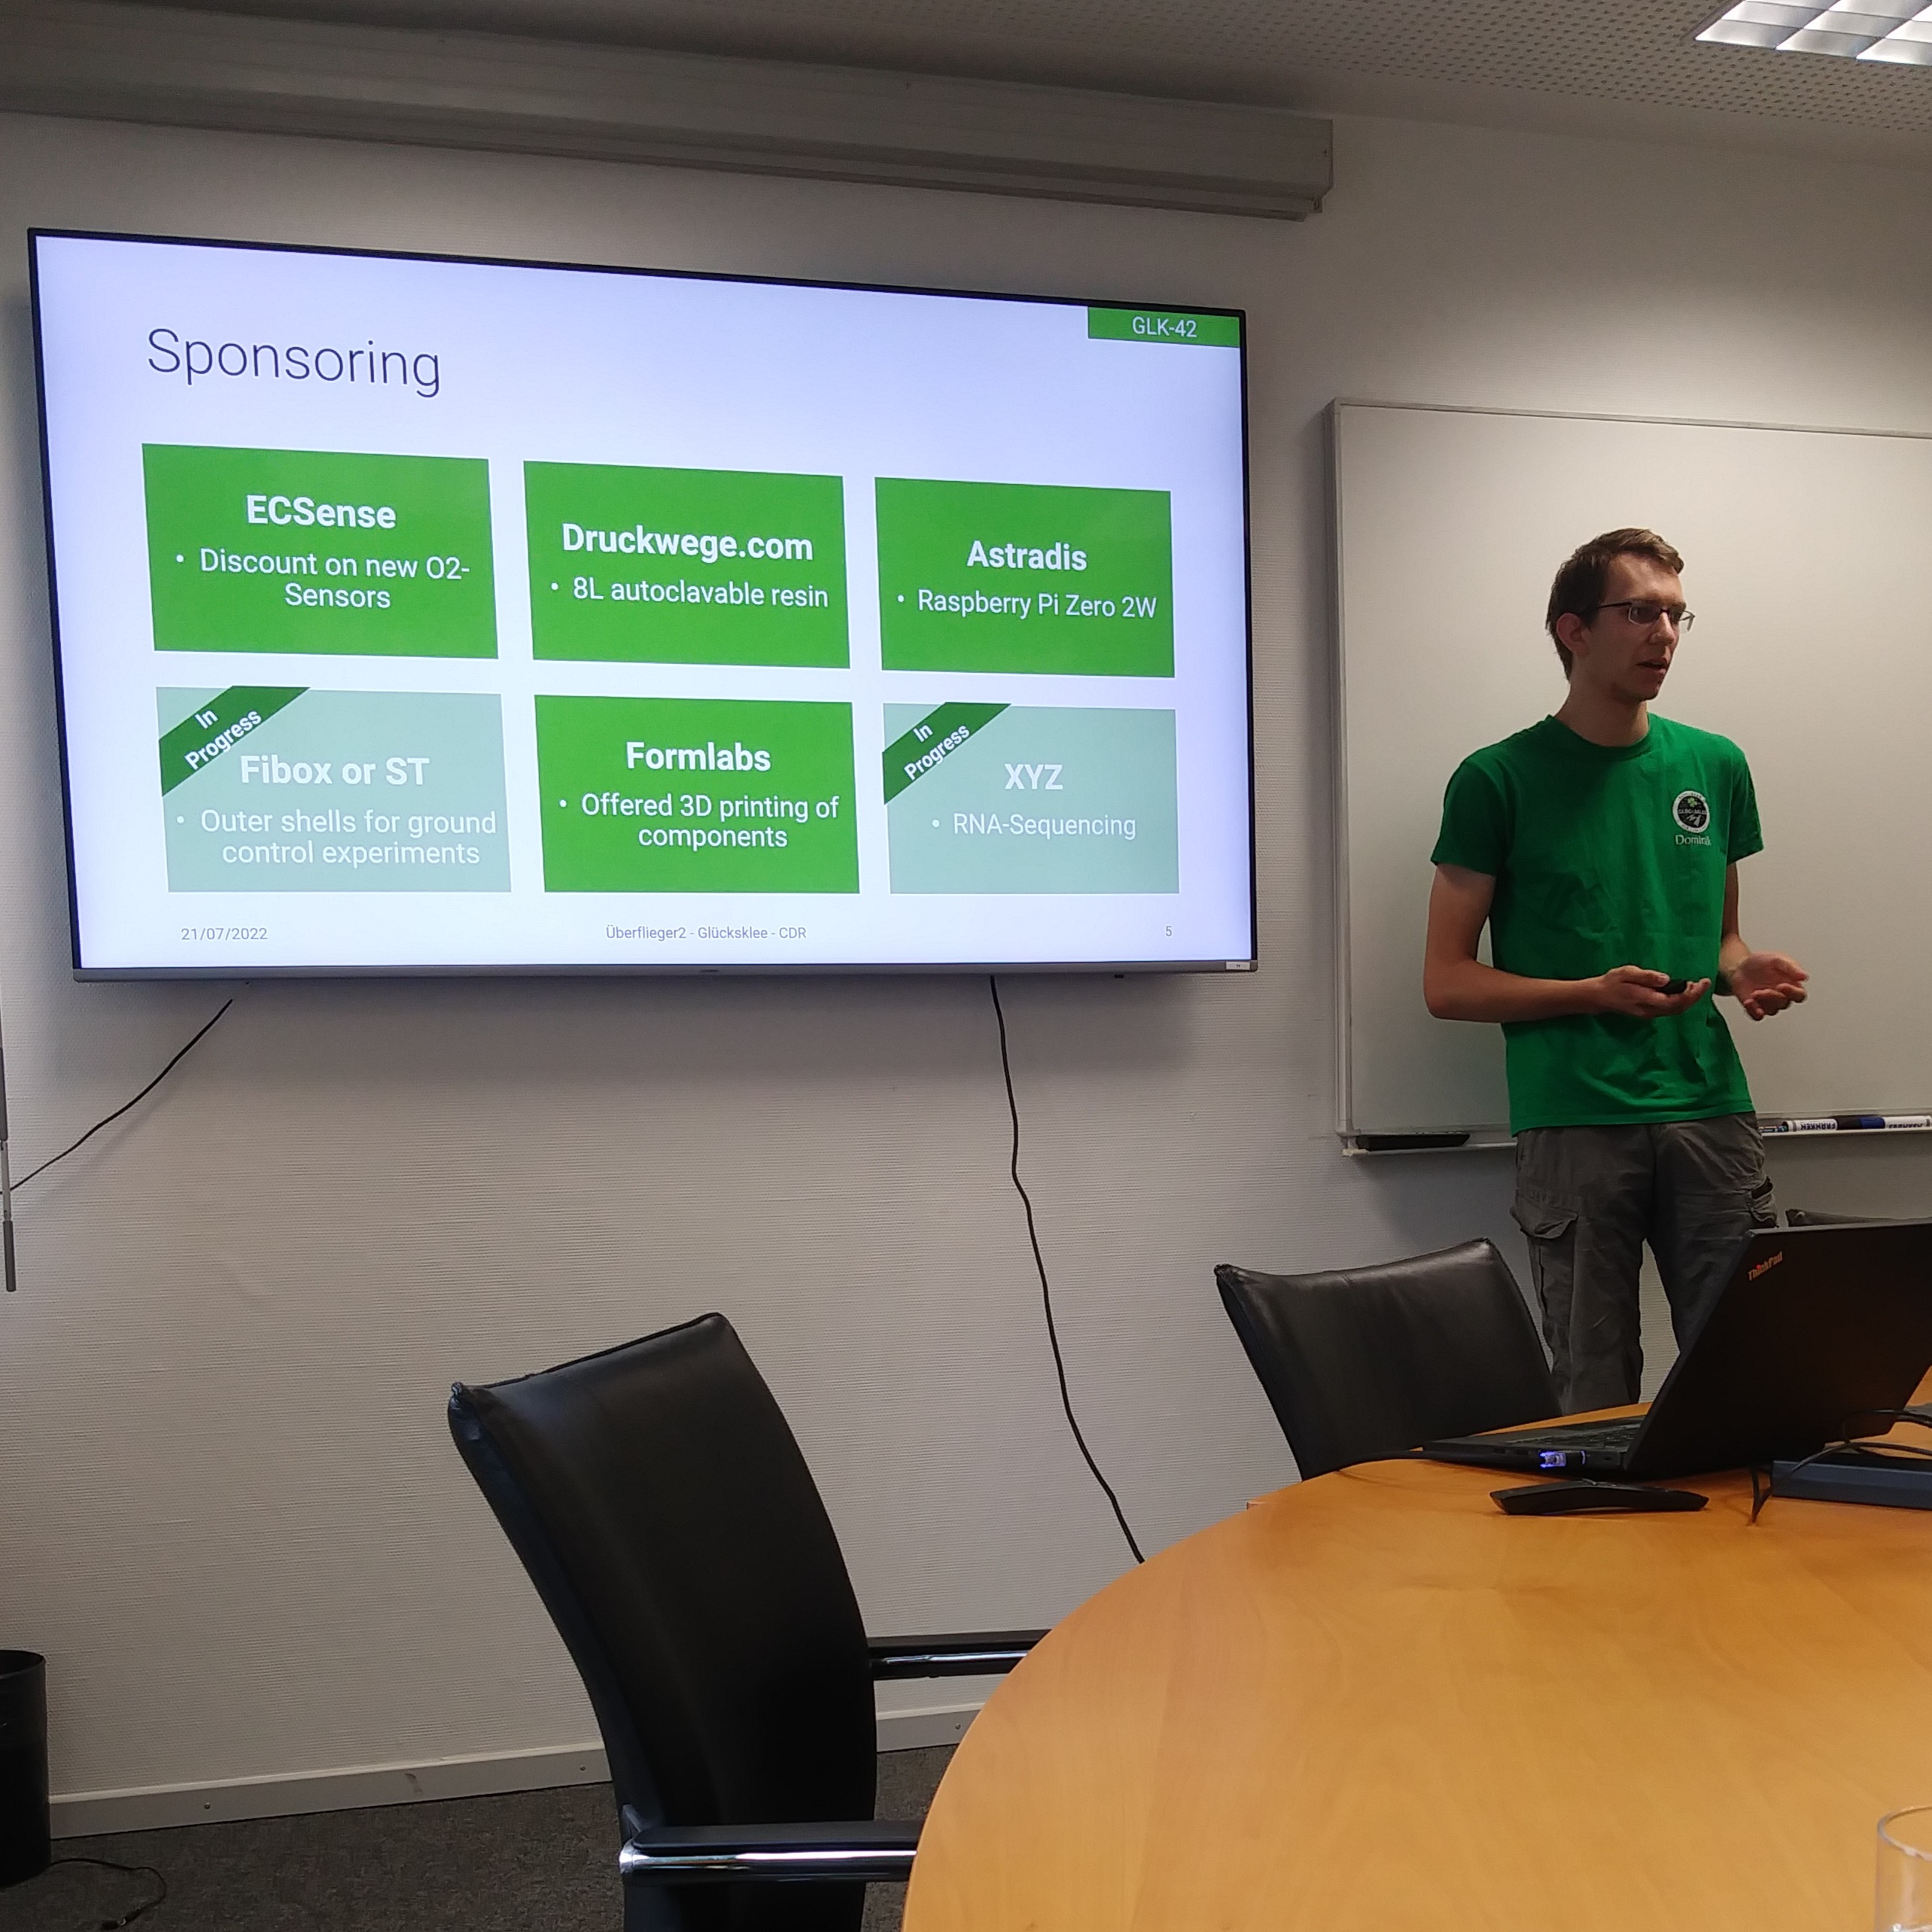
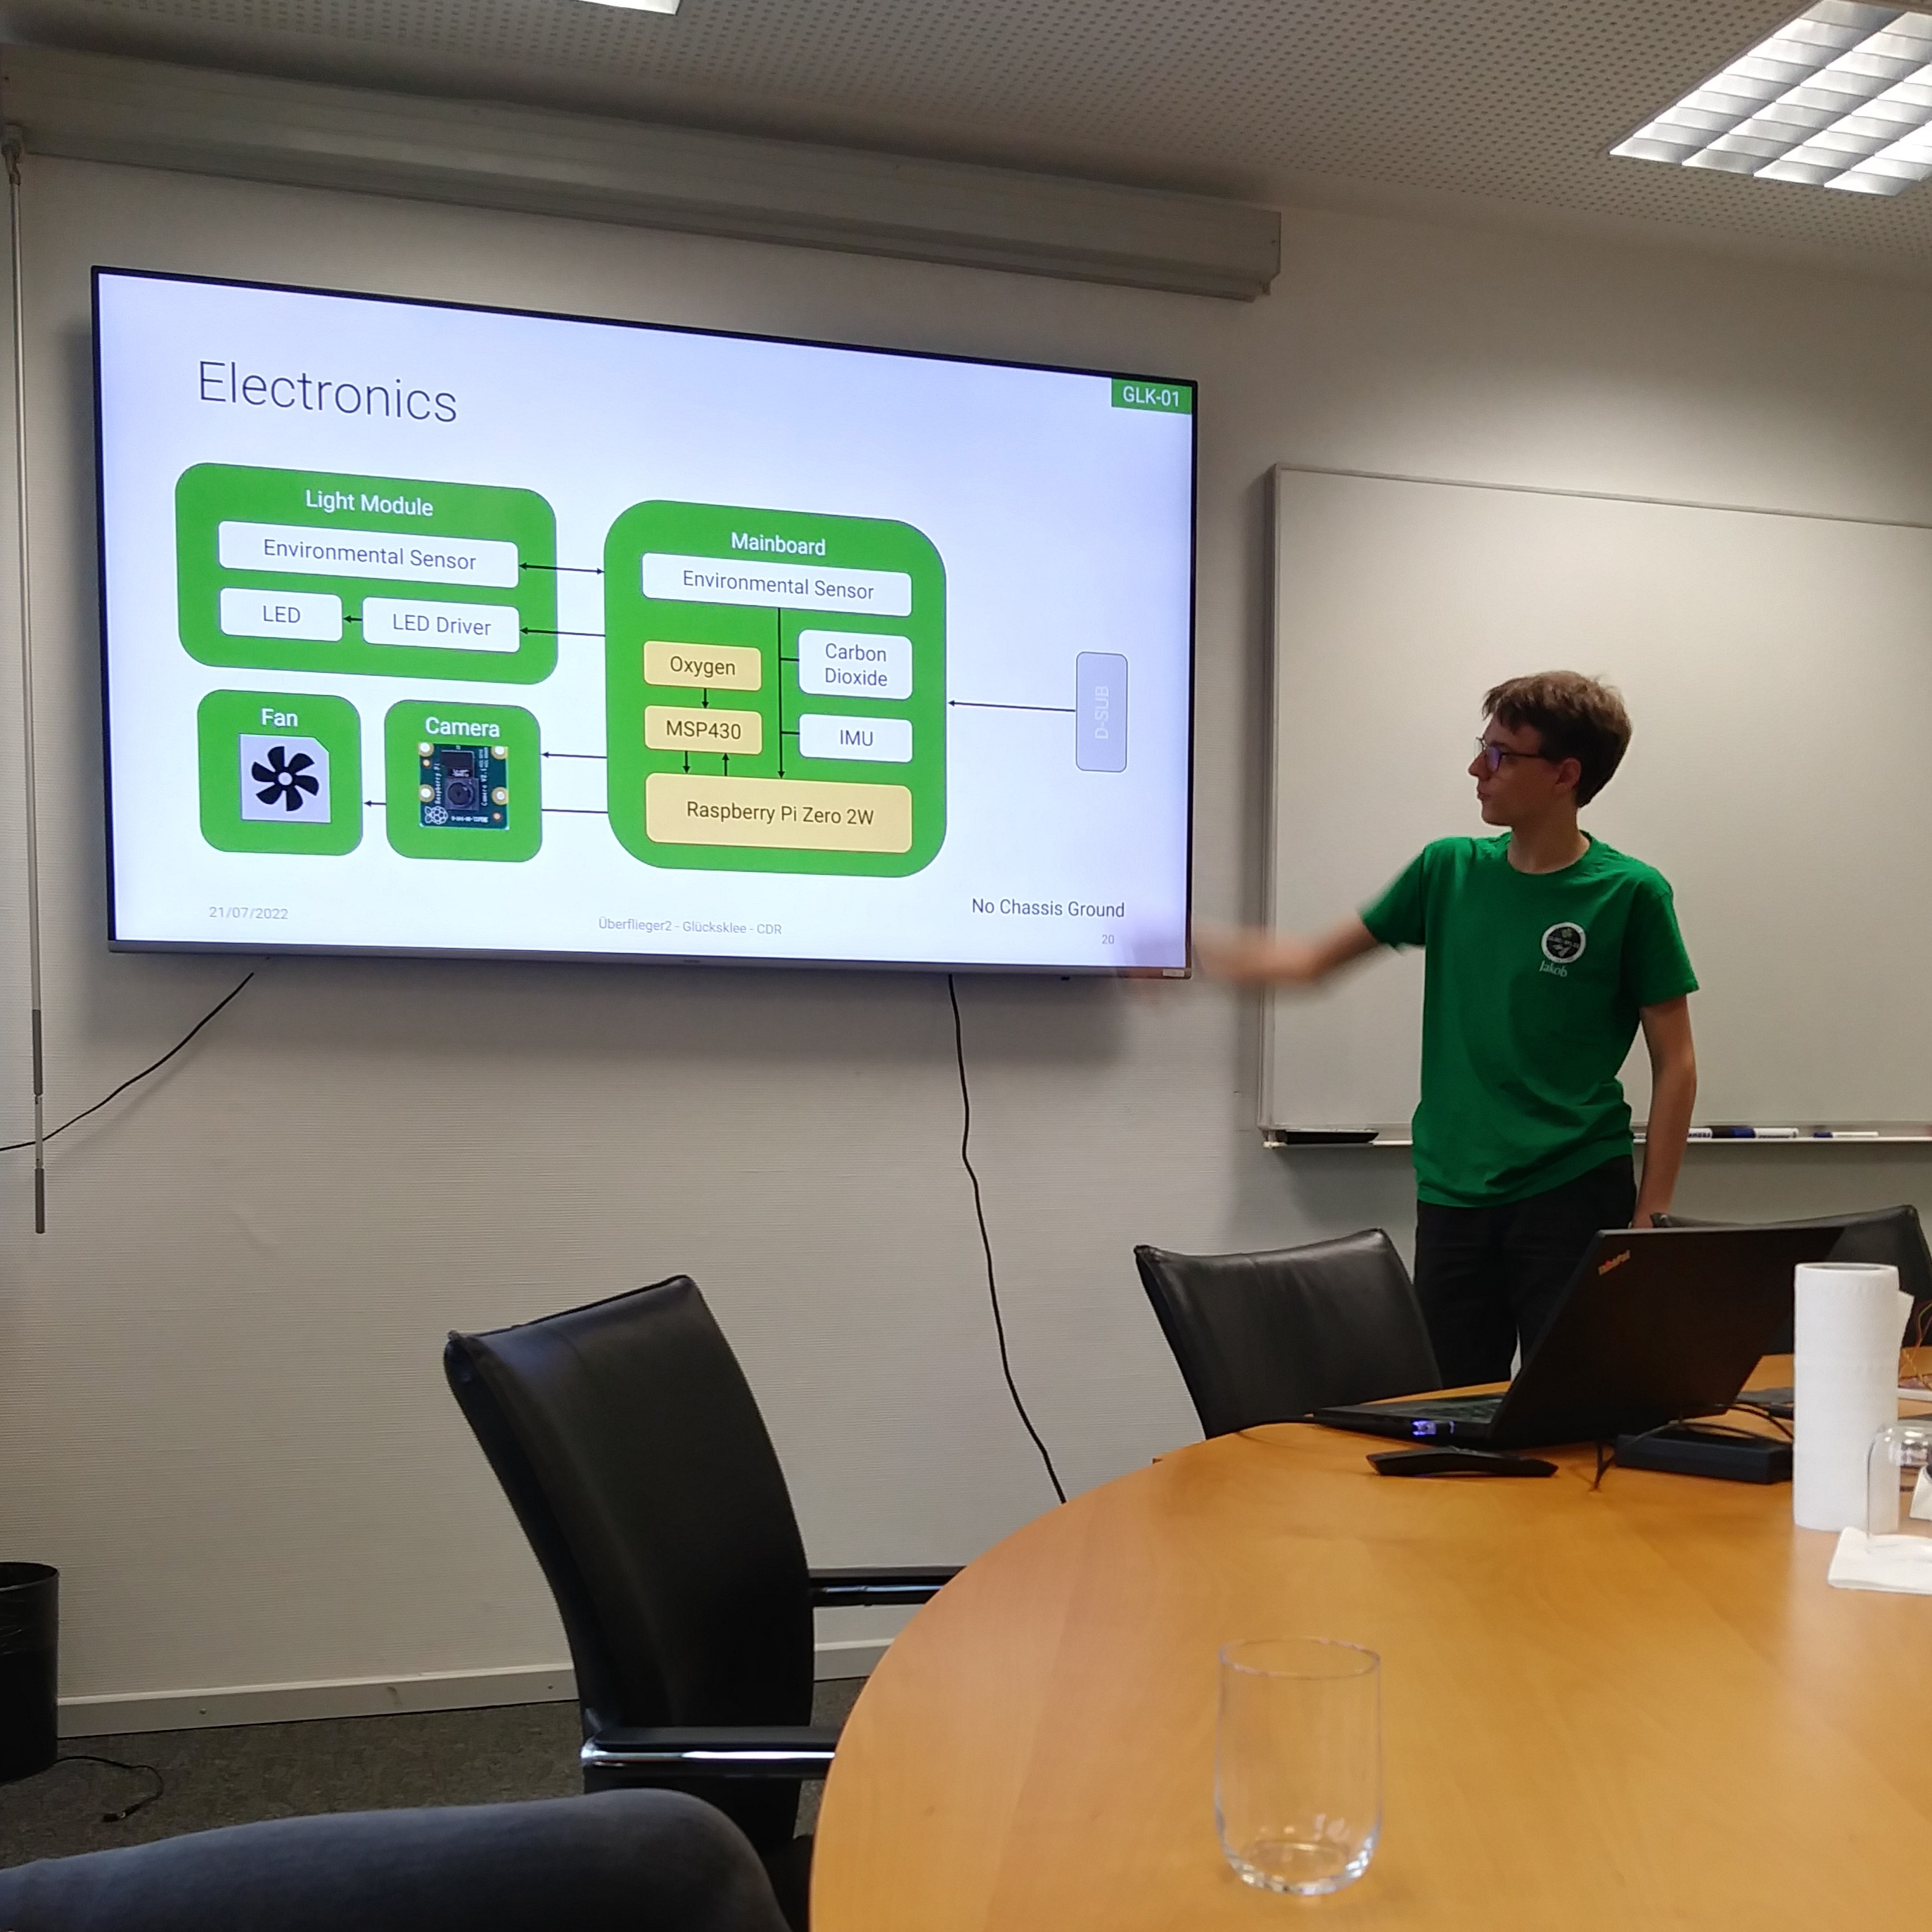
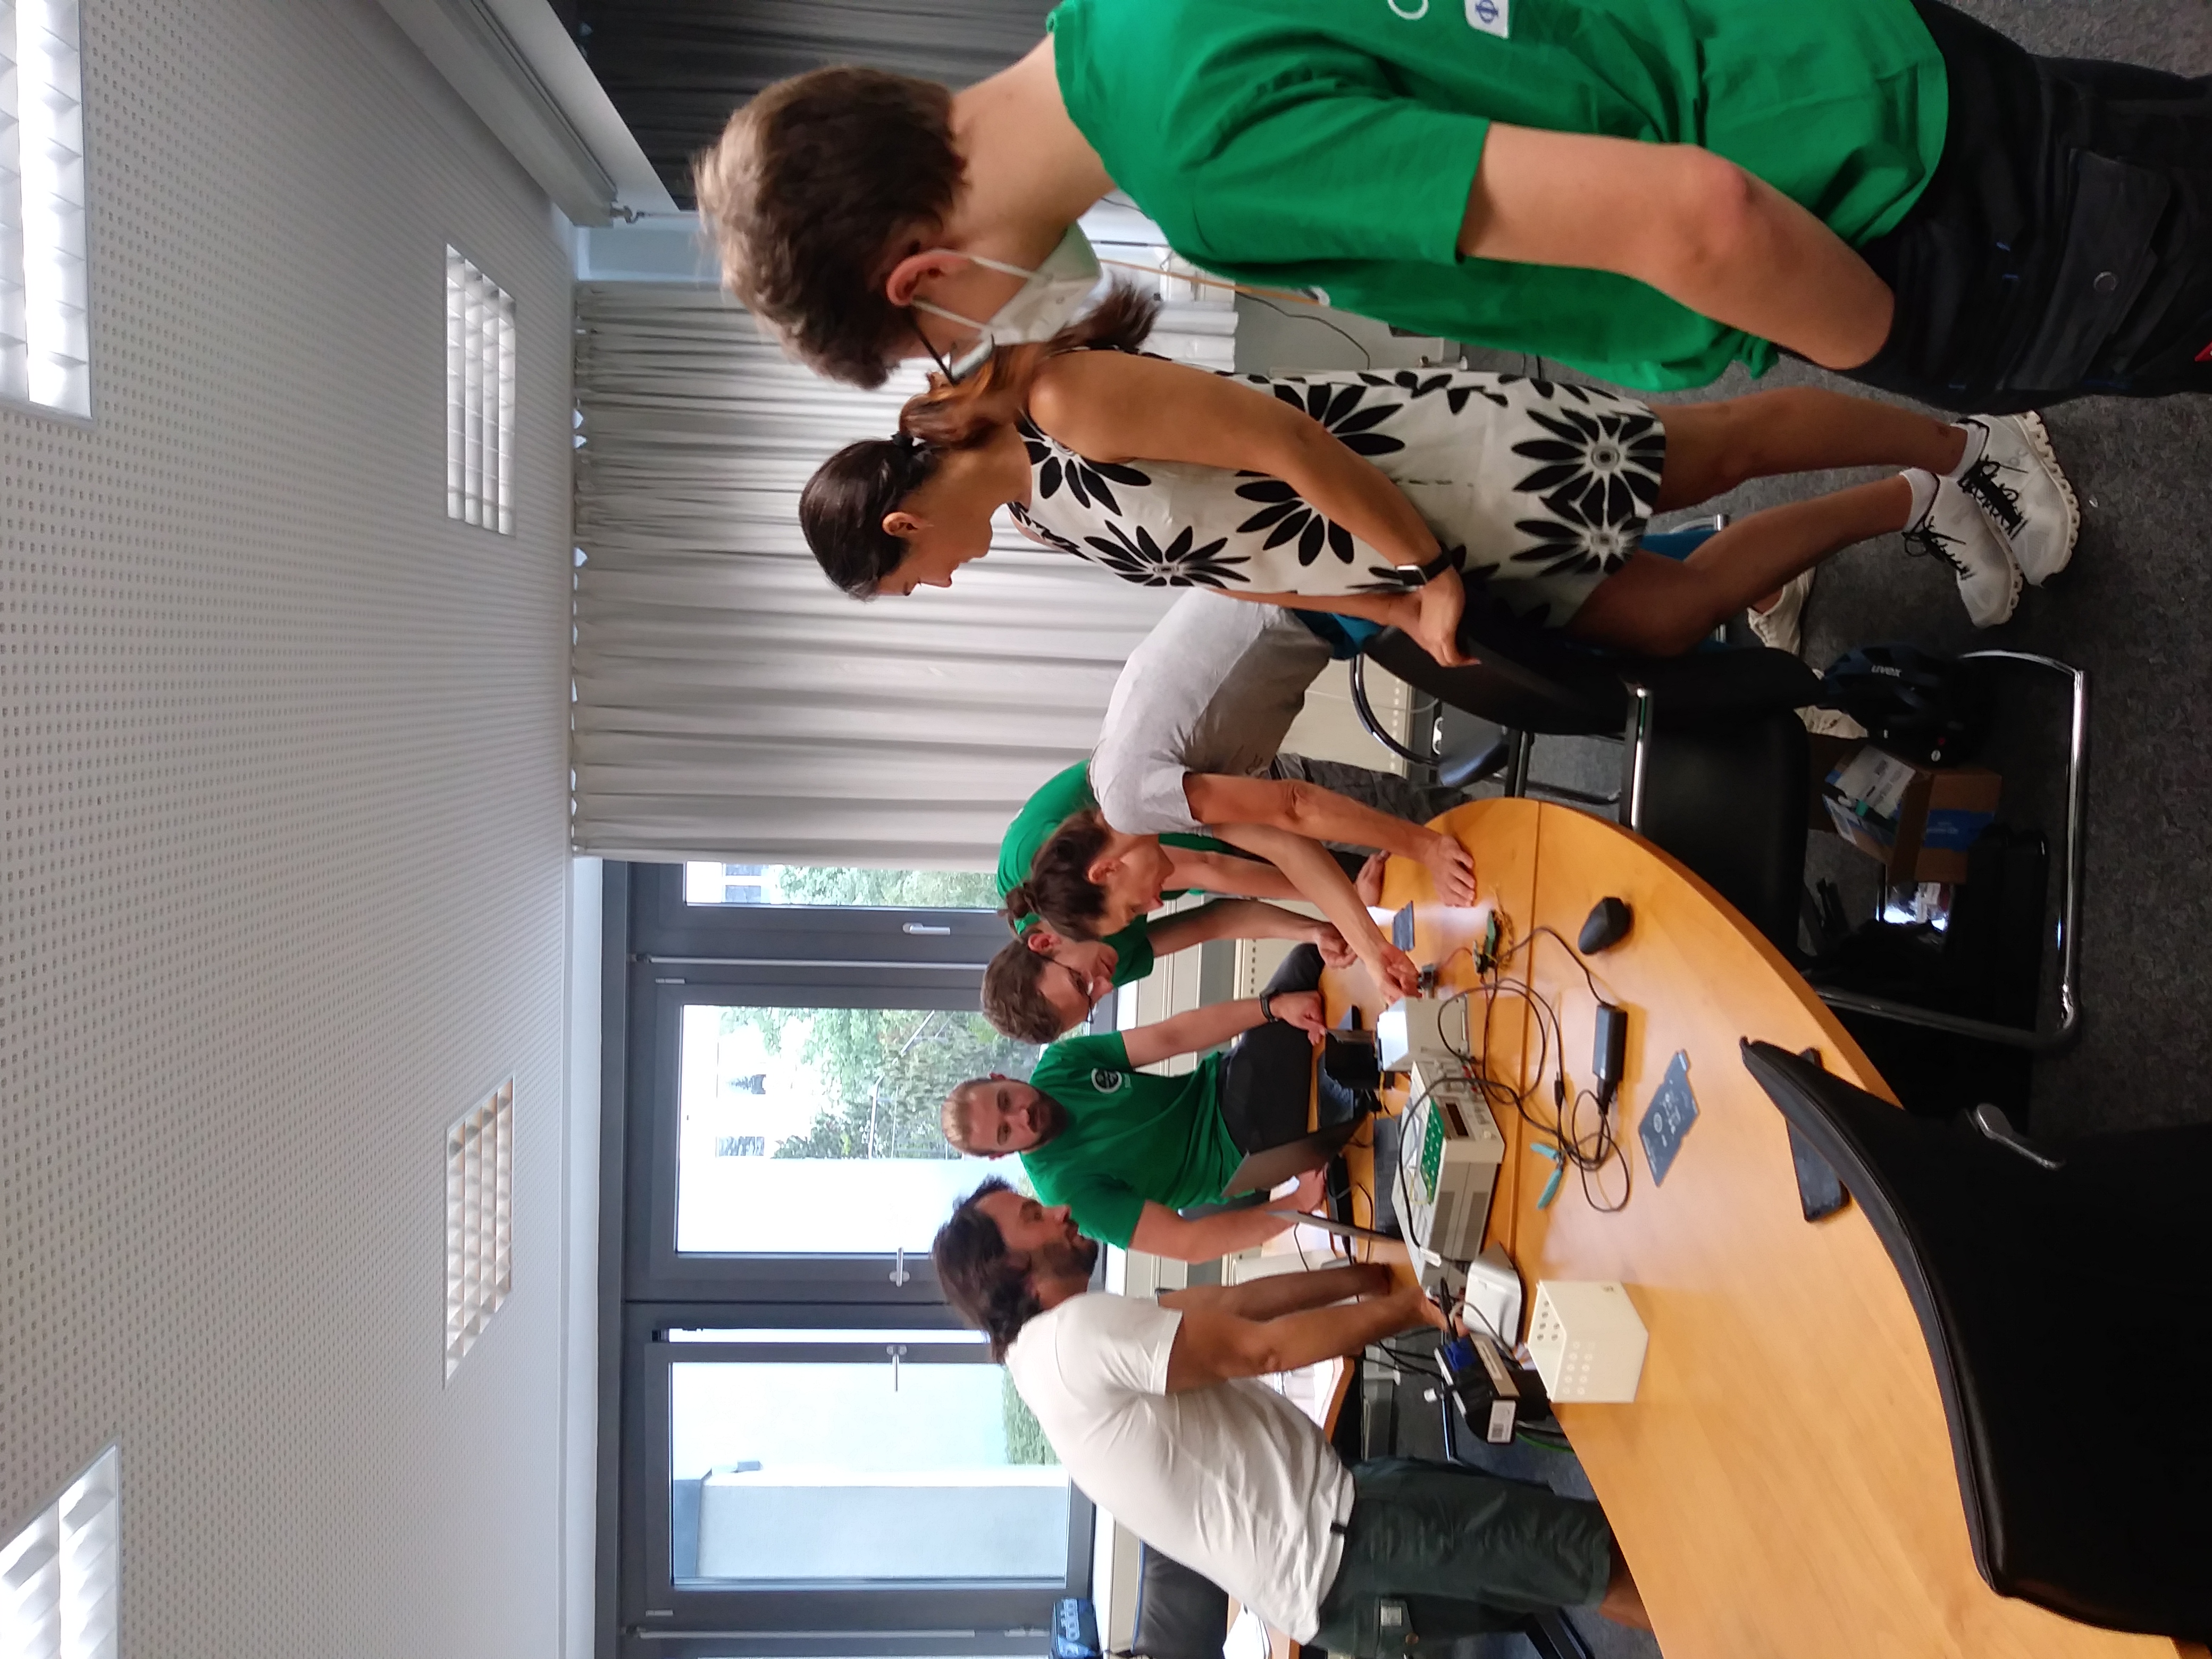
Christian Bruderrek and Maria Birlem from Yuri and Julianna Schmitz from DLR (German Space Agency) visited us in Hannover Appelstraße to asses our SED if it was ready to pass the Critical Design Review (CDR). The SED was successfully presented by Pia, Dominik and Jakob. Today's results of experiment Glücksklee are: The main settings are defined and only a few adaptations have to be done until the Flight Readiness Review (FRR).
So all the work for it was worth it and we will celebrate it this evening!
-
19 July 2022
First Technical Prototype
We just assebled our first technical prototype and checked whether all electrical components are working.
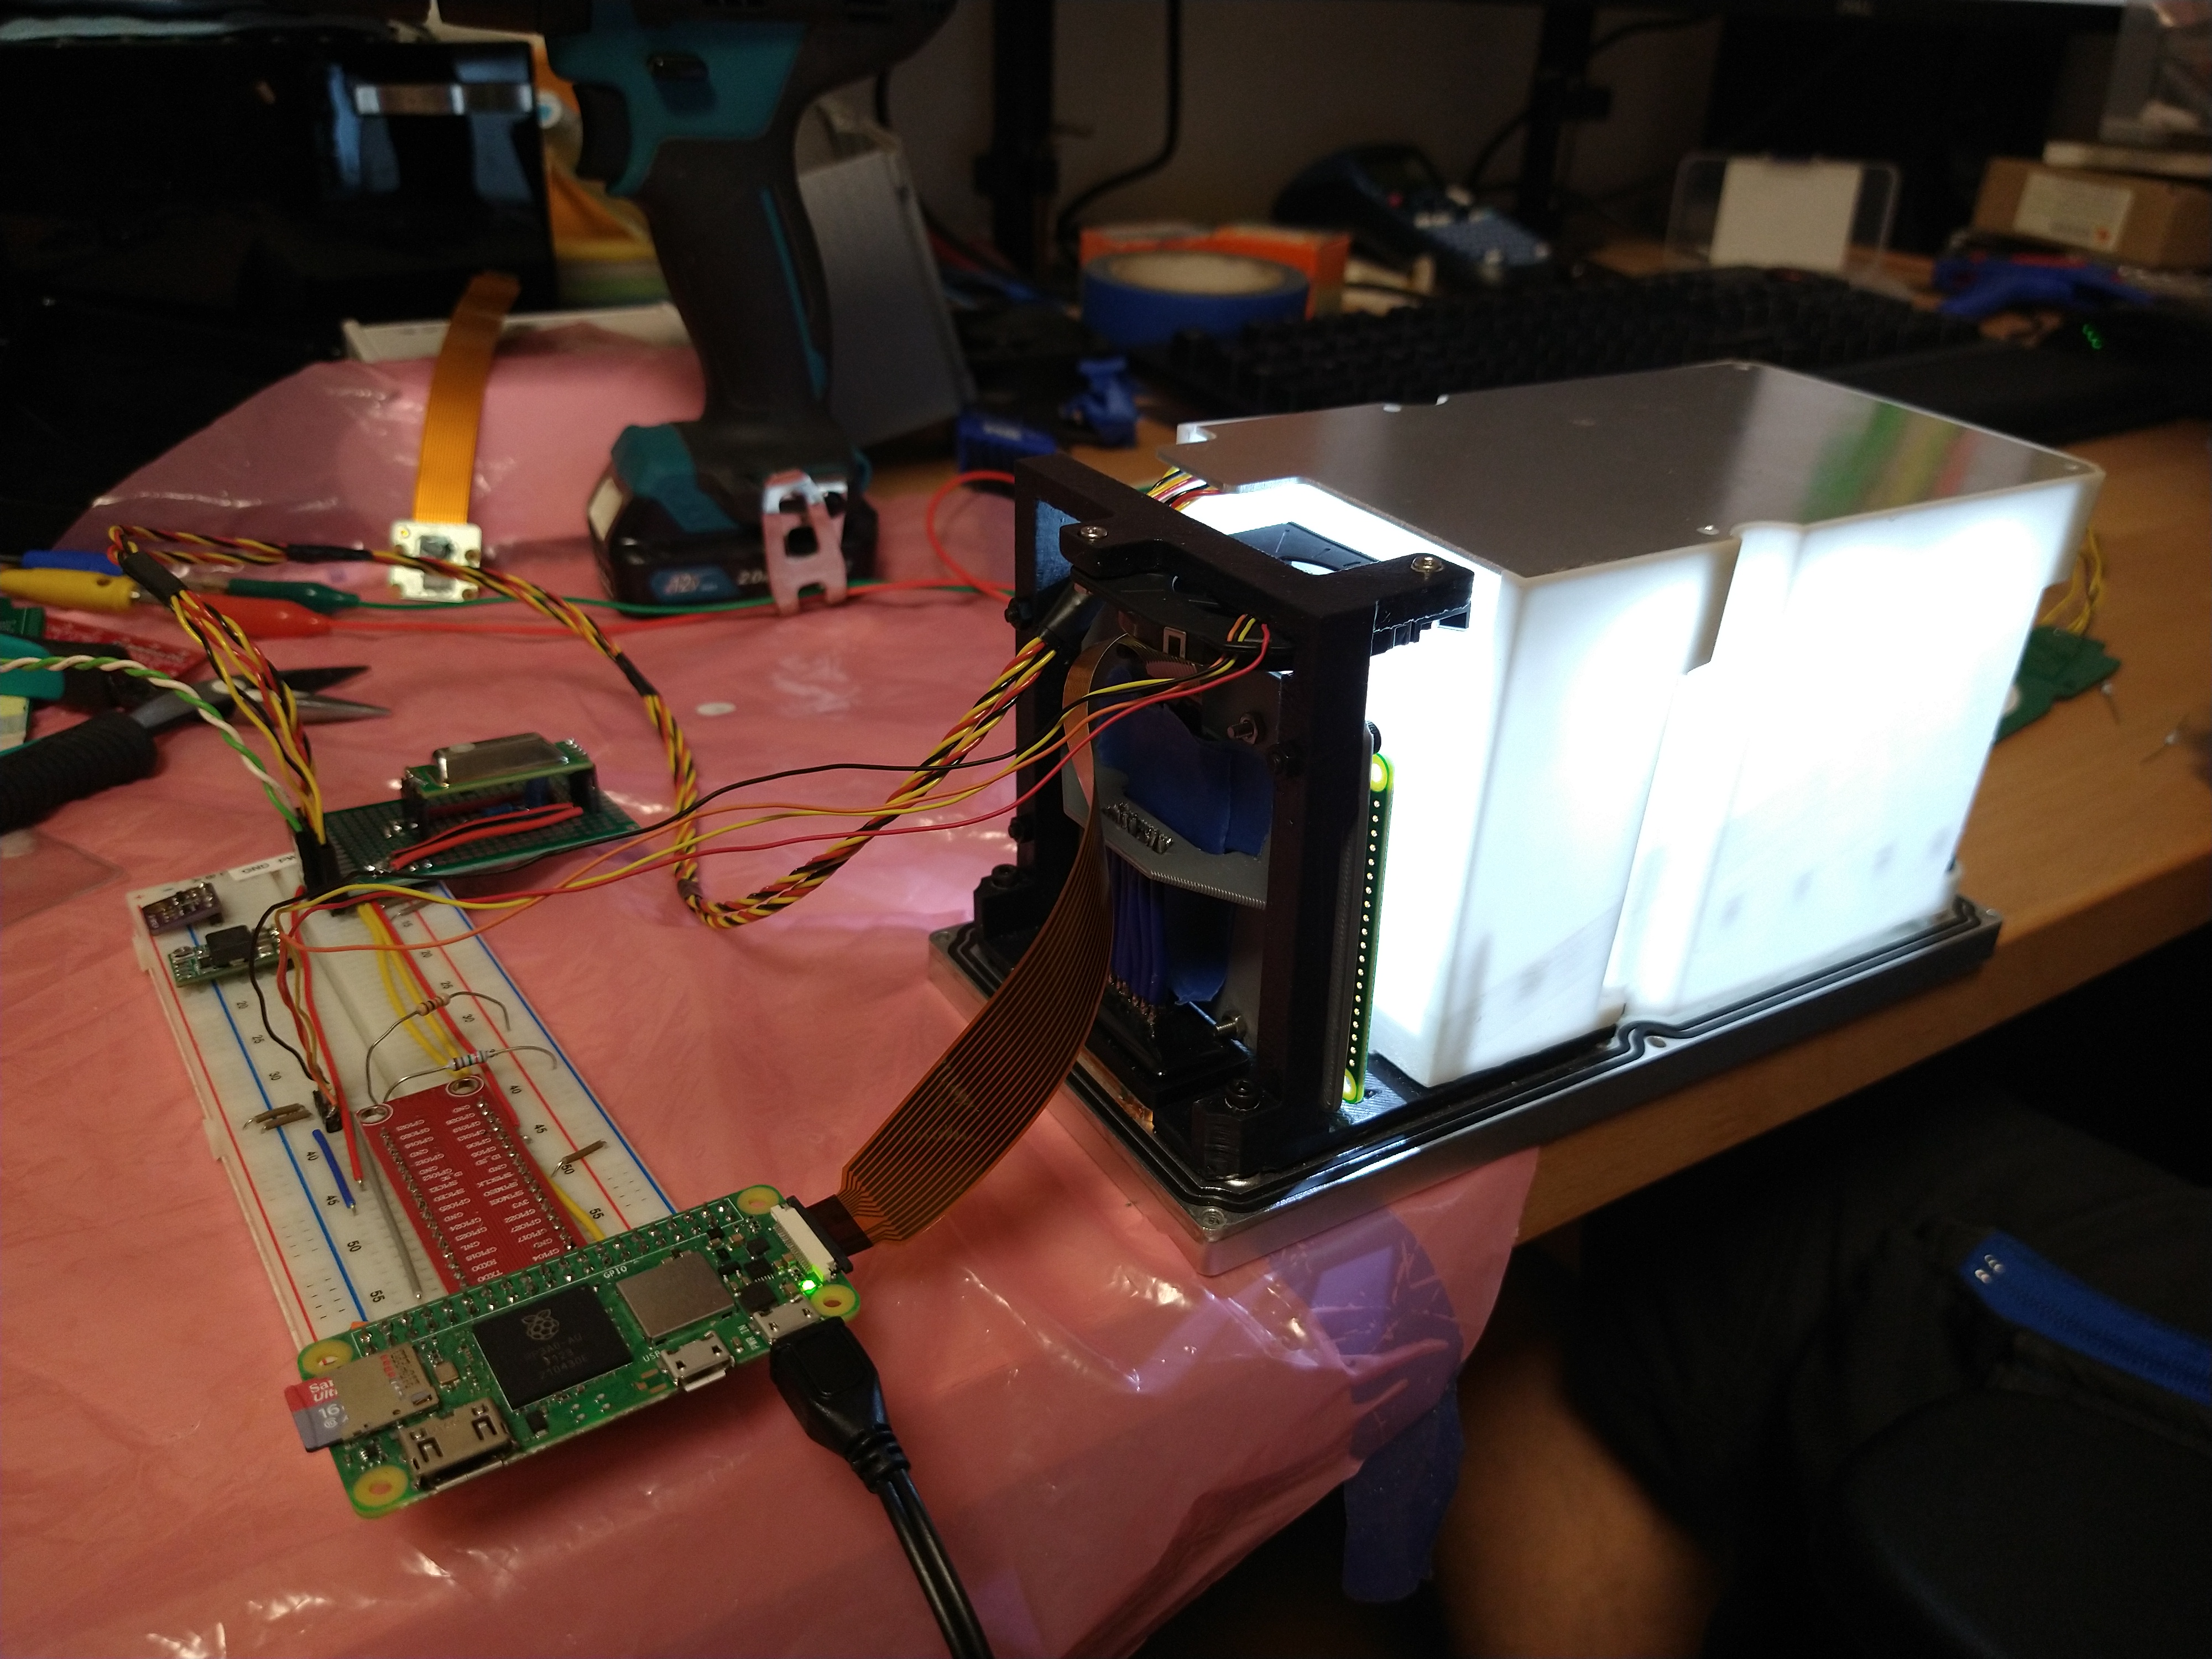
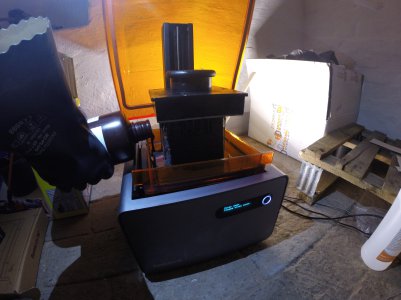
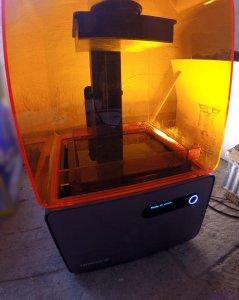
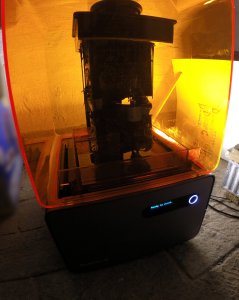
To create a prototype we 3d-printed our components. As this prototype is not designed to hold plants, we used resin which is not autoclavable, but cheaper.
Below there is an animation of the 3D print. Overall this print took 9:45h!
After that we replaced our main-board with a PLA-printed dummy and moved its functionality to a breadboard. We found some minor changes that have to be adjusted in the CAD (e.g. more margins/tolerances, etc.) but overall this
Read further... -
07 July 2022
Finalizing the electrical design
After testing the different sensors, the Raspberry Pi connection via USB, the Light Module and more we are finishing the electrical design... Atleast for now ;)
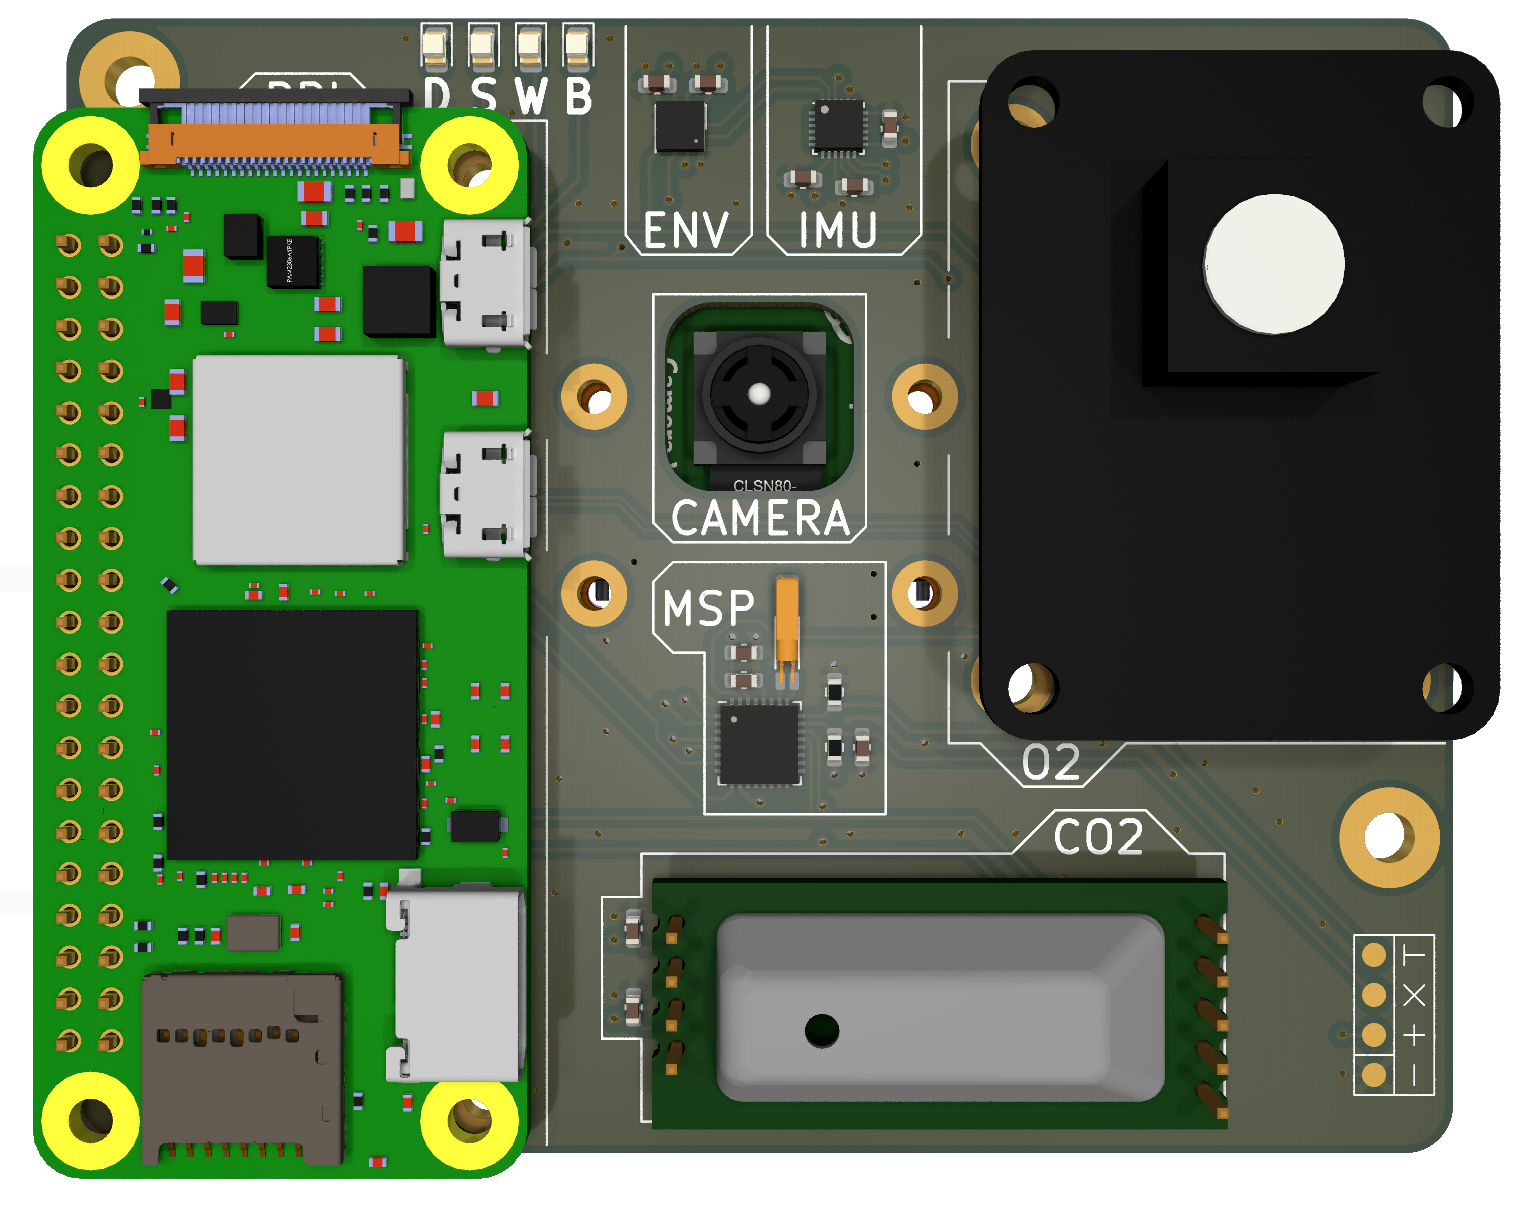
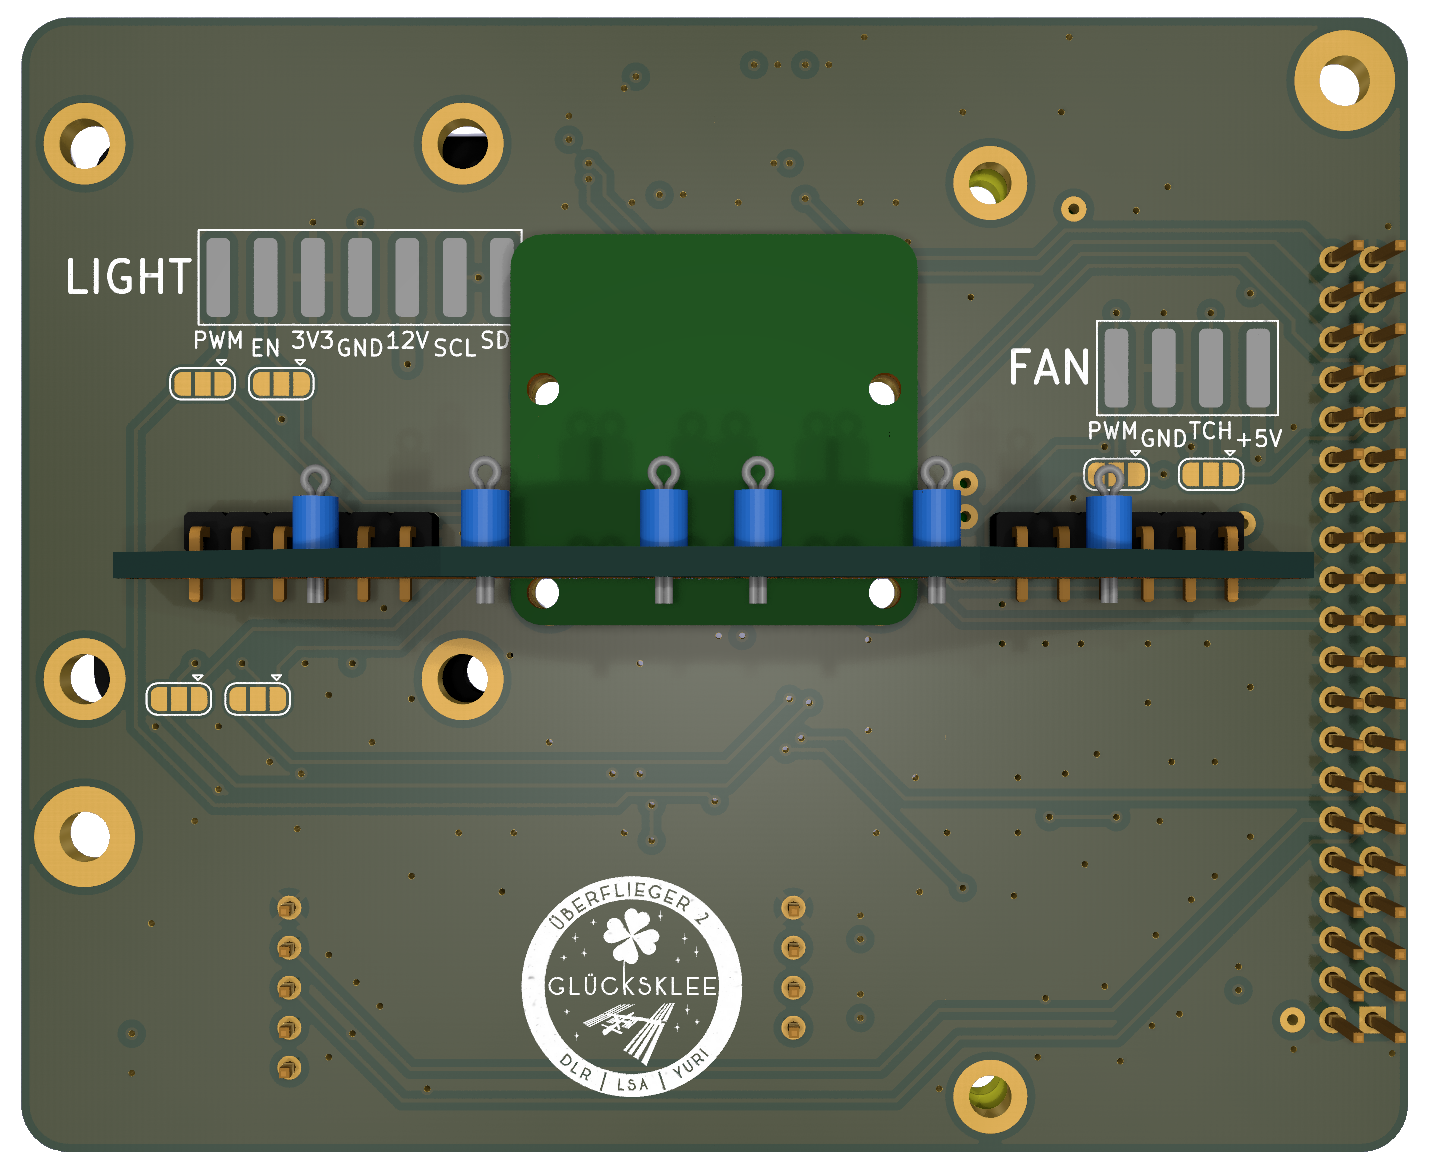
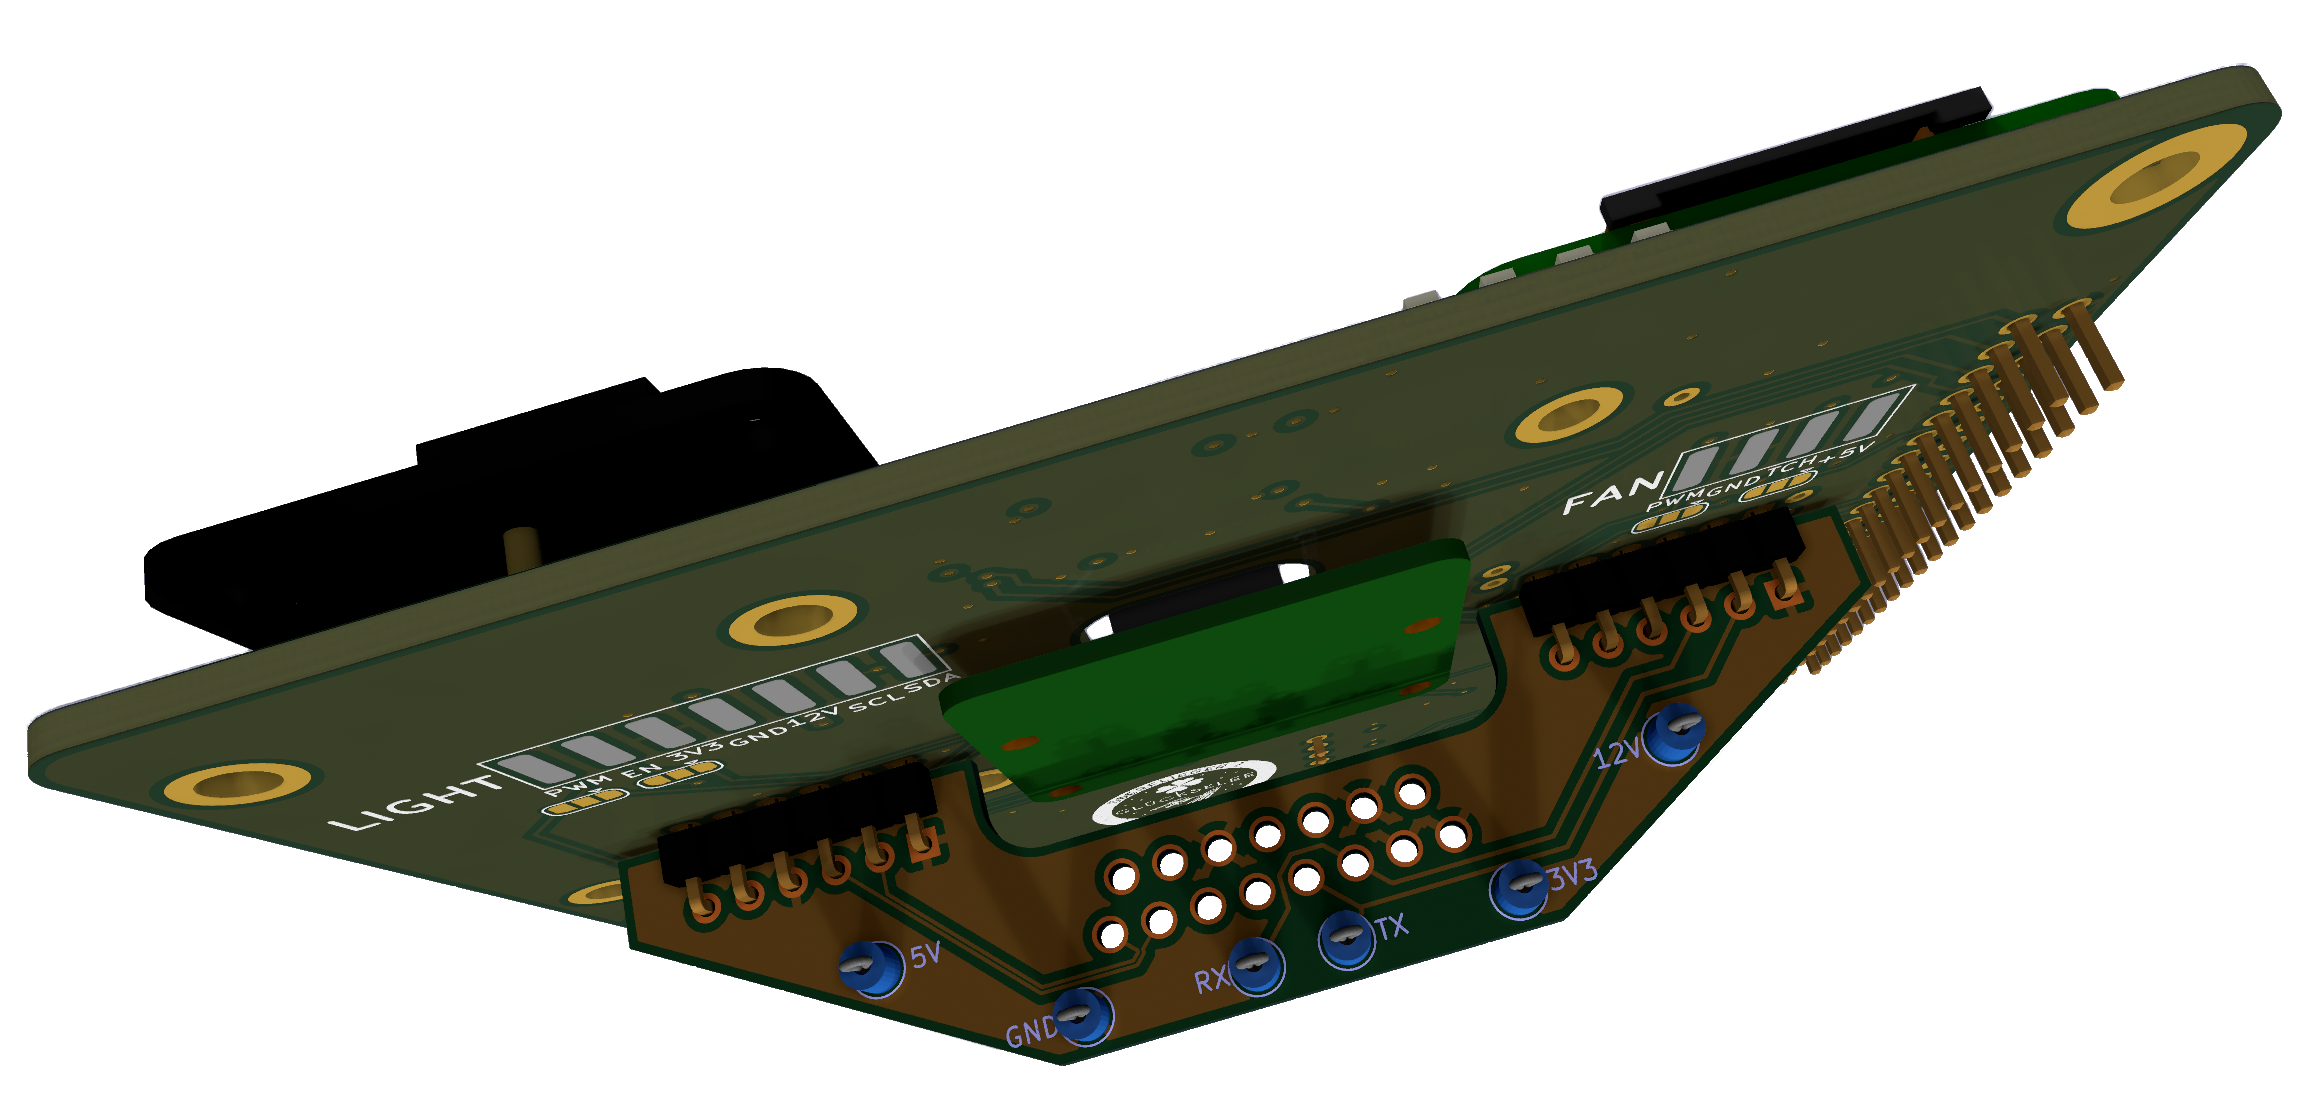
The first Mainboard prototype has shown, that even with few components the routing of the wires can be pretty annoying. Thats why we switch to a four-layer PCB design. The front contains most of the components: The Raspberry Pi Zweo 2W, a CO2 and a O2 sensor, a environmental sensor that can measure humidity, pressure and temperature and an additional mixed-signal processor (MSP), a MSP430 from Texas Instruments. The camera is placed behind the
Read further... -
04 July 2022
Second light prototype
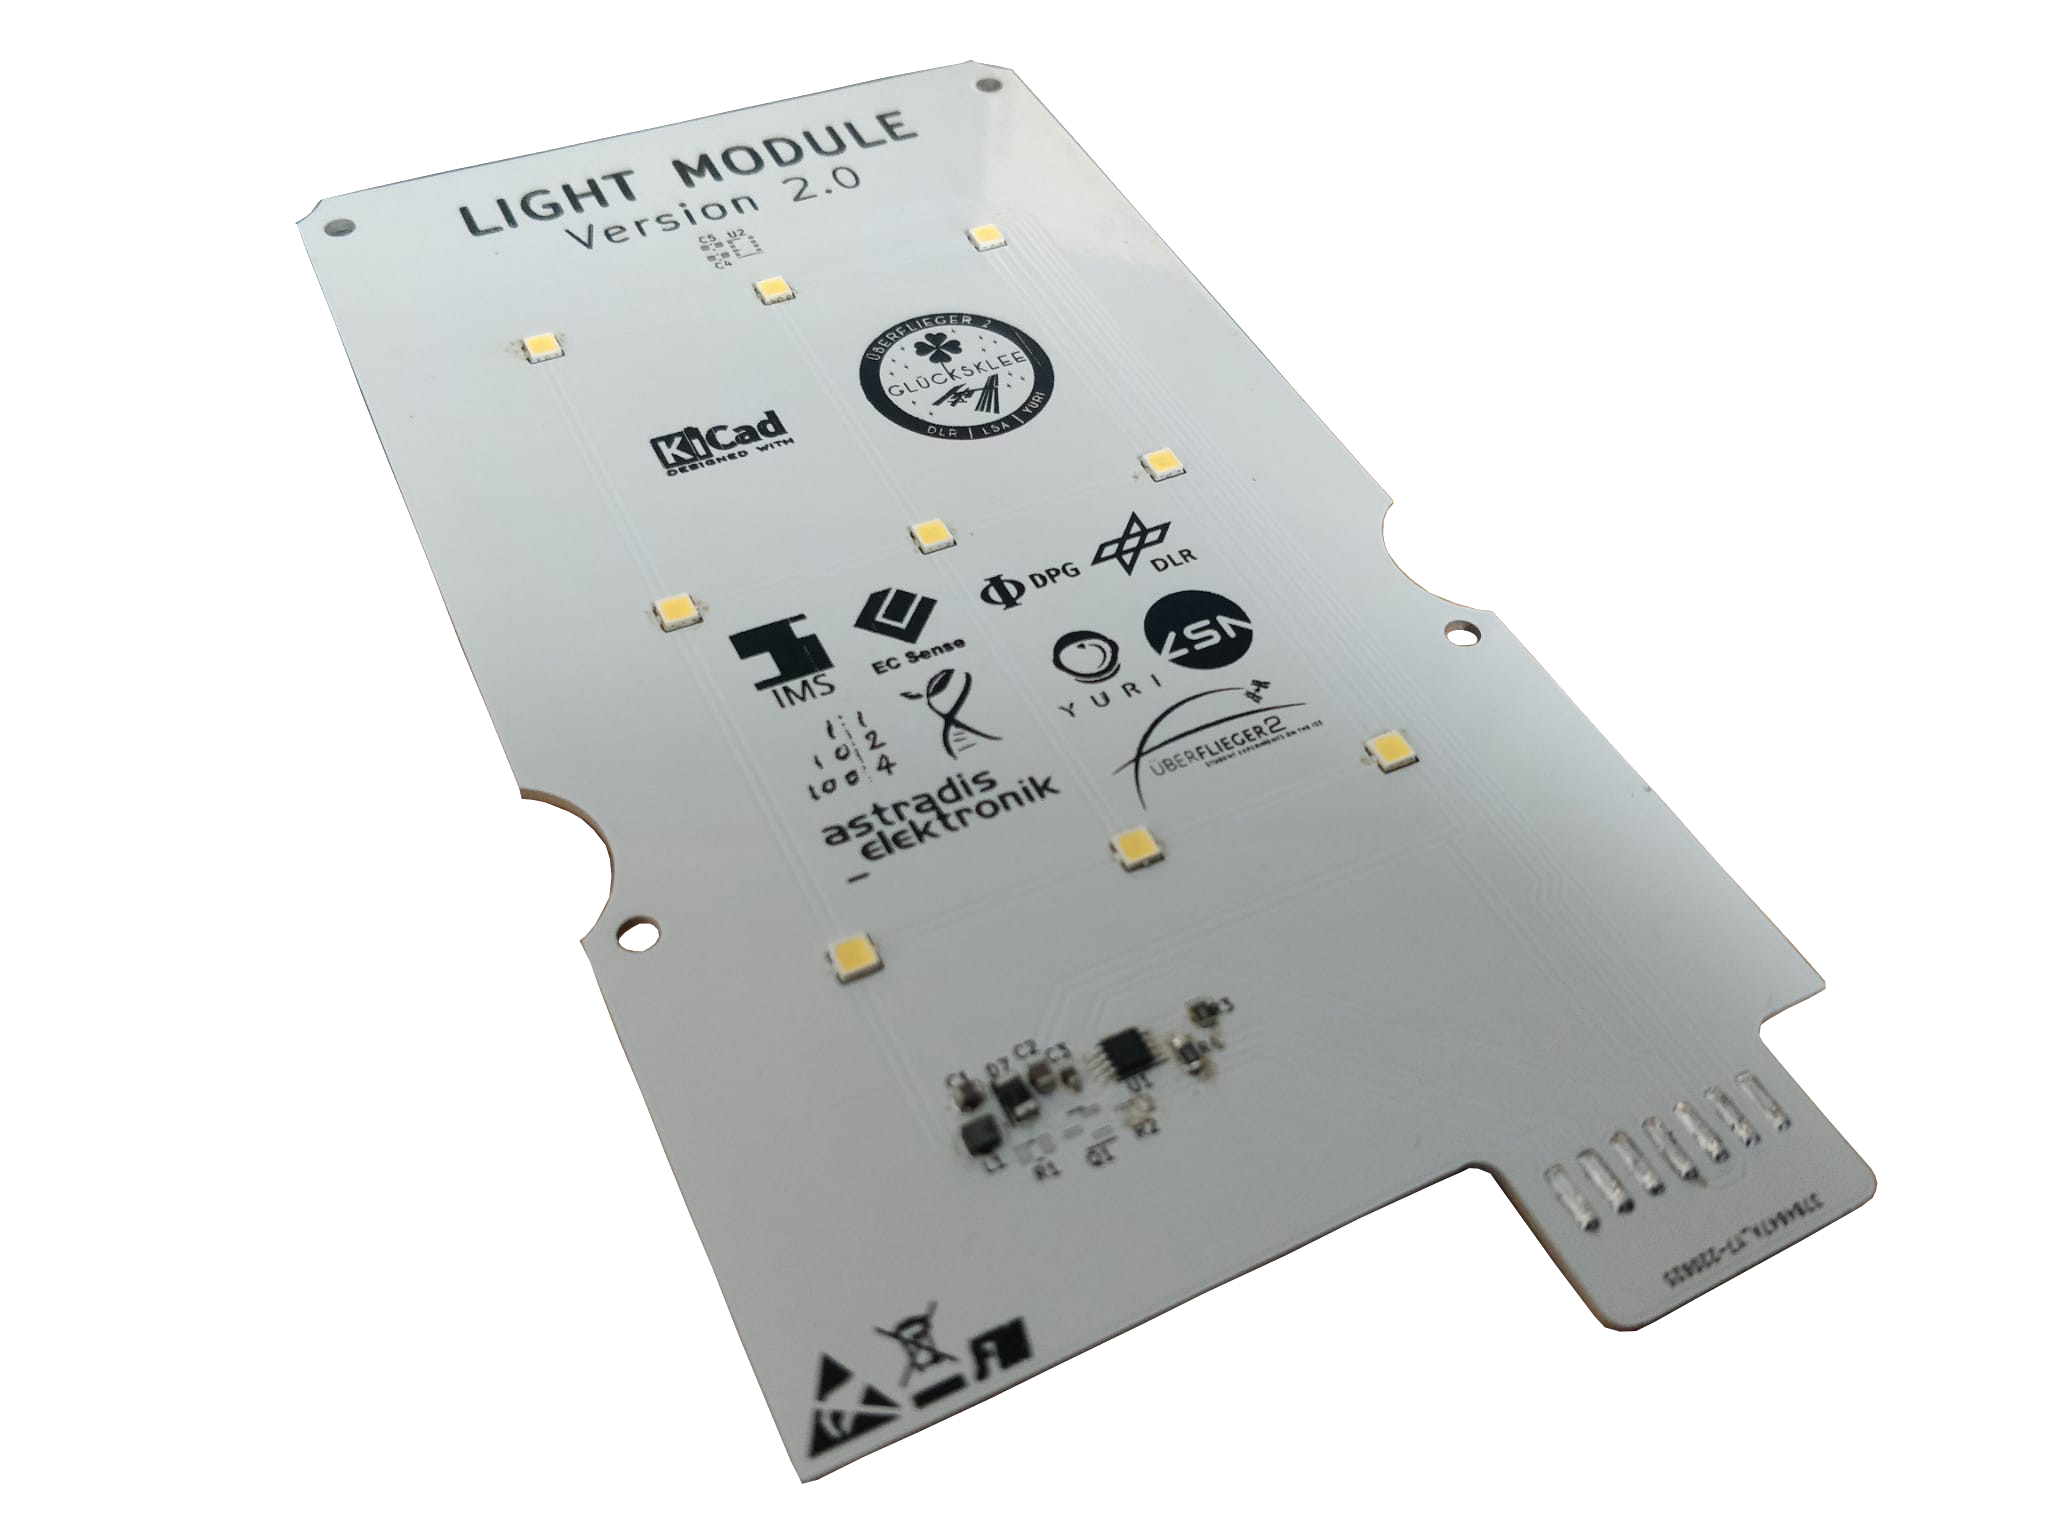
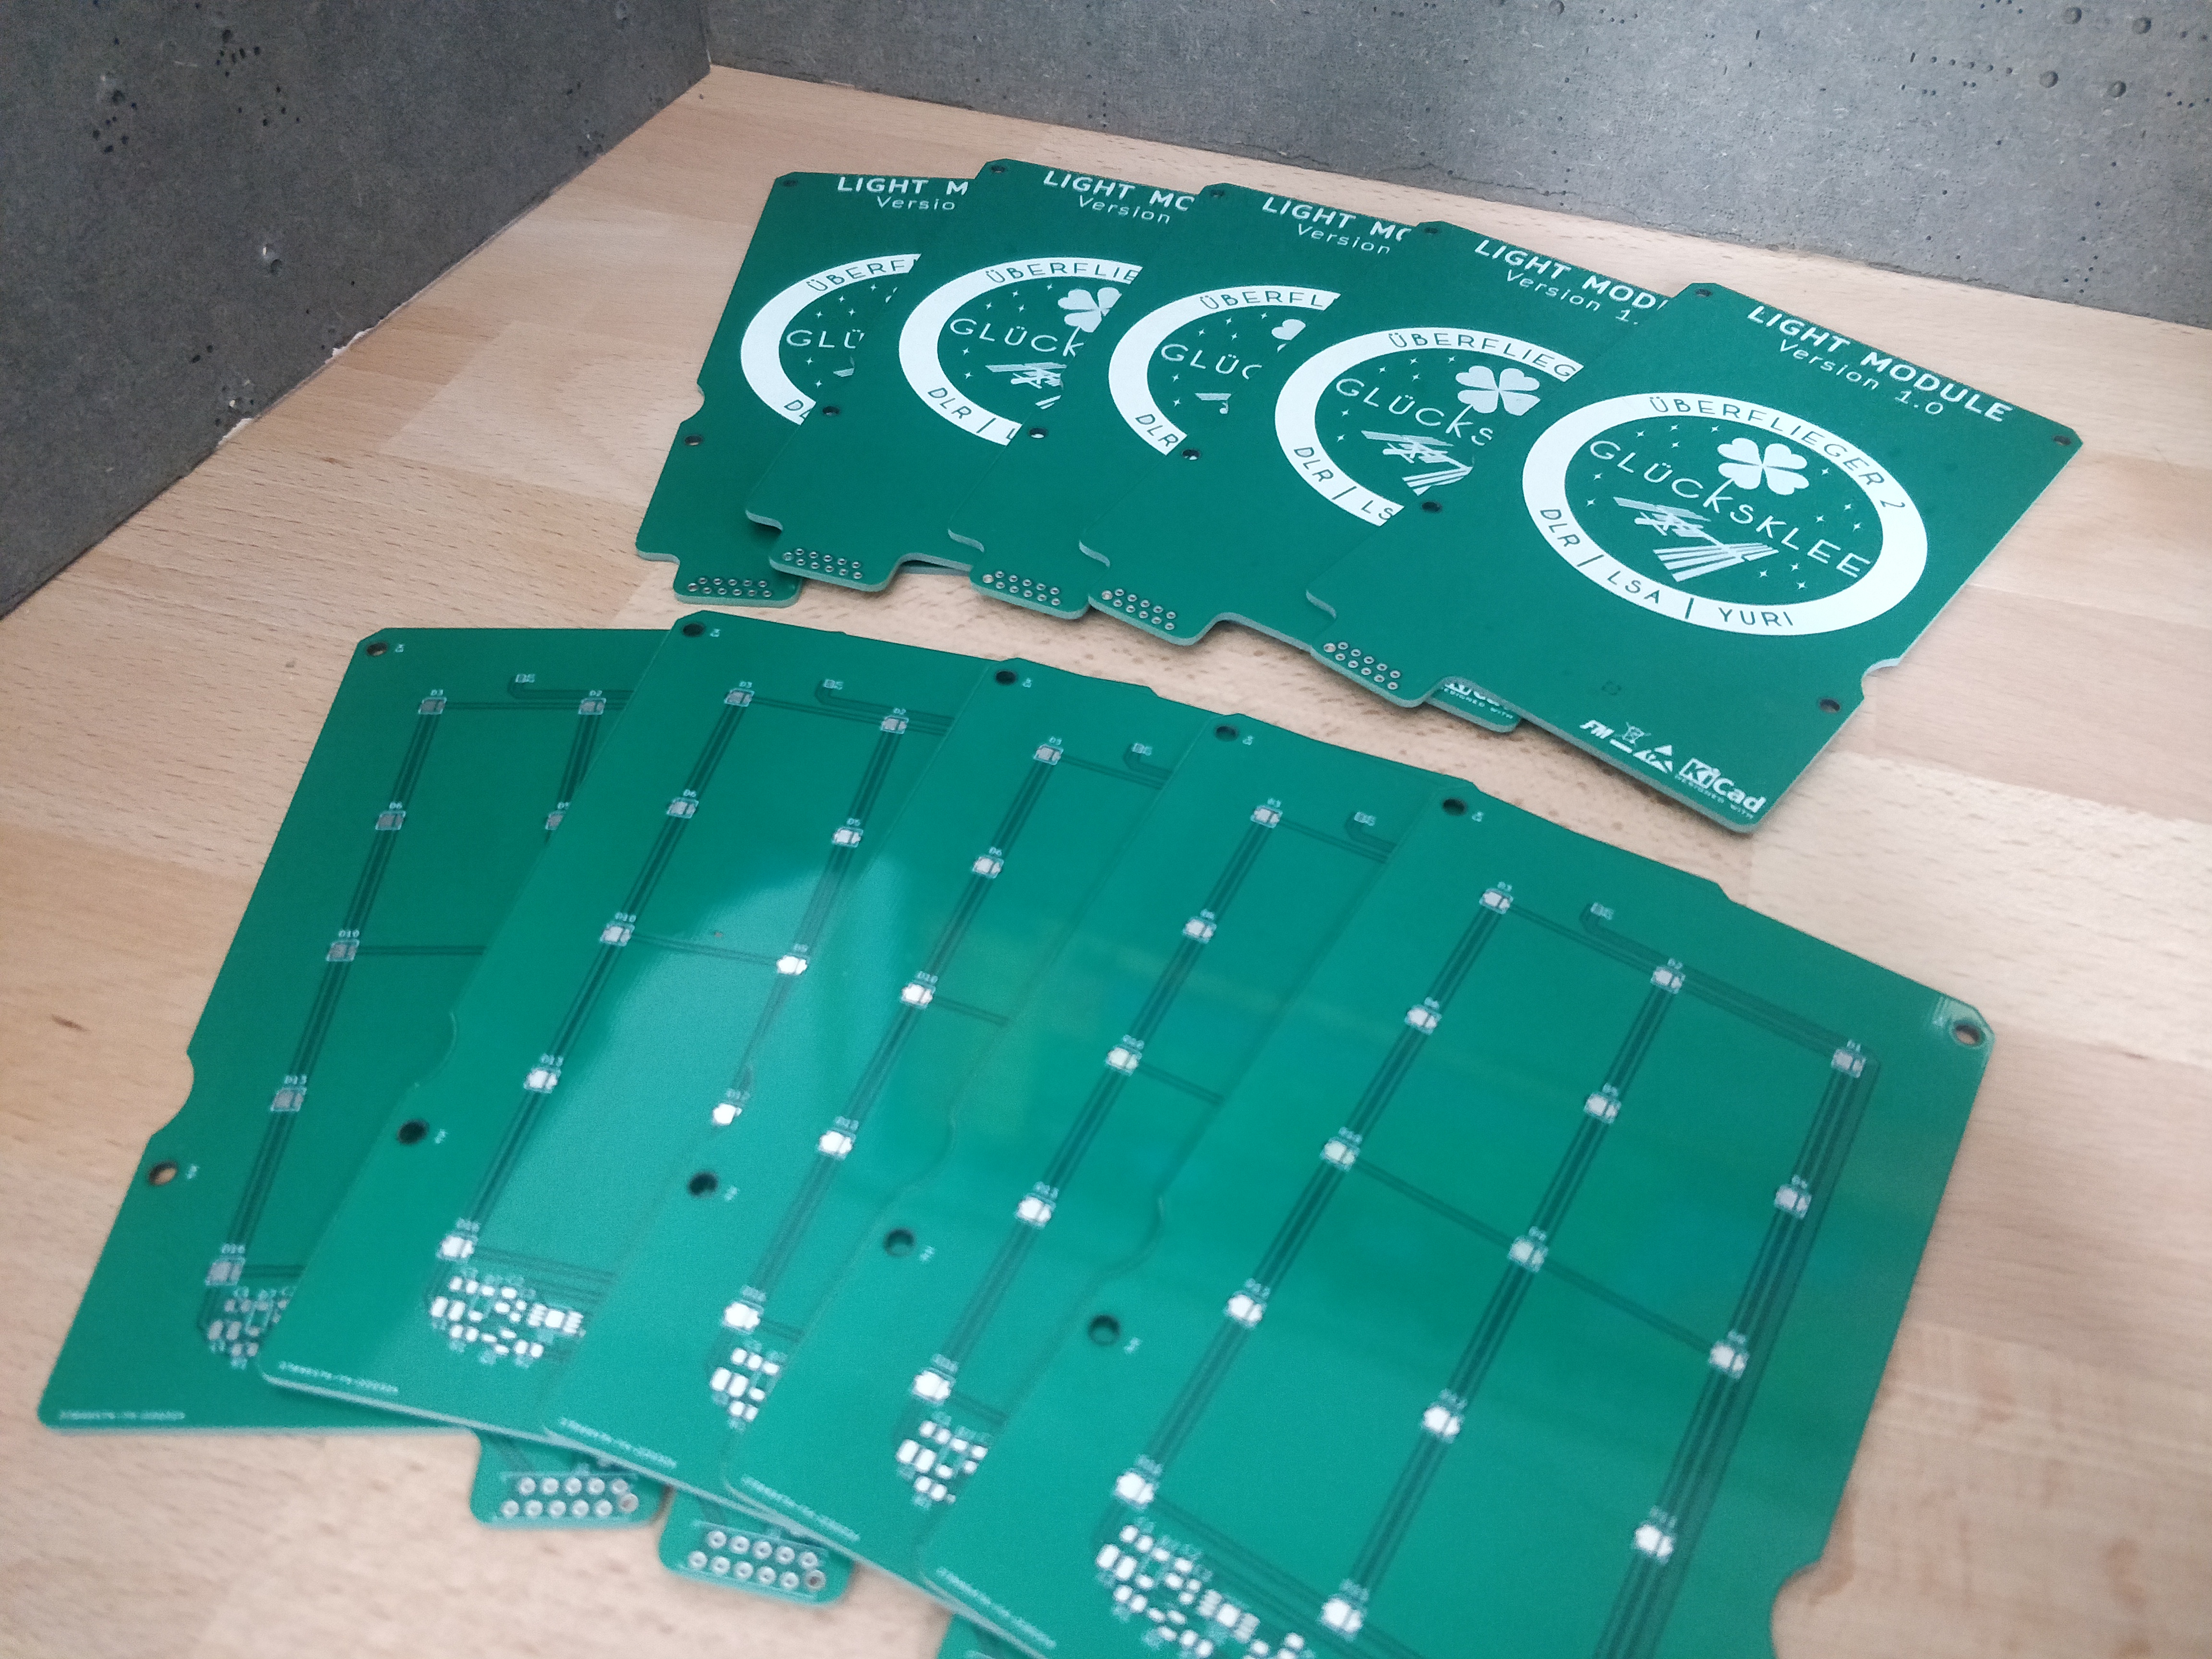
After the first light prototype was partially working as intended (we just forgot to connect the light driver to power) the second version was delivered this week.
In contrast to the prior version the pcb is now a true one-layer PCB with an aluminium core. This should simplify the transport of additional heat to the CubeLabs hull.
We also changed the count of LEDs. As our tests have shown 9 LEDs should be sufficient.
-
15 June 2022
Mainboard Testing
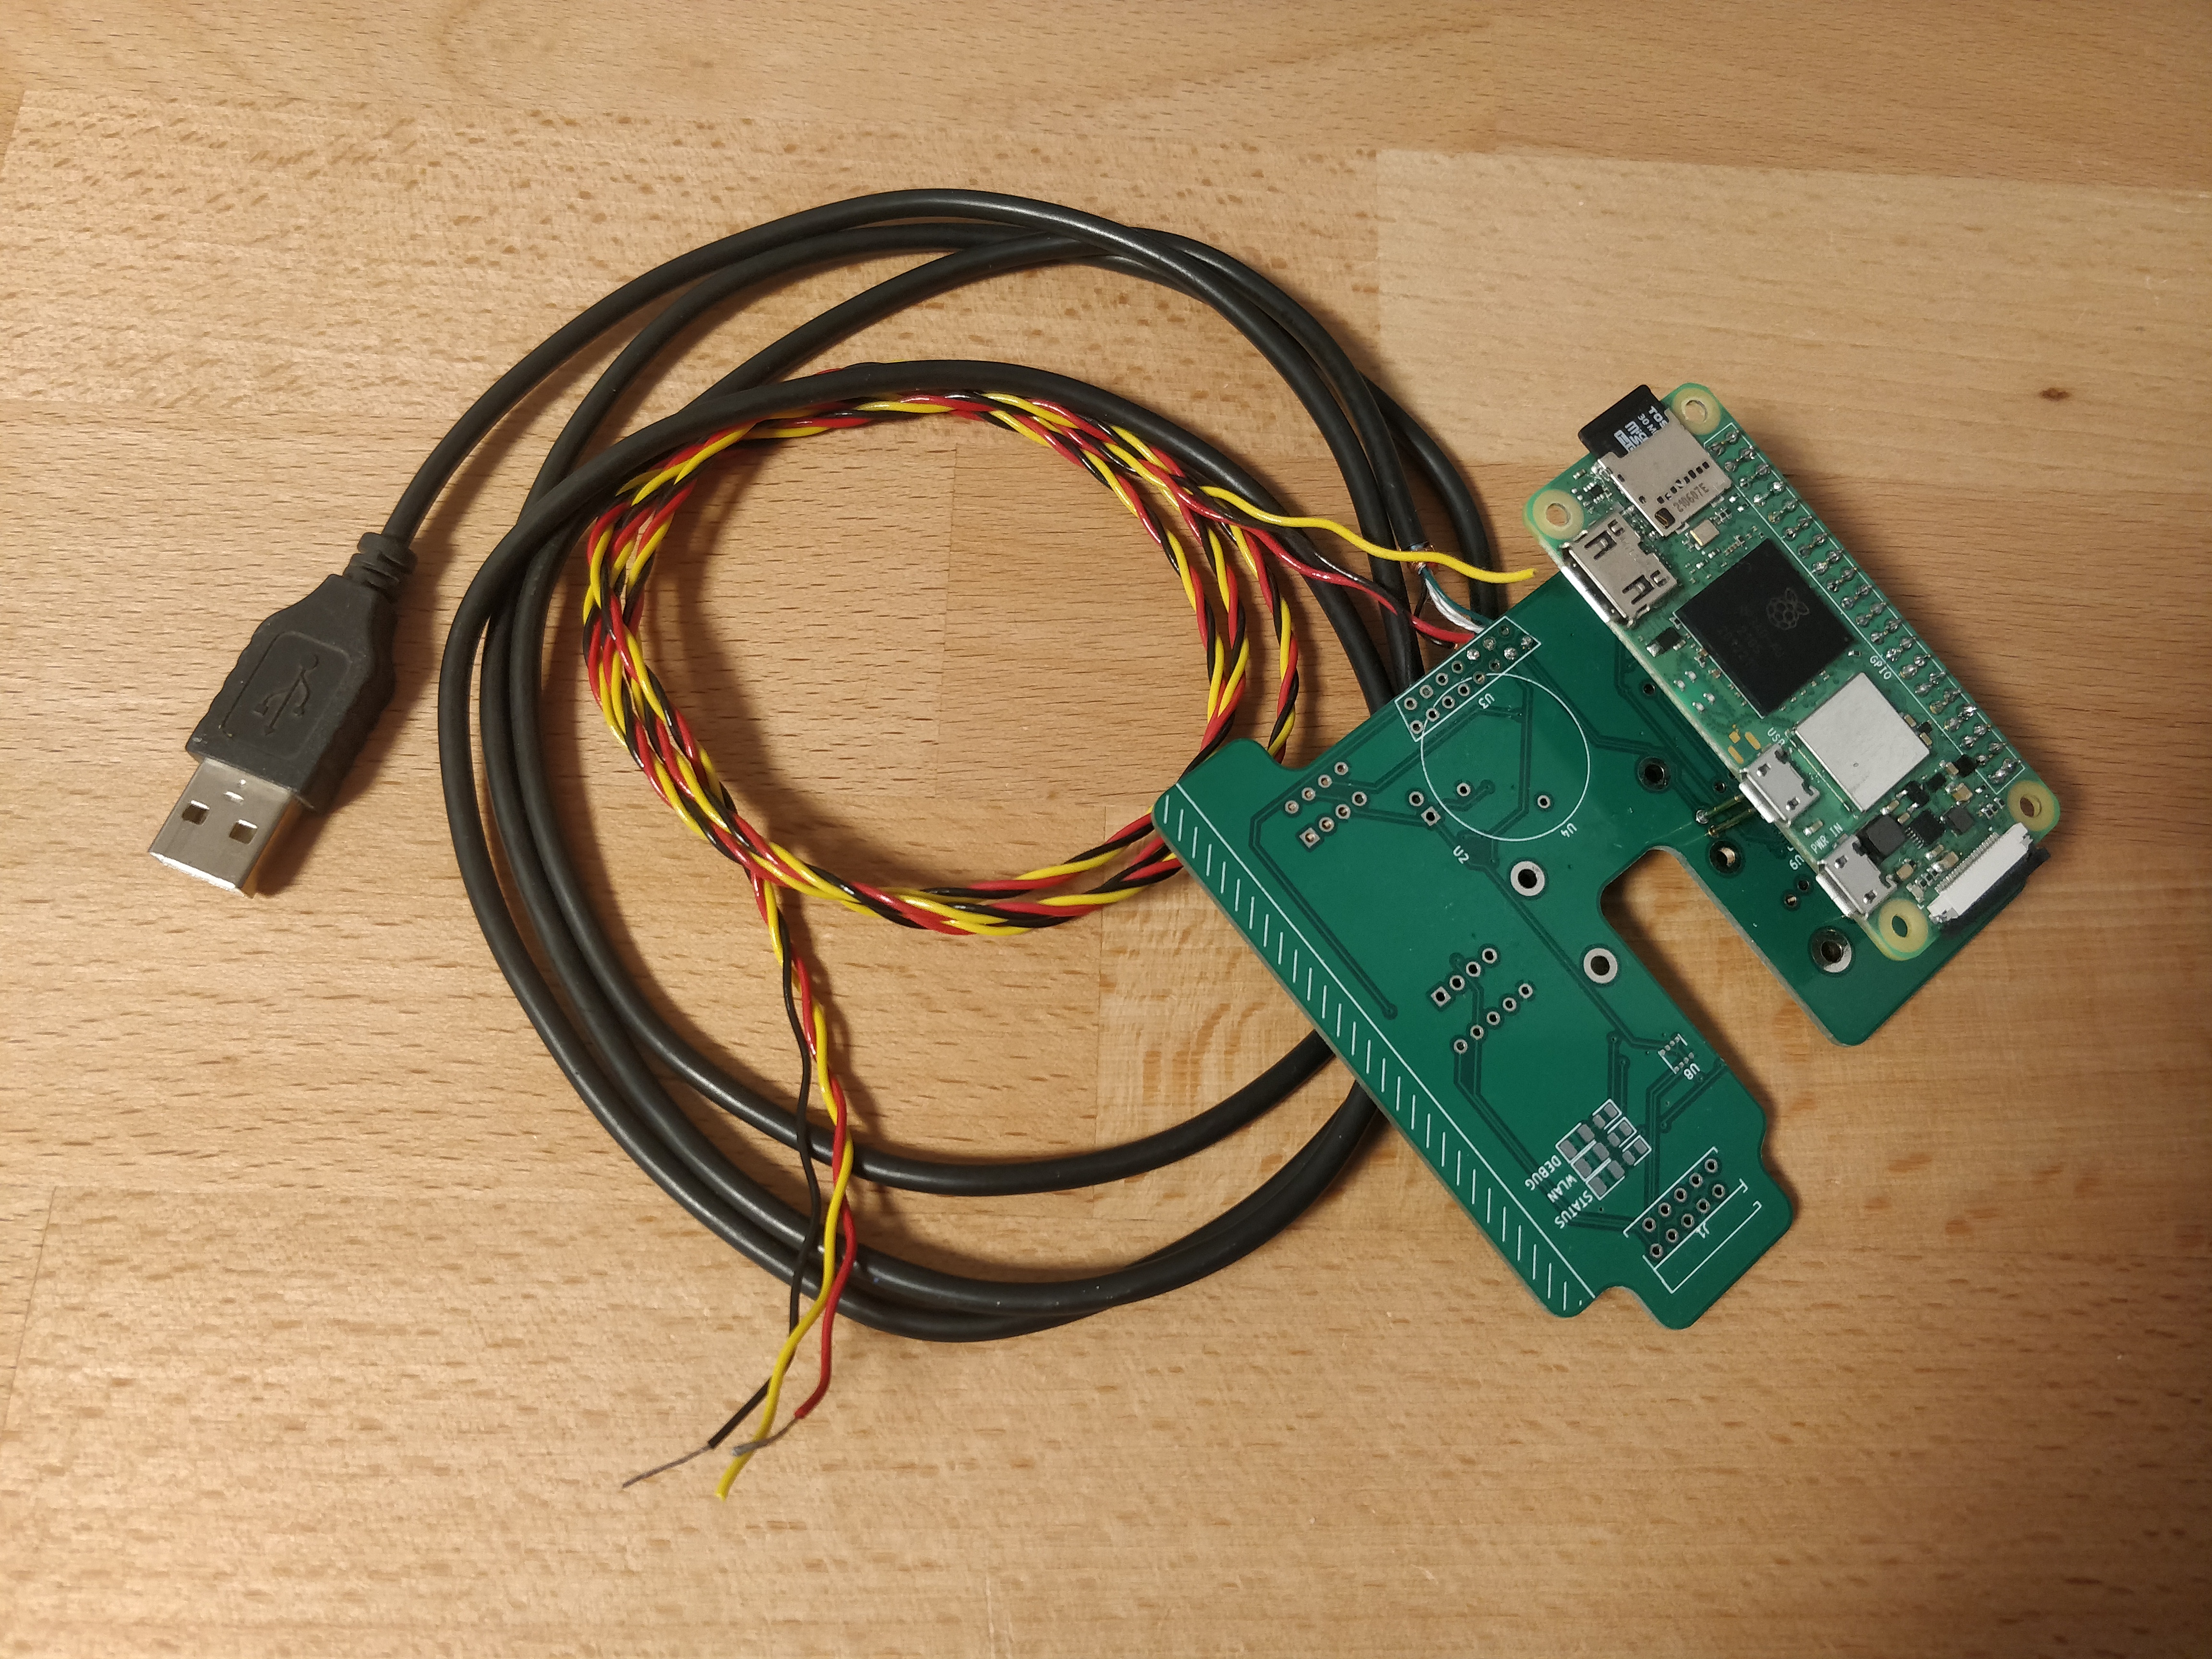
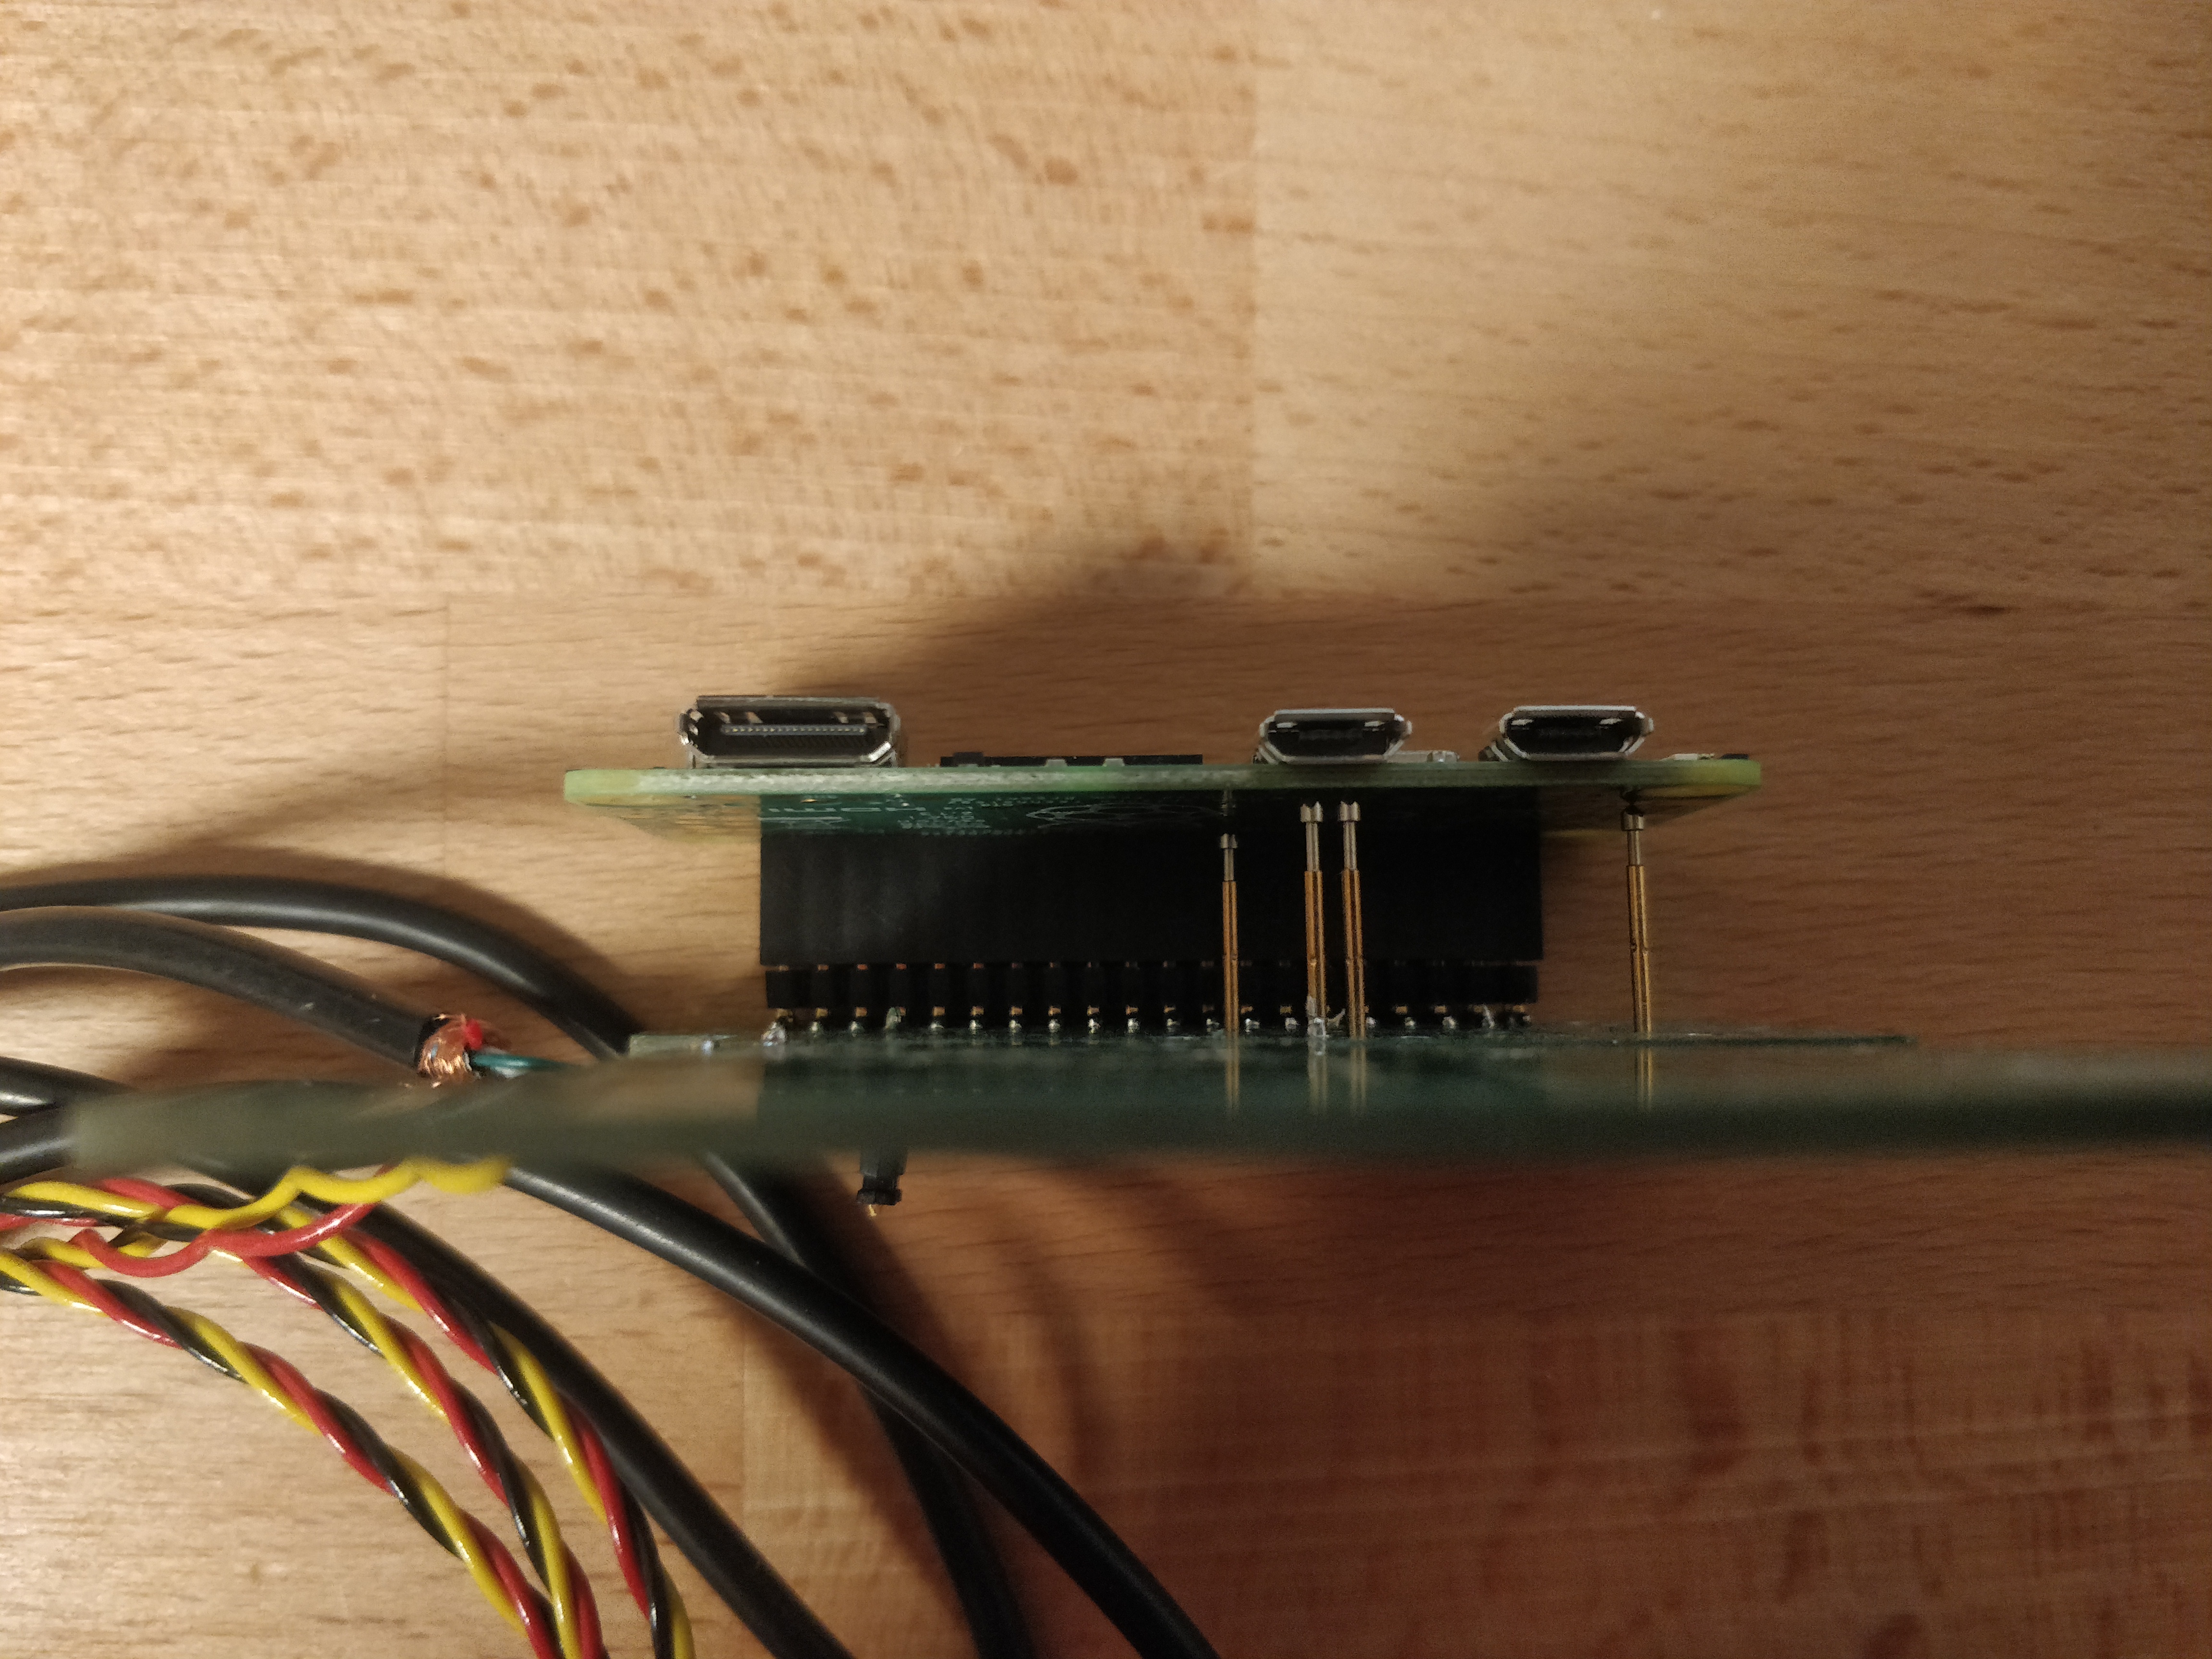
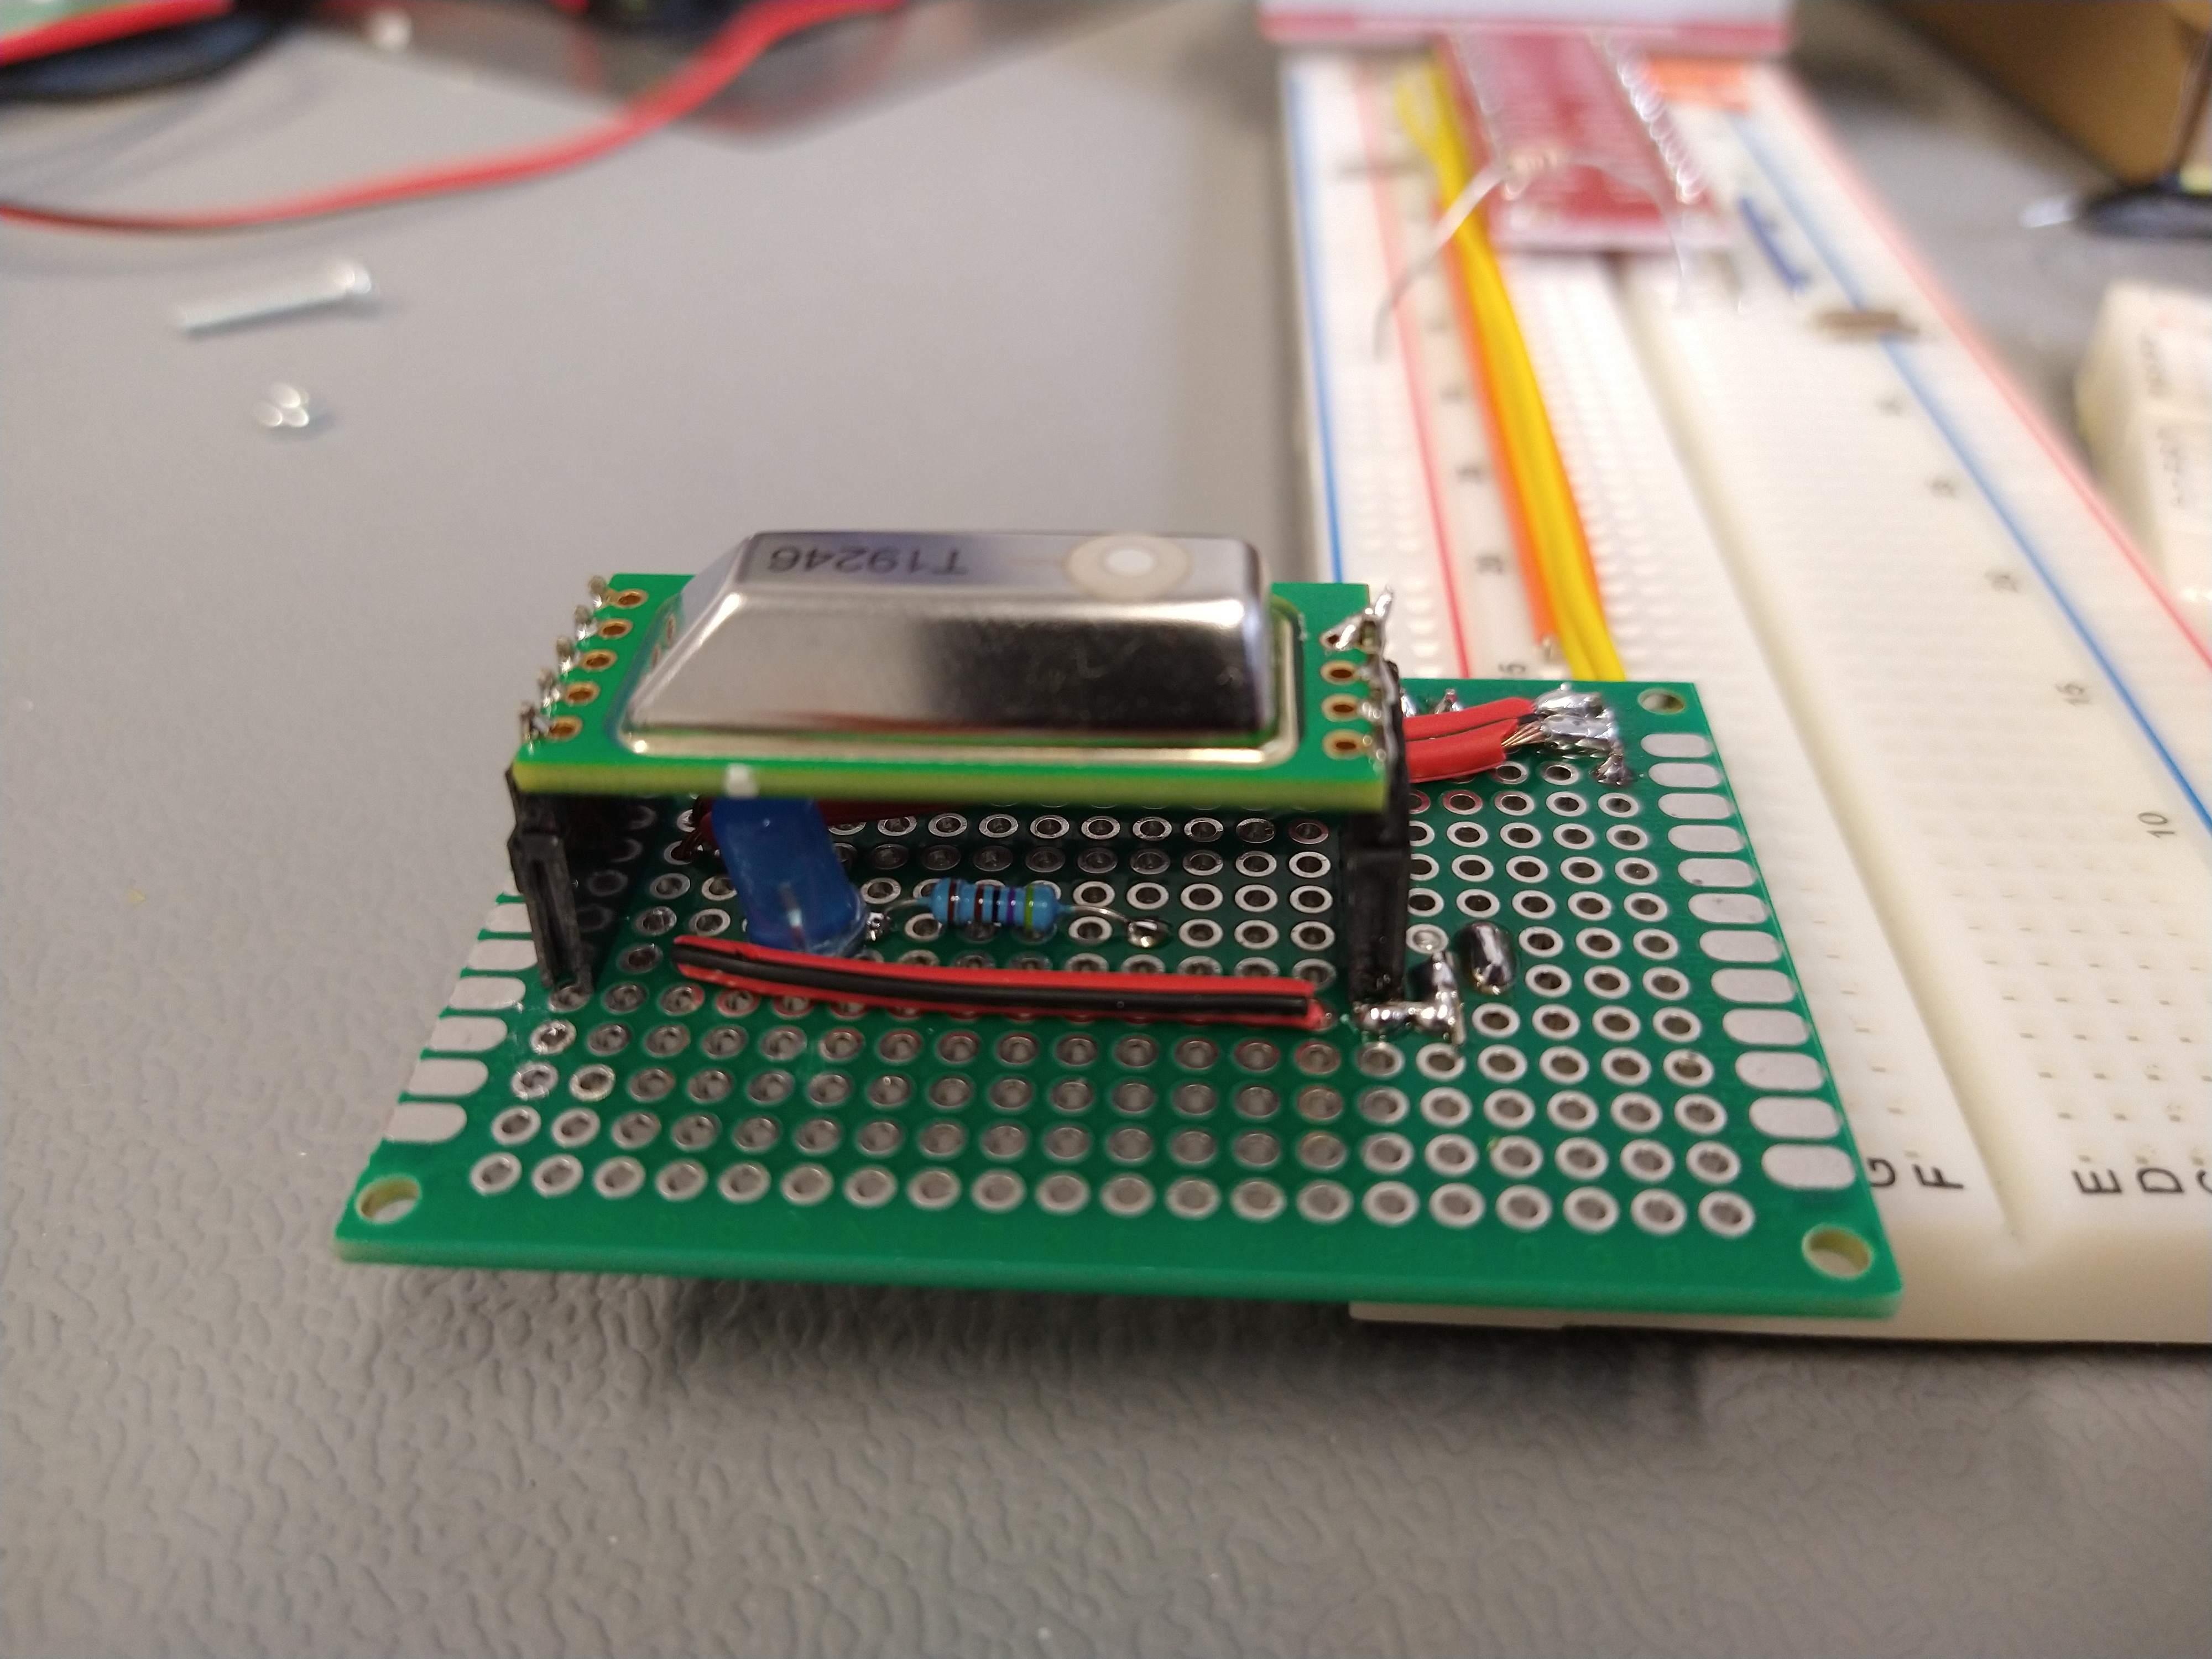
Besides the light the Mainboard is another central component of our experiment. It contains the used Raspberry Pi Zero 2W and hosts most of our sensors. Another purpose is the connection of the CubeLab electrical interface with our components.
To be able to download images during the experiment is running, a USB connection to the SpaceTange SpaceLab will be established. Therefore the USB signals need to be routed through the CubeLab Interface over the Mainboard to the Raspberry Pi. Latter normally interfaces outher electronic parts over a 40 pin header row. In this case the USB connection needs to be
Read further... -
May 2022
Broadcast NDR
The shortfilm about 'Glücksklee' will be broadcasted at 7:30 p.m. on NDR Niedersachsen and on 9:45 p.m. on NDR Info. If you are interested in watching it, just click the following link (it is in german language): NDR Niedersachsen
-
21 May 2022
Humidity tests for electronics
Humidity tests with fan
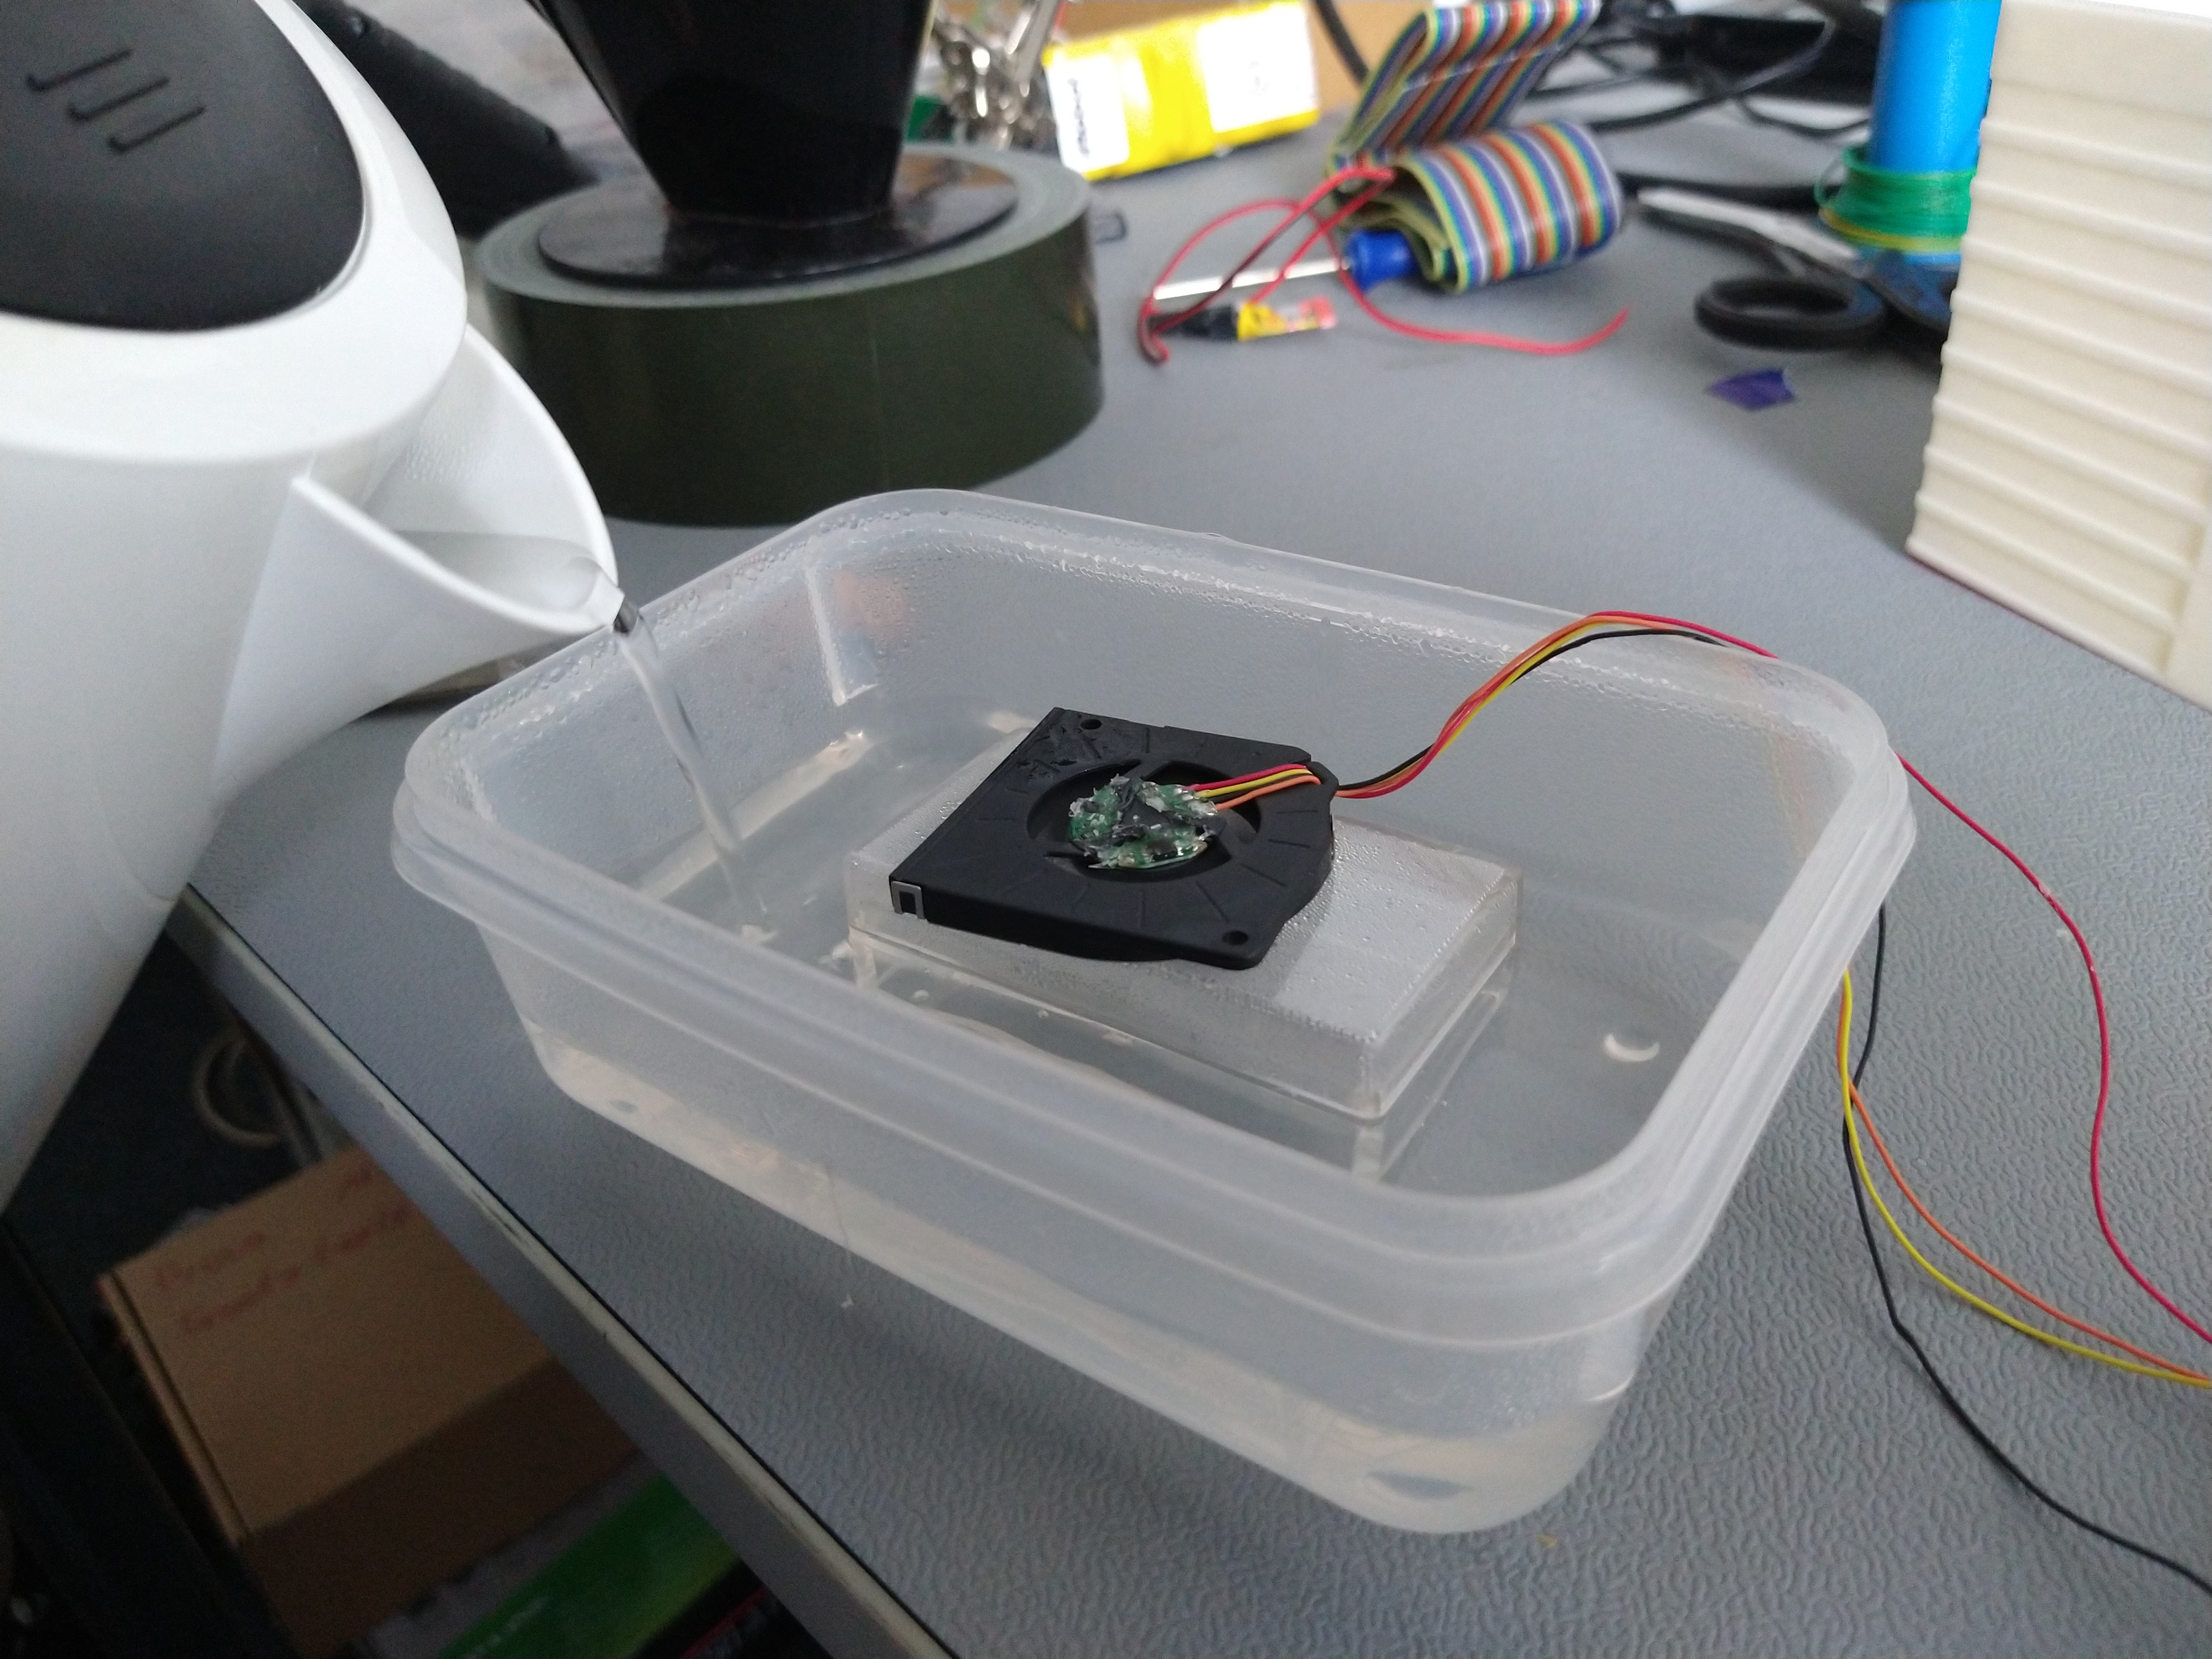
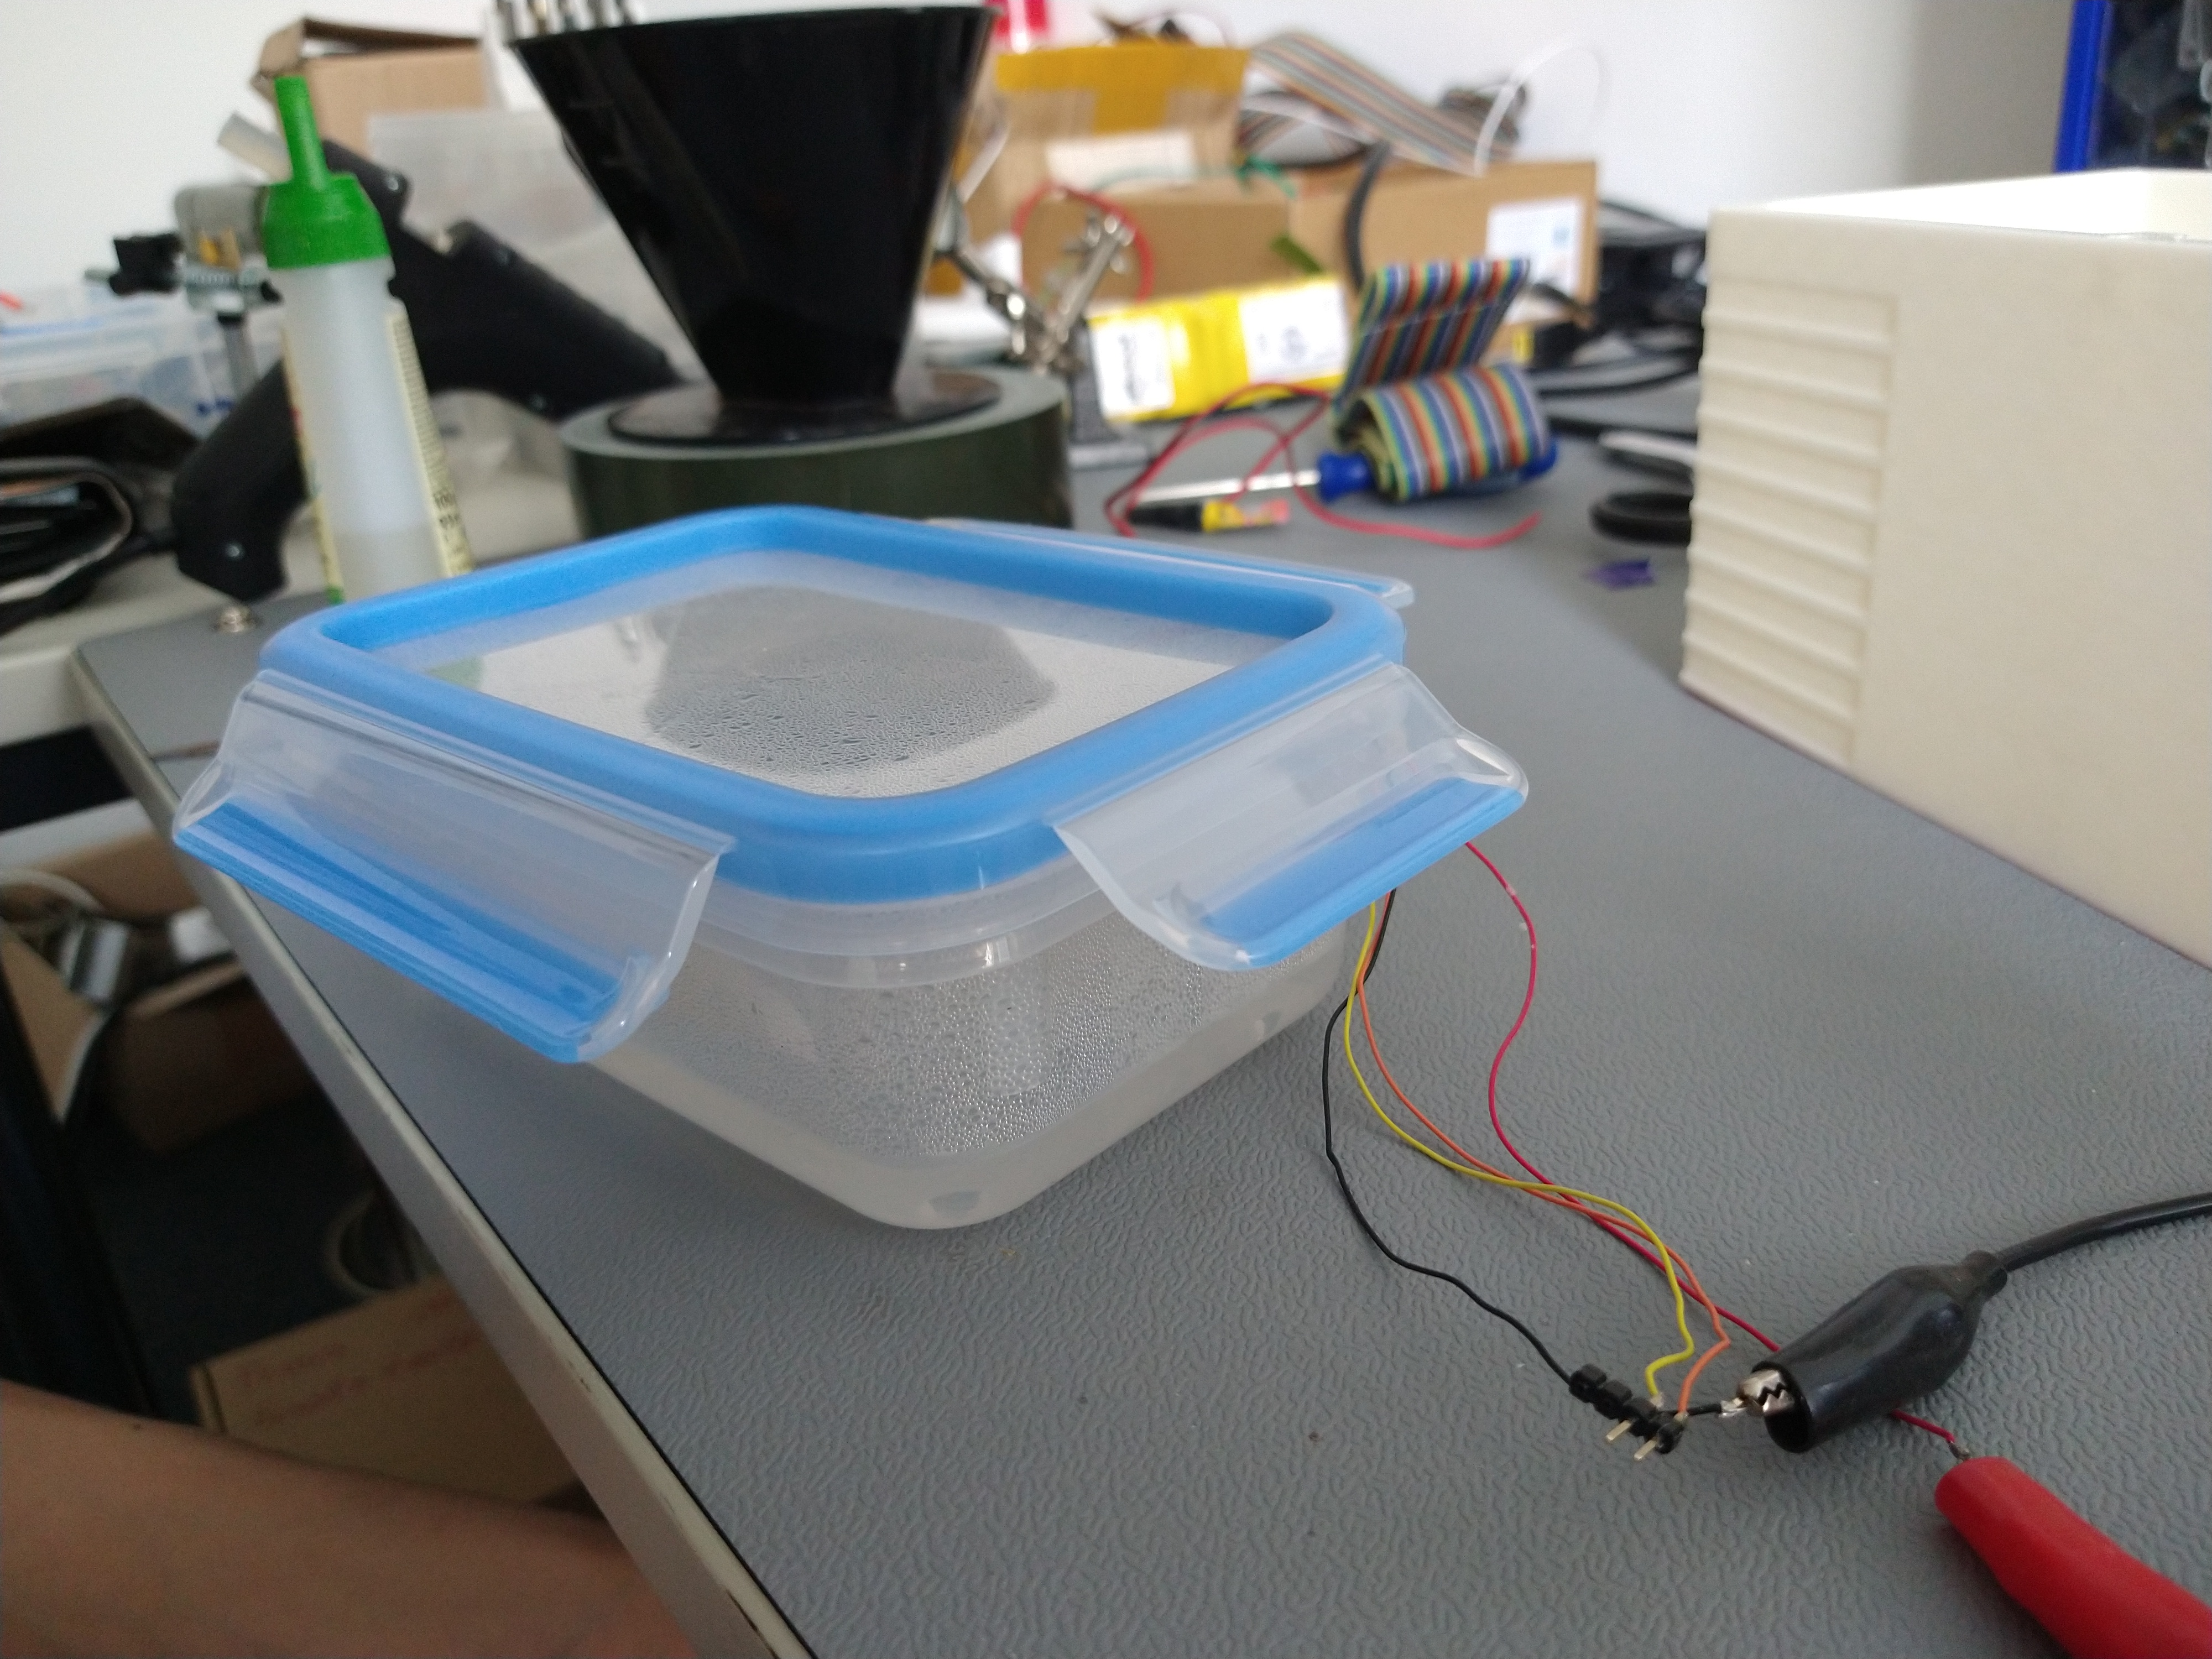
Today we tested whether the fan can sustain a high humidity in our experiment. Due to the agar and the plants the relative humidity inside our experiment can exceed 100% so that condensing water occurs. This can be bad for electronical components in general so we have to find a solution for this problem!
For this test, we first sealed the fan with a hot glue gun. Then we poured some hot water inside a box and placed our fan in it on a small platform. The fan was running at full power! We closed the
Read further... -
19 May 2022
Visit of the NDR
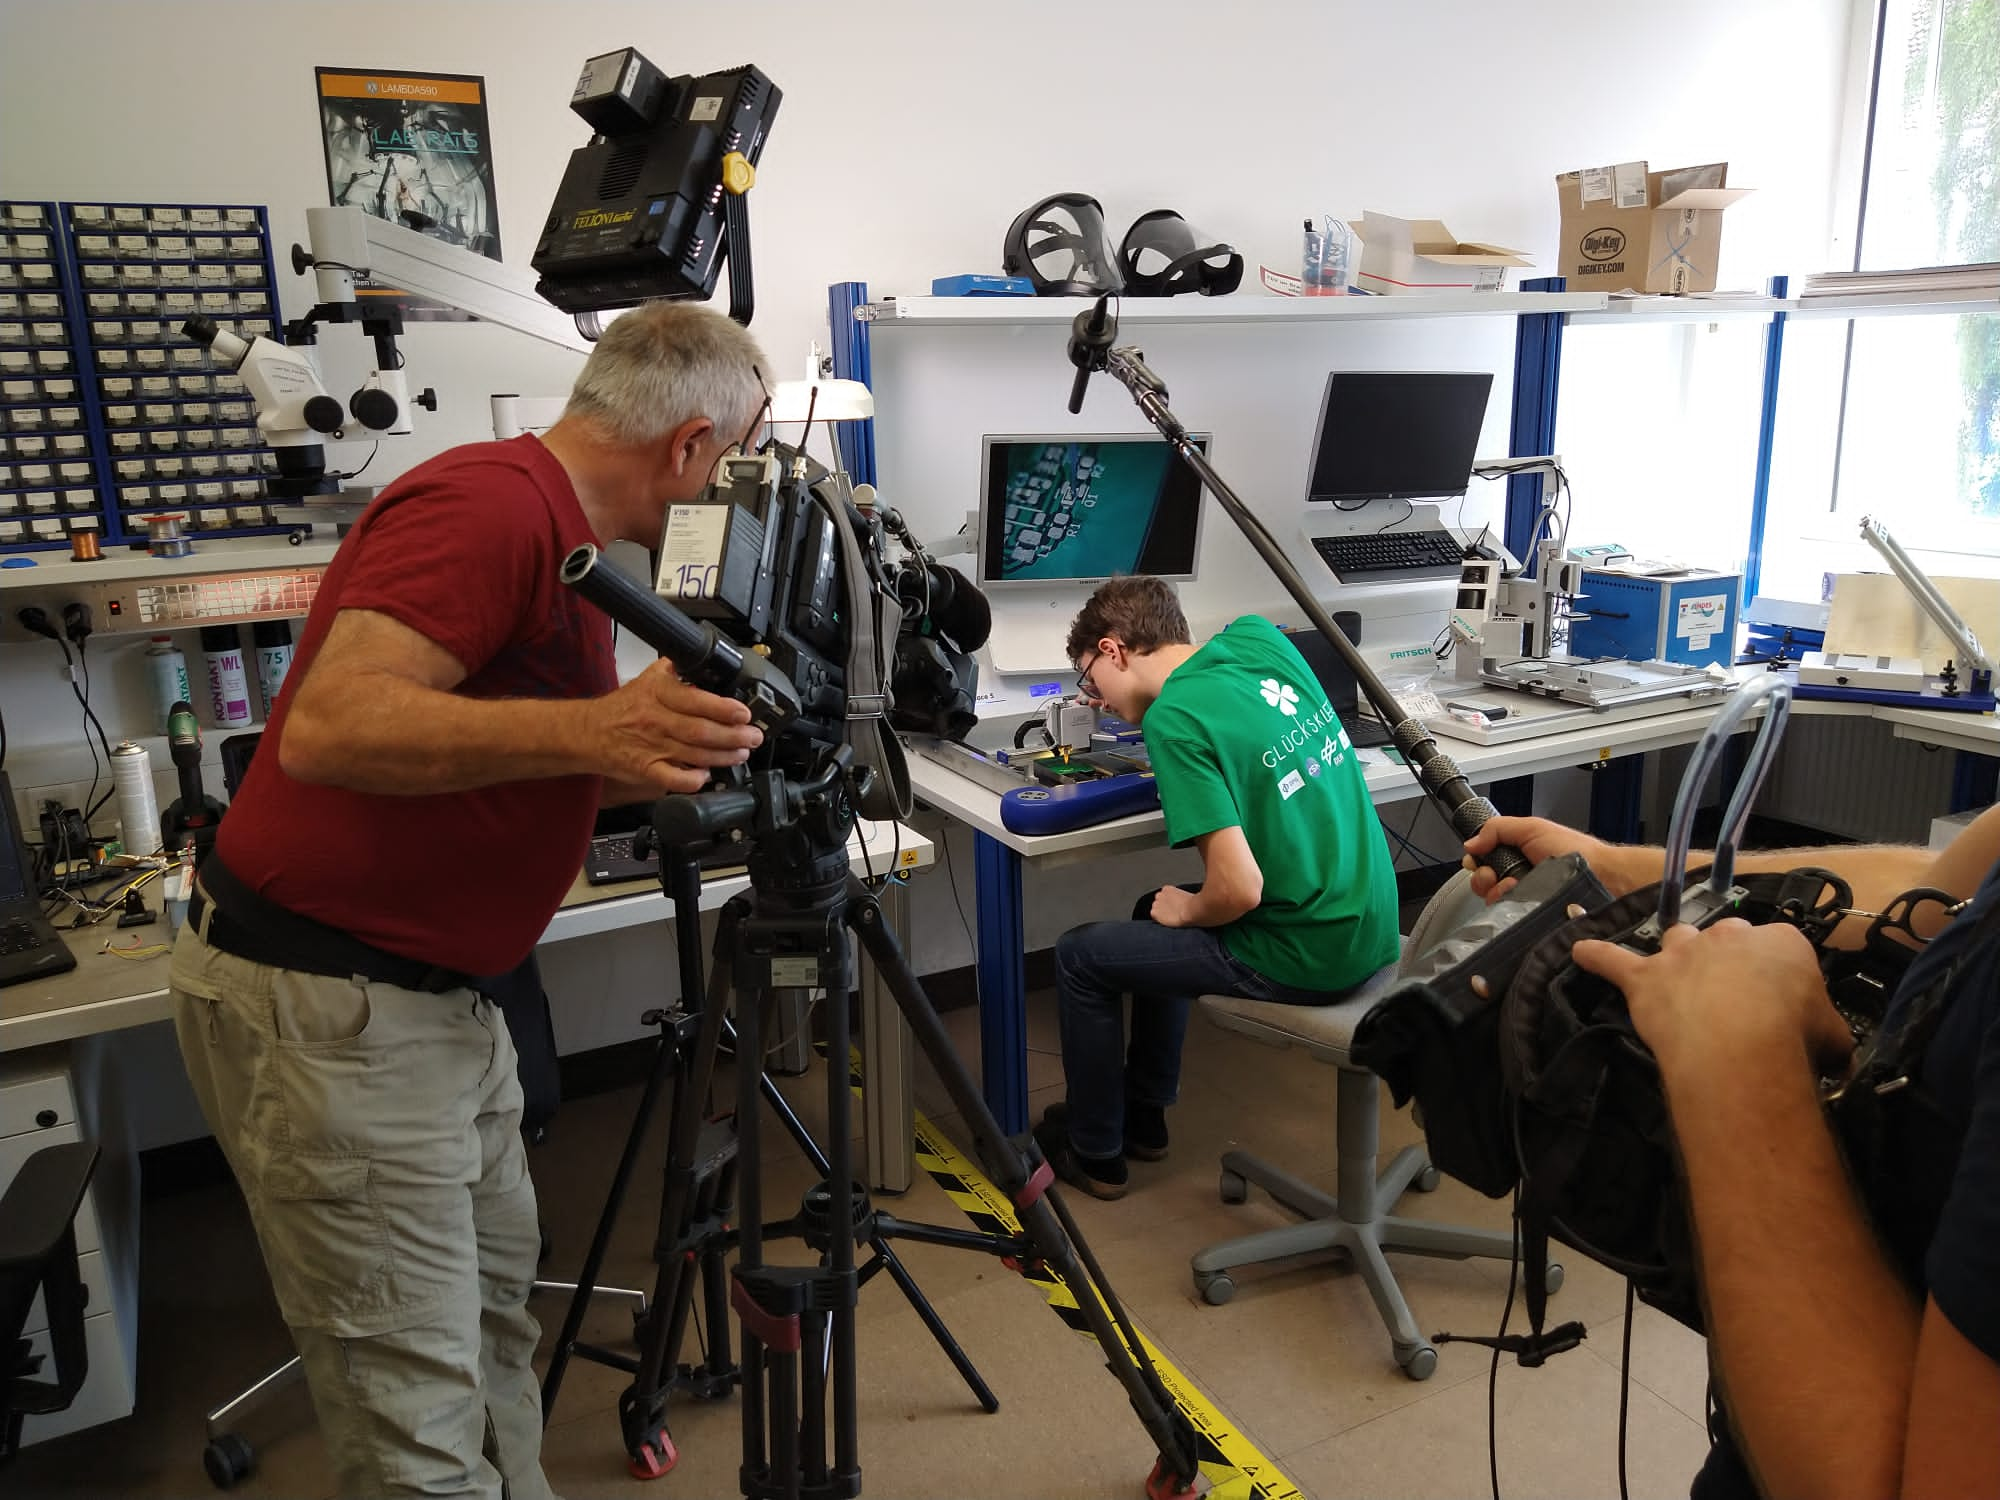
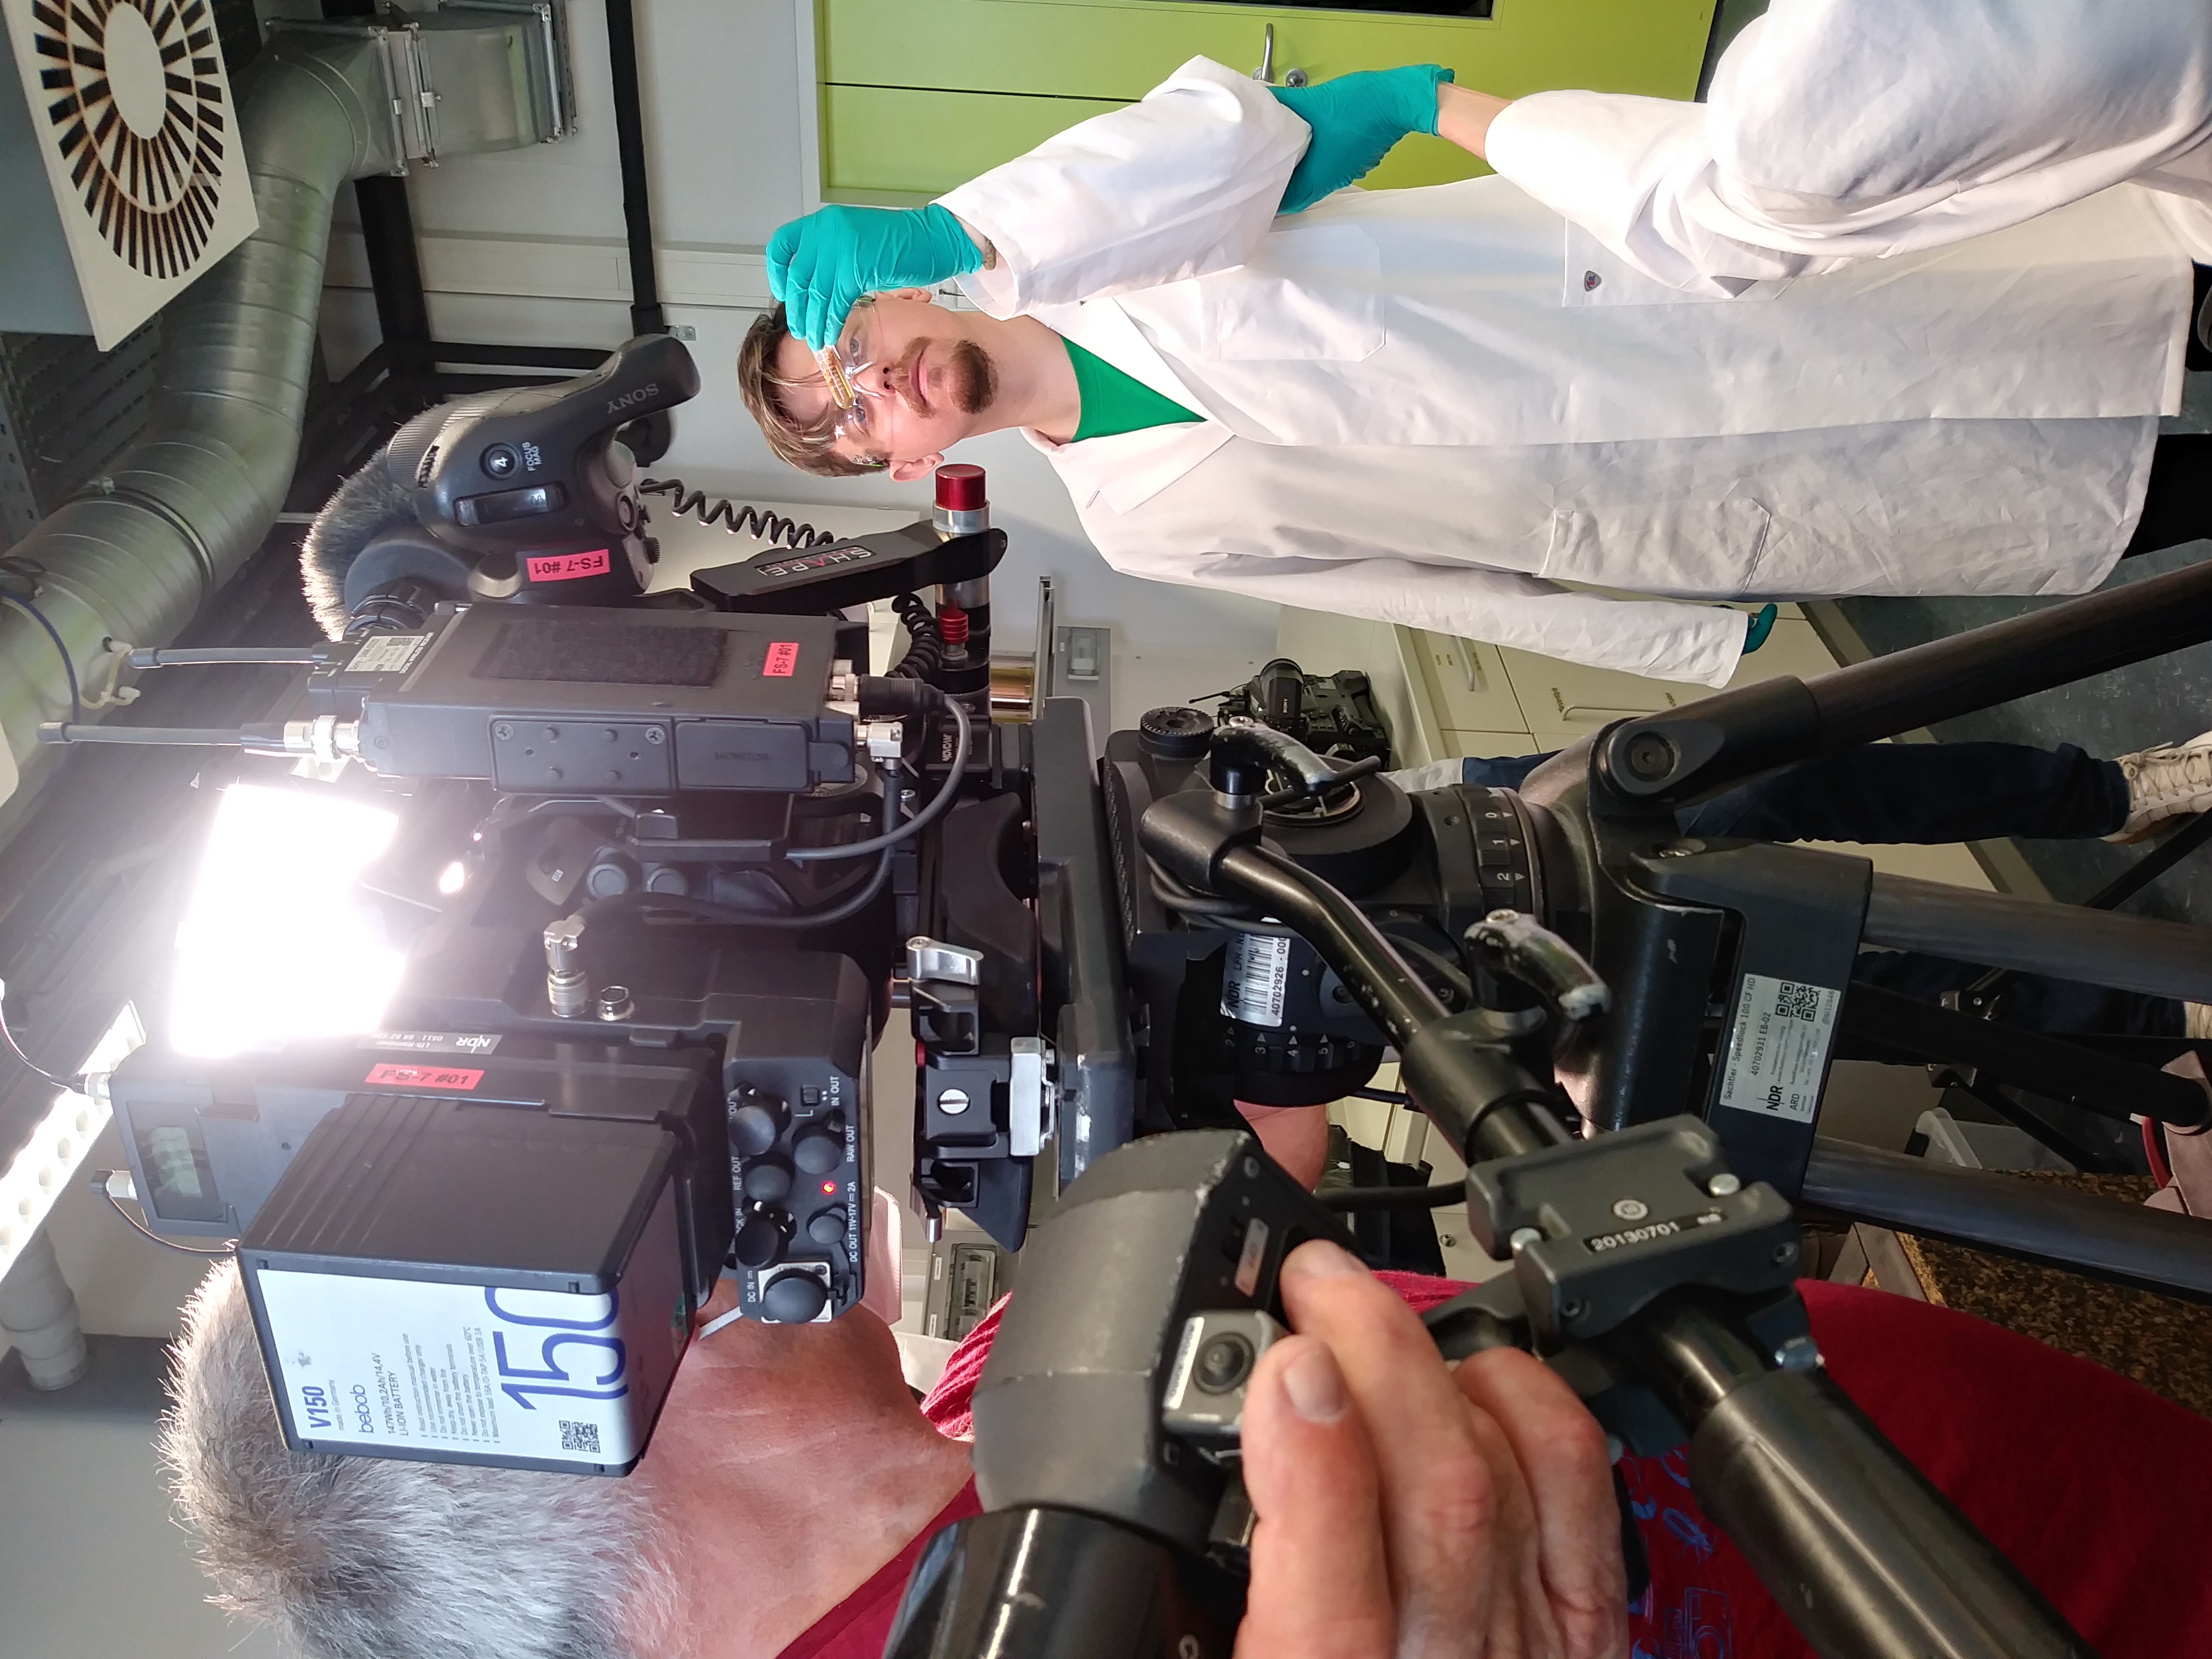
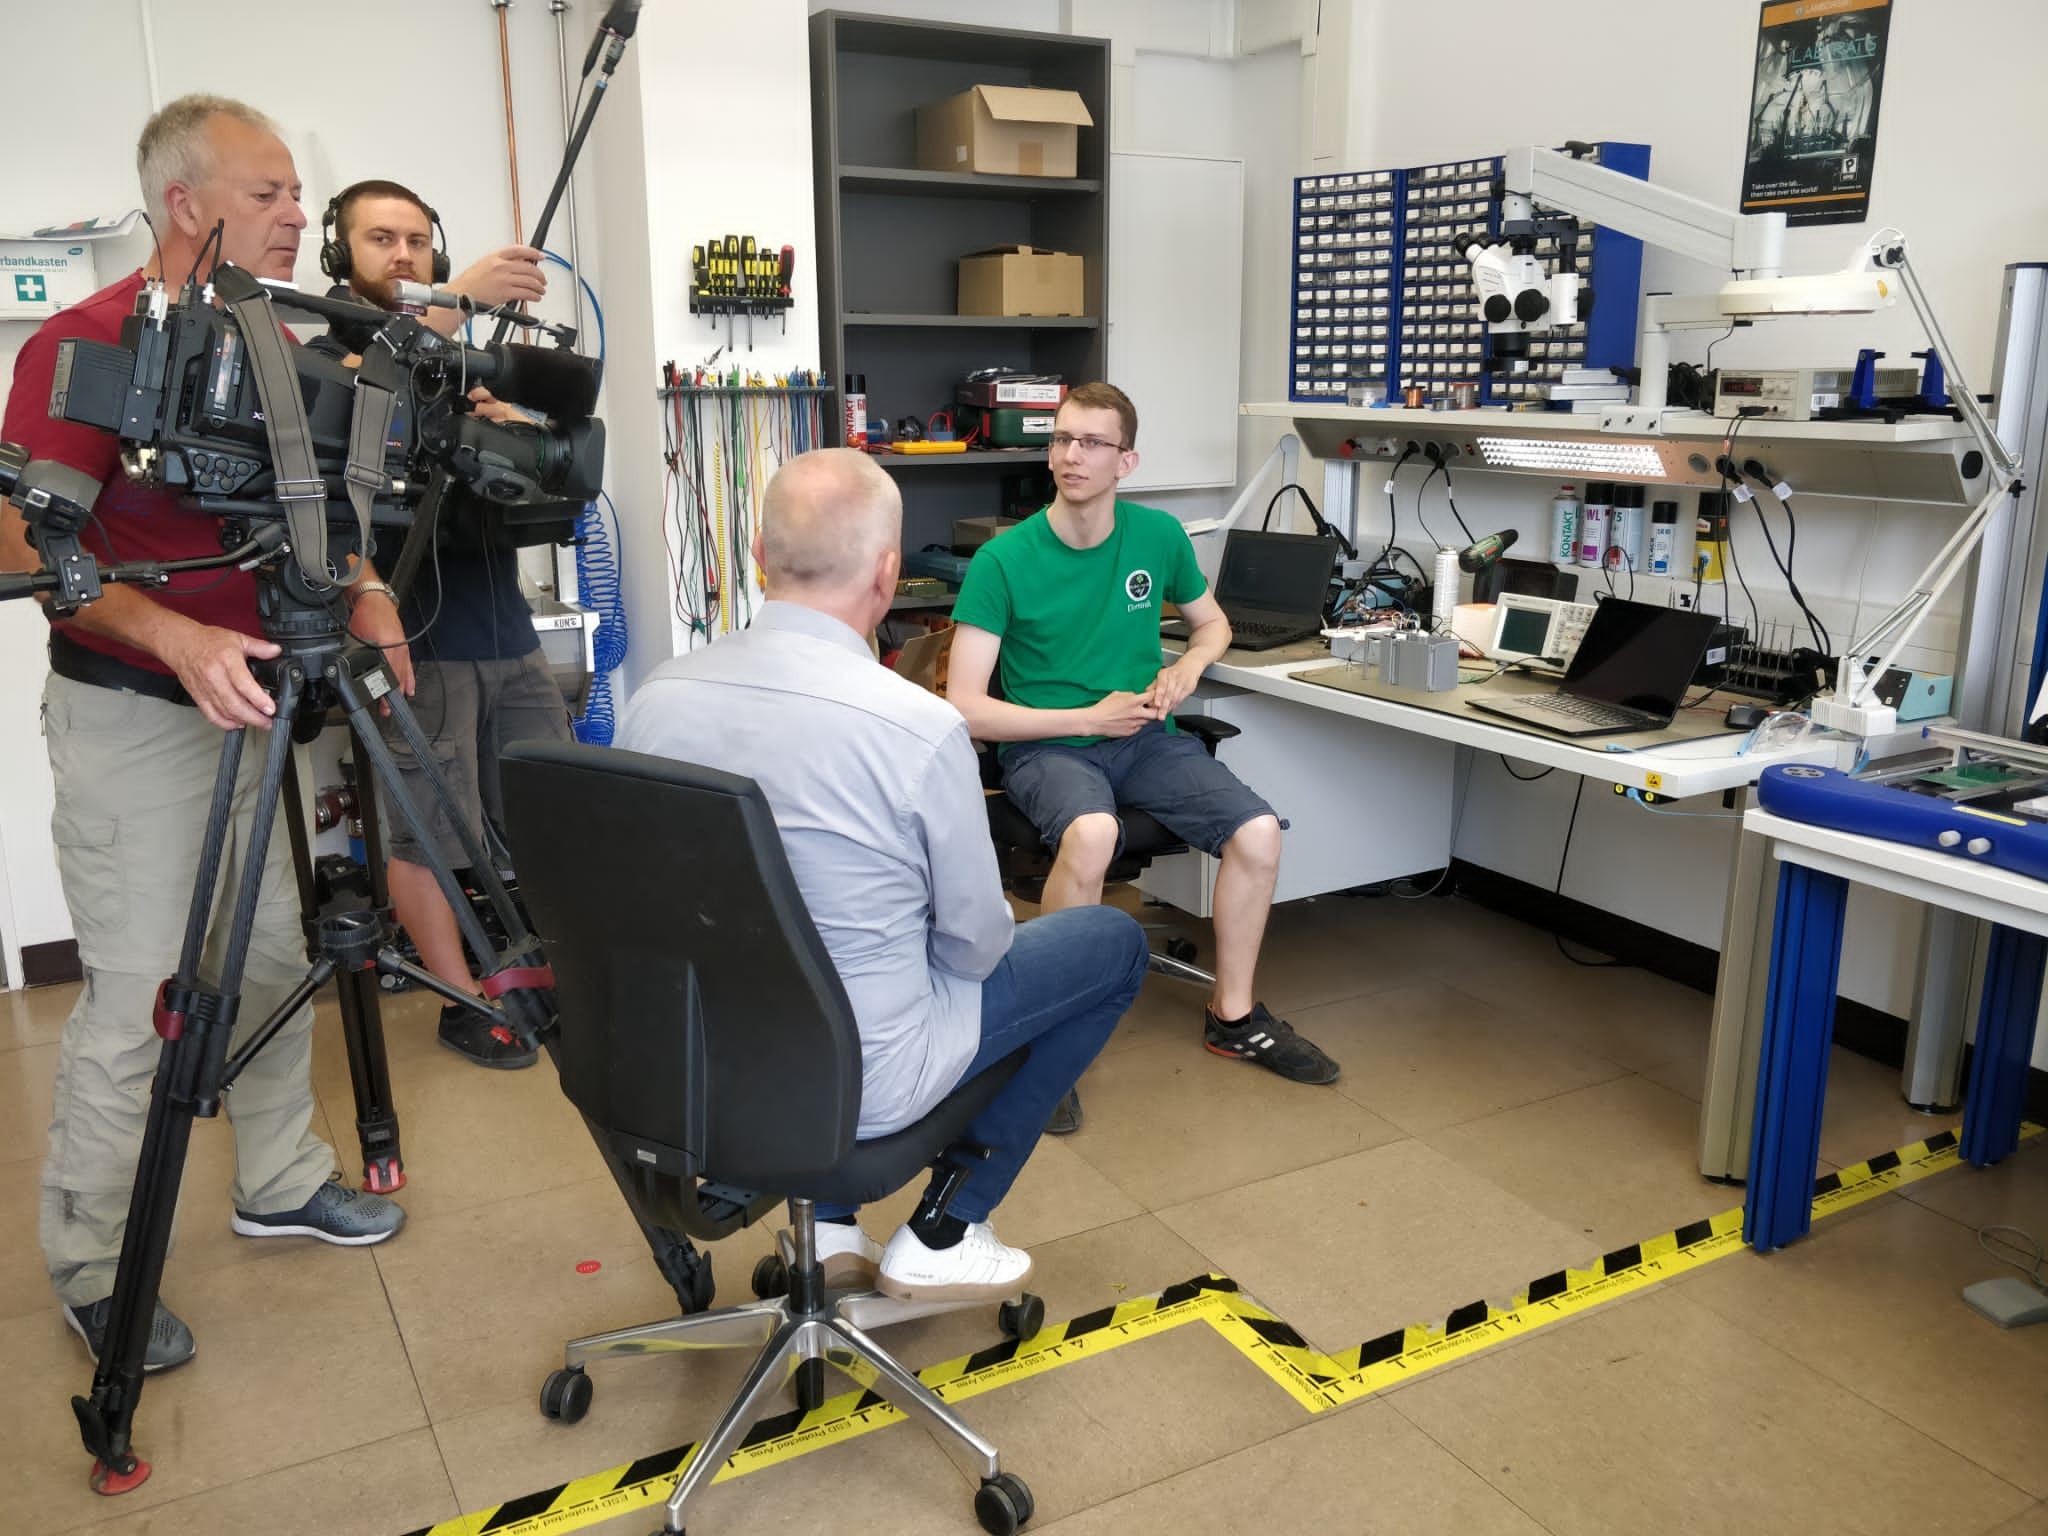
On 19th May this year the NDR came to our labs to film our work!
We showed our work with the technical side of the experimental chamber and the biological work in the S1 laboratory. It was a great experience with incredible 5 hours of filming, showing and talking.
-
12 April 2022
2 Preliminary plant experiments
Rootcutting
In the past experiments we had some nodules but not enough to do serious experiments on them. To identify if we can get more nodules by cutting away the tip of the roots at different stages, we sat up another preliminary experiment.
The experimental design shows the different treatments. Uncut plants and plates are used as a control, to see if there is a difference and where the difference comes from.
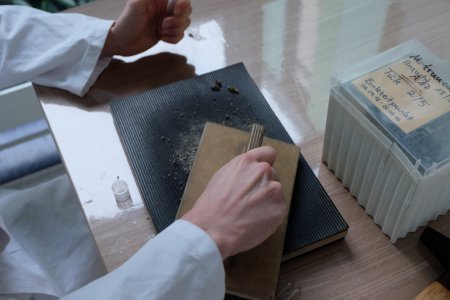
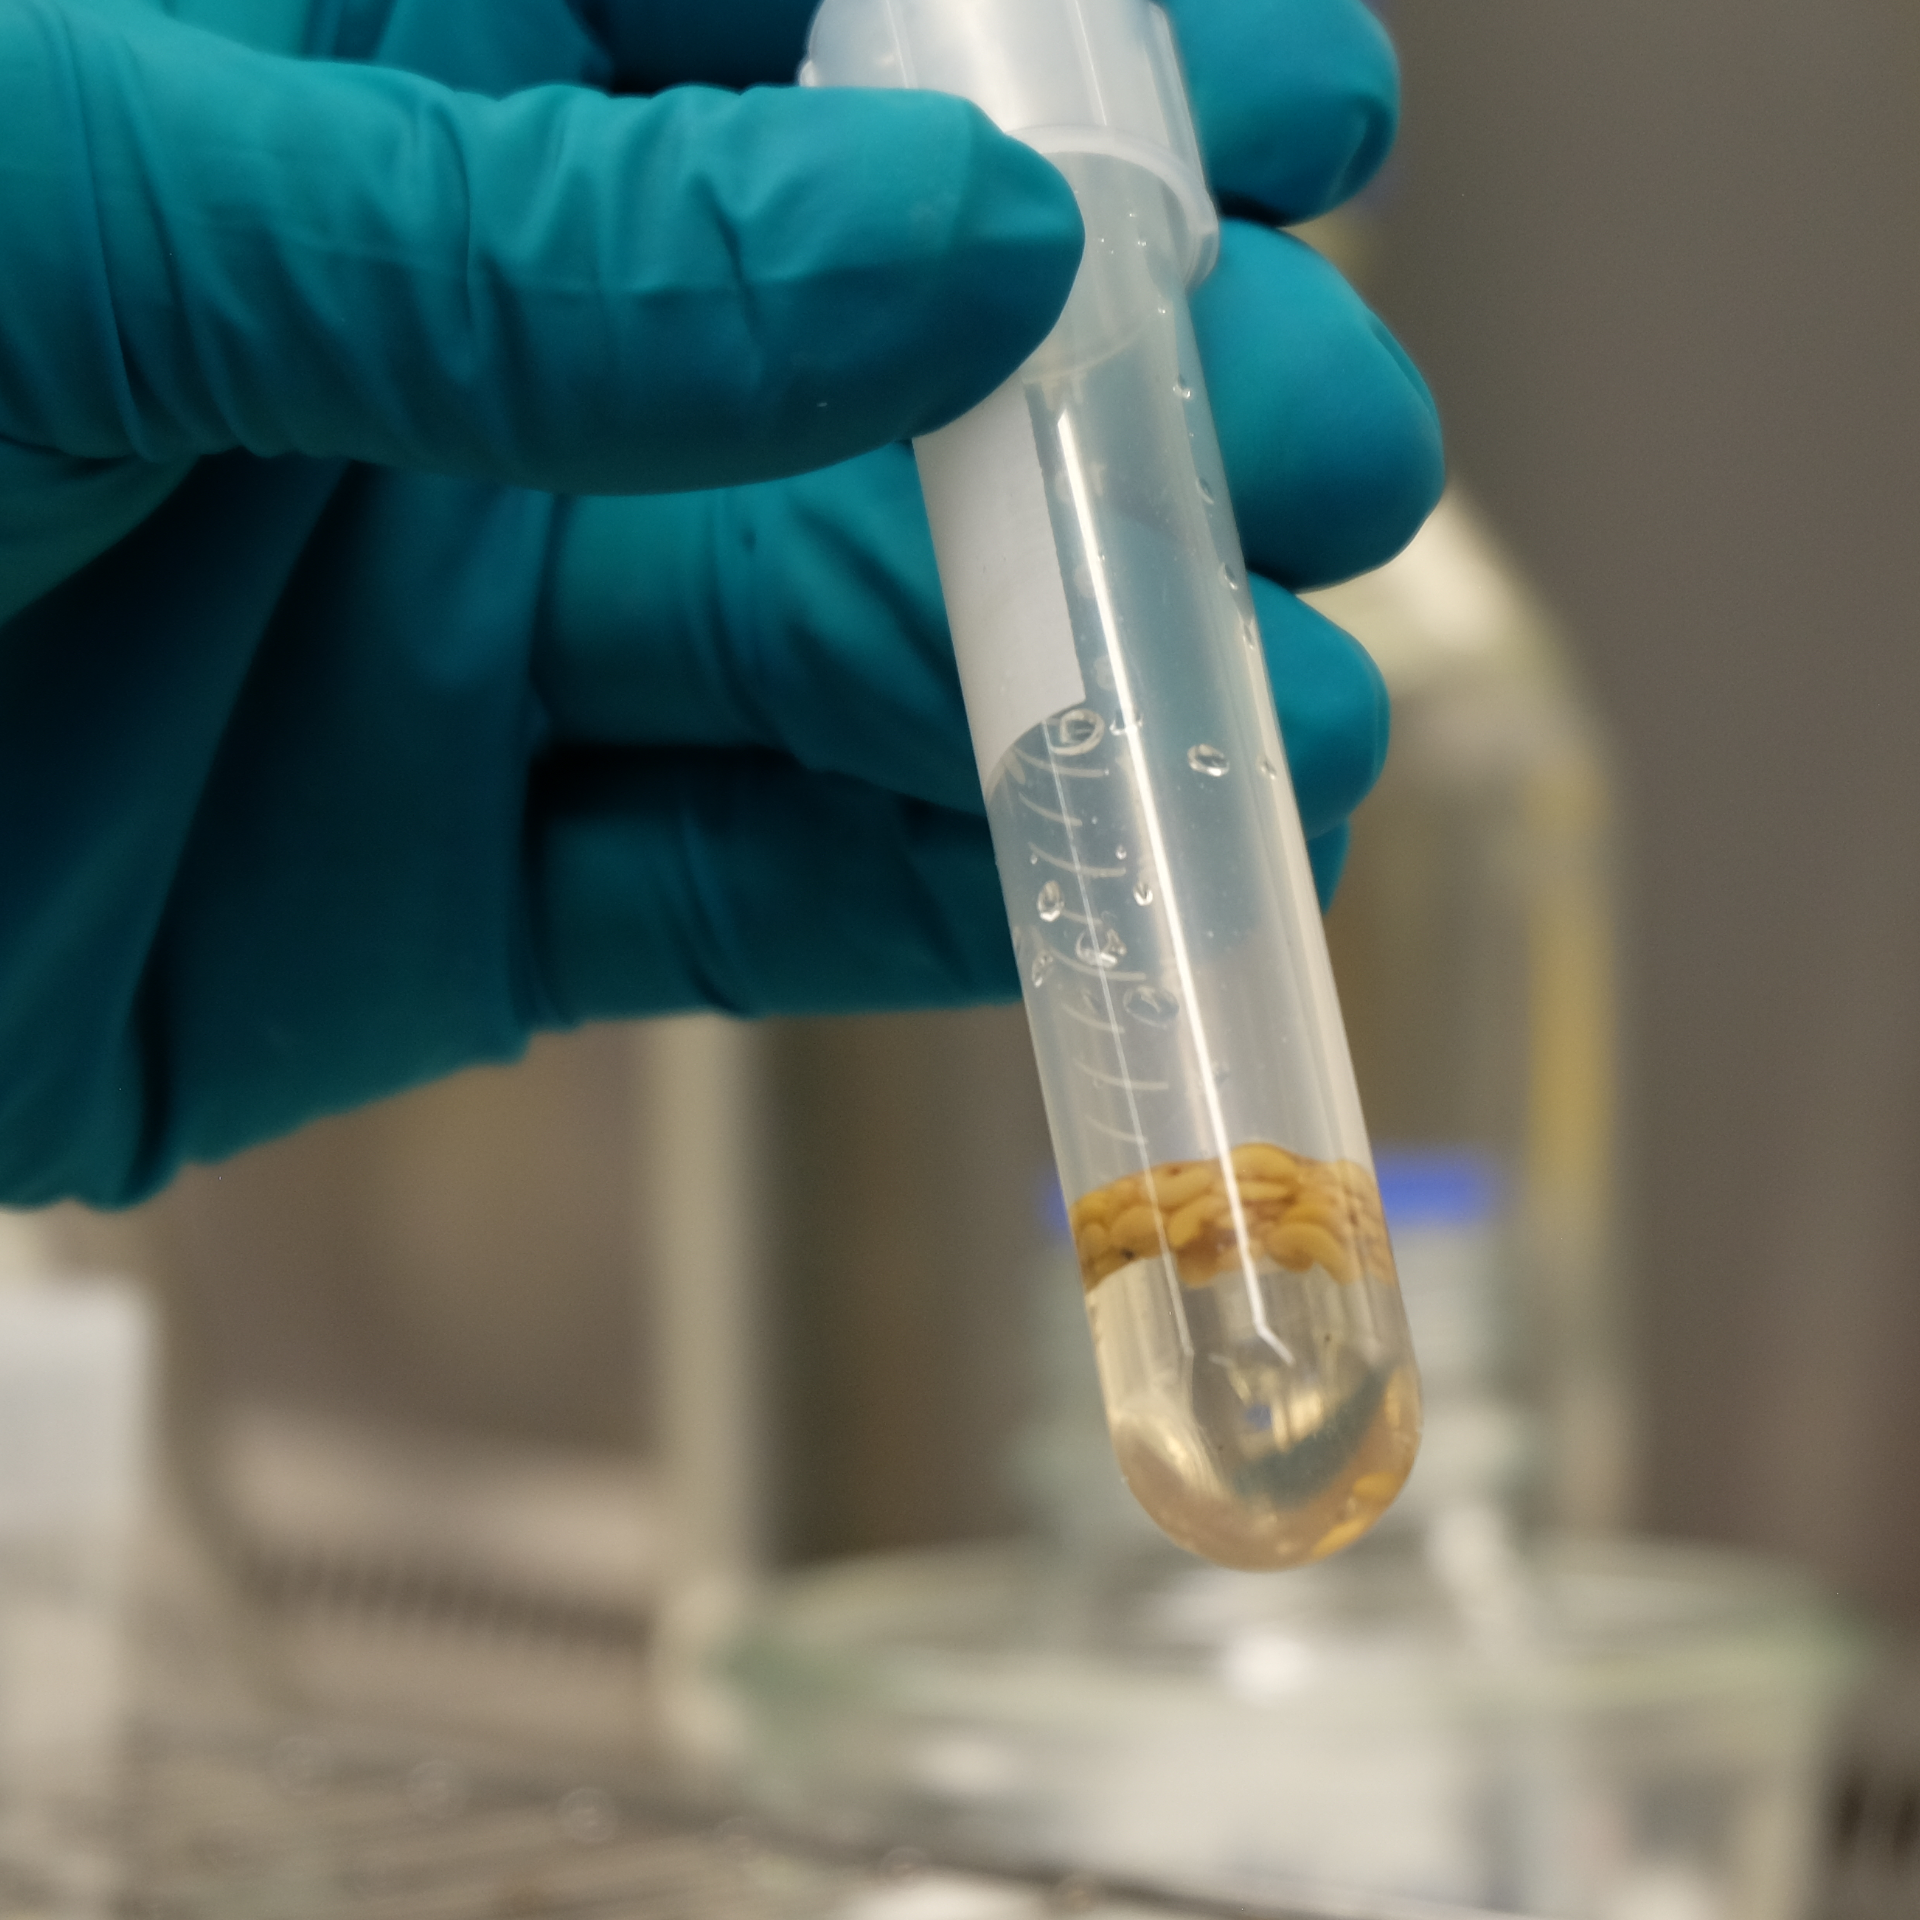
Then we had to prepare the seeds and the agar again.
This time i shooted a picture of the autoclav, too. It is used to desinfect all the
Read further... -
10 April 2022
Resin test print
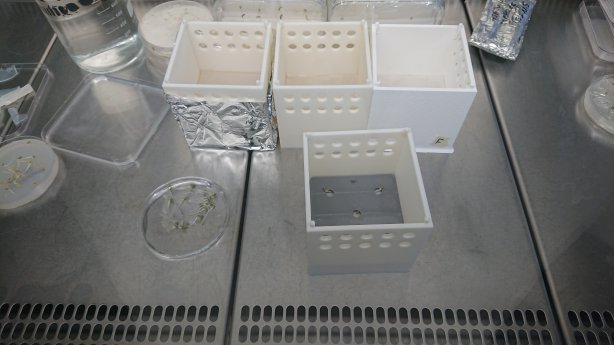
We received our first batch of prototypes printed with a 3D resin printer. They will be tested to ensure that the chamber survives the autoclave process needed to sterilize all components which have direct contact with the plants or the agar. This is necessary to prevent any form of mold and fungi.
-
02 April 2022
First light prototype
There will be light
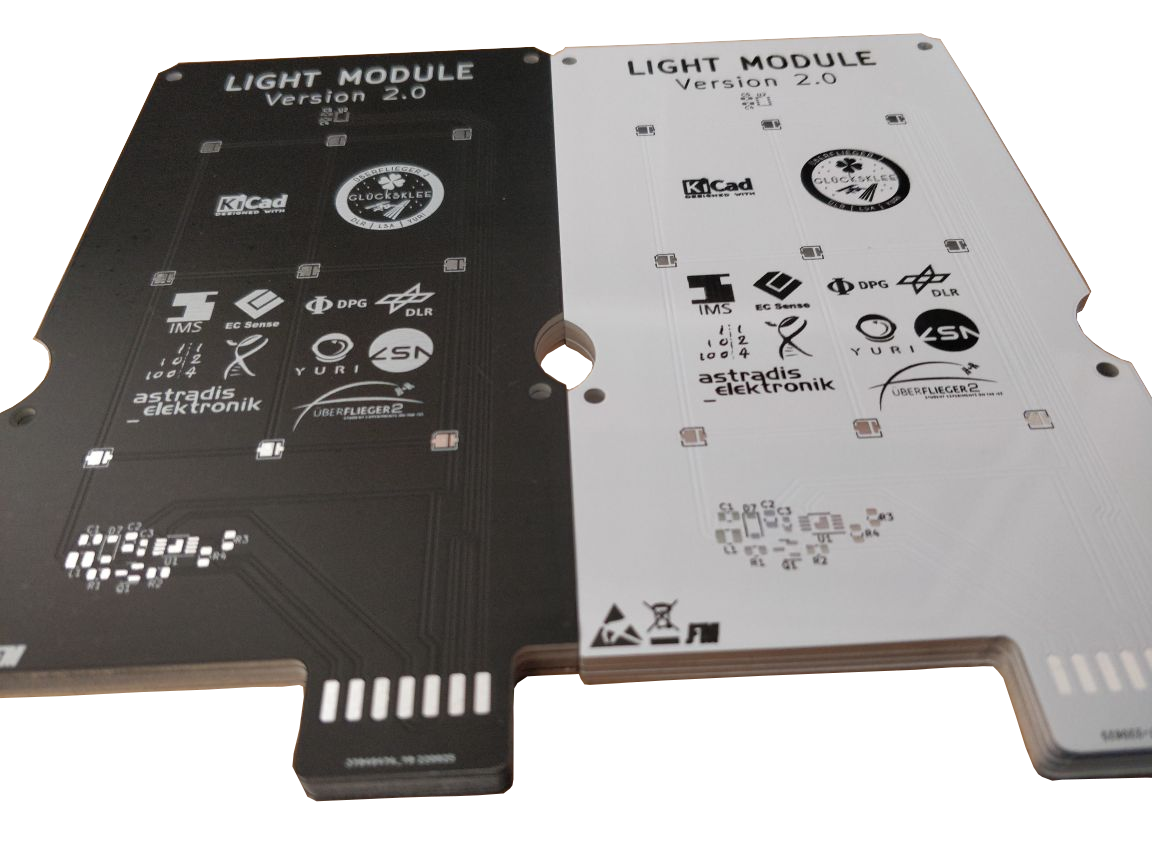
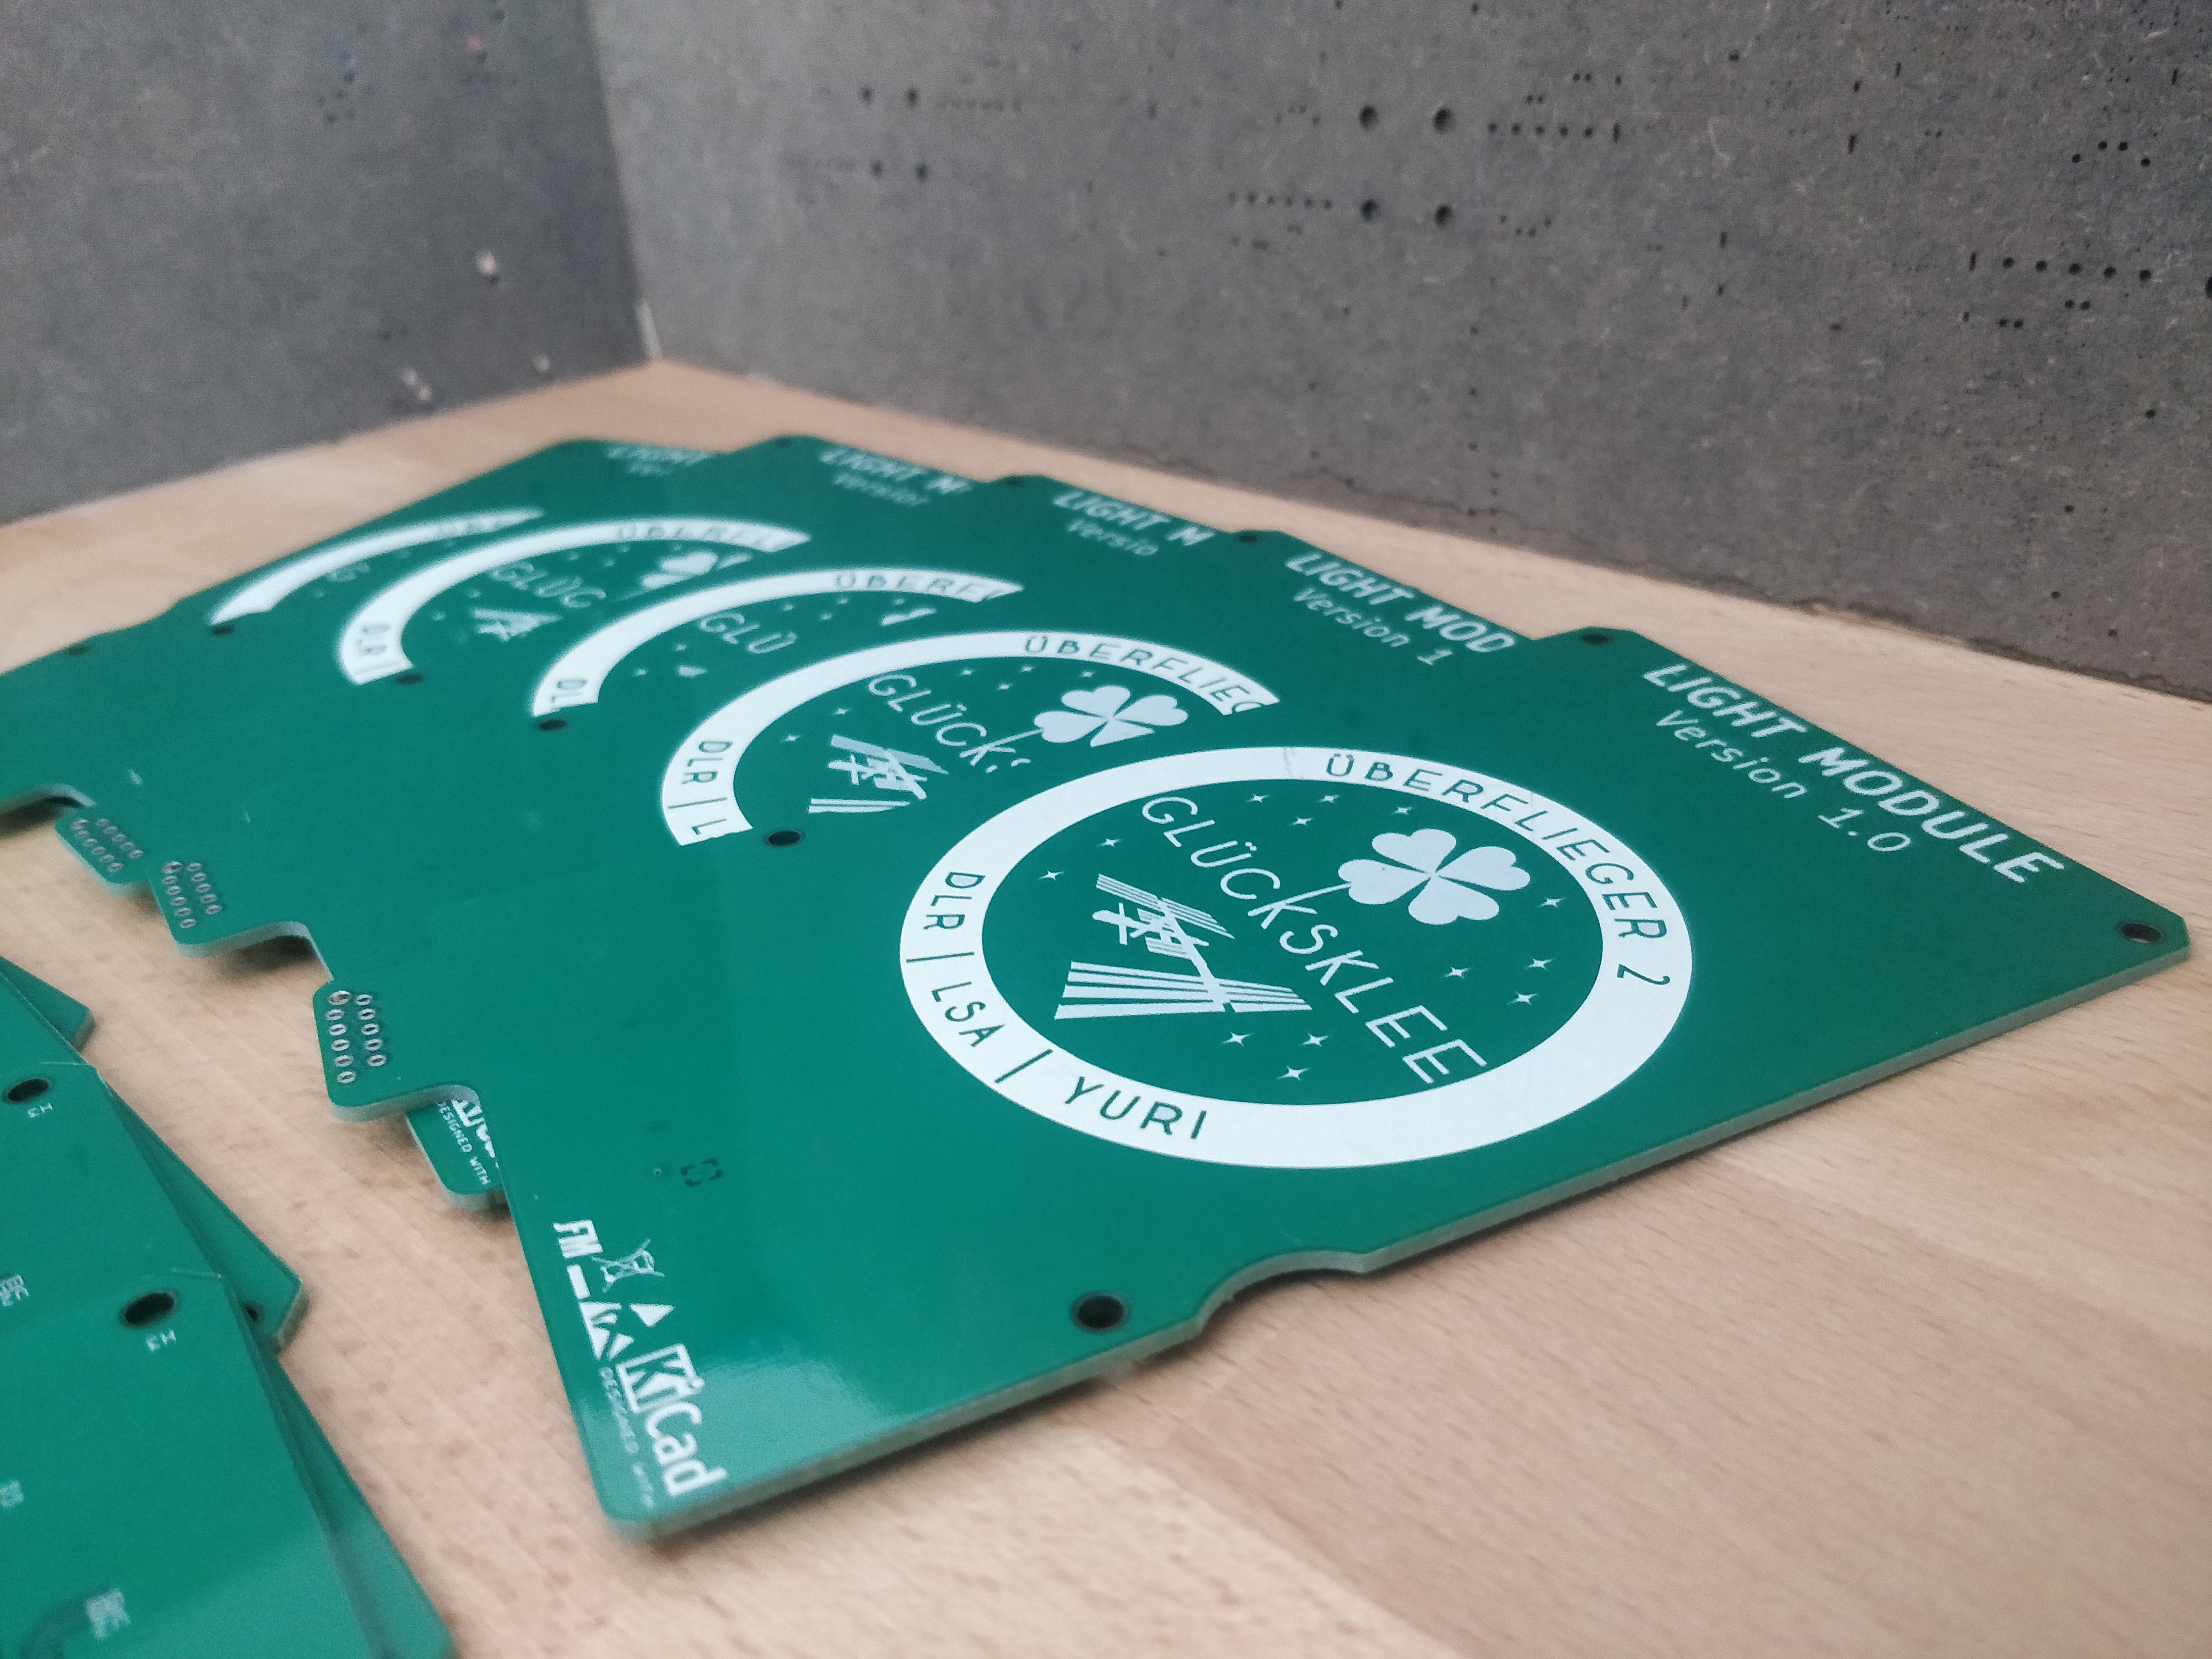
Today the first batch of prototype pcb for the light module arrived. They are designed to only need one side to allow additional heat removal on the backside. As the components already arrived last week we where able to assemble our first light module.
In contrast to out plant box prototype pcb we increased the number of LEDs to 15 to allow a more even light distribution. To drive the LEDs to methods are implemented:
- On the one hand the current running through the LEDs is achieved by a simple series resistance. To control the brightness an additonal N-MOSFET is
-
22 March 2022
Preliminary design finished
It took time but finally we have our preliminary CAT design. The structural component consists of one large piece that can be separated into a bio chamber and a electrical section. At the top a light module will be placed, on the back a mainboard that contains the Raspberry PI Zero 2W, a Raspberry PI Camera and additional sensors to analyze the environmental conditions.
-
27 February 2022
Plant boxes in action
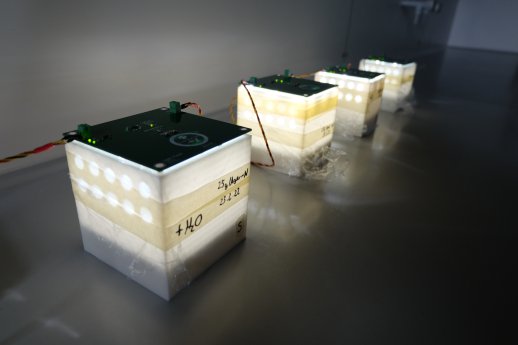
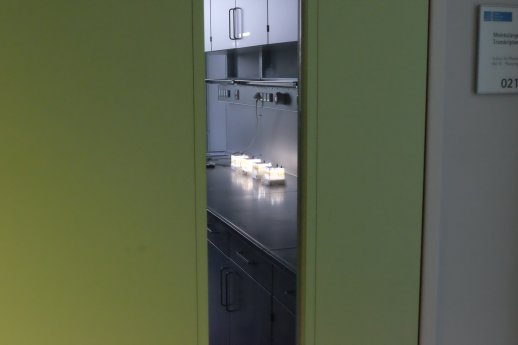
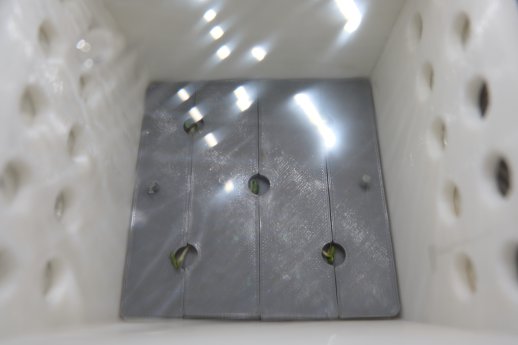
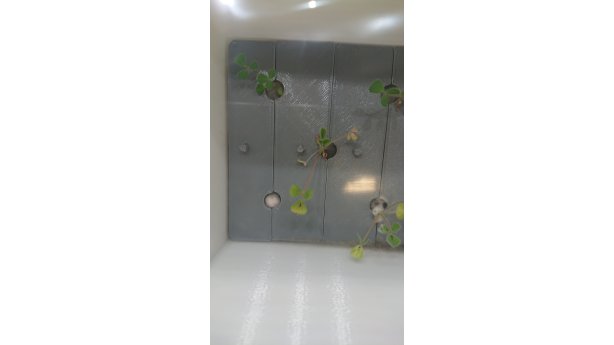
Our plant boxes have been in use for a while and show first results: First of all they look pretty cool in the dark.
But we also learned that the correct choice of material and manufacturing process is important. The simple FDM printed boxes using PLA as material are not tight enough. Also sterilization cloud not be performed as it would have been necessary: In the end mold started to grow and we had to dispose the containers. The problem is, that those simple boxes cannot withstand the hot autoclavation process and had to be sterilized using alcohol wet-wipes. The
Read further...

